This article was co-authored by wikiHow Staff. Our trained team of editors and researchers validate articles for accuracy and comprehensiveness. wikiHow's Content Management Team carefully monitors the work from our editorial staff to ensure that each article is backed by trusted research and meets our high quality standards.
This article has been viewed 16,977 times.
Learn more...
Making your cake pops was only part of the job—now it's time to display them! This can be trickier than it sounds, since not every material is ideal for a cake pop stand and you'll want to decorate it to fit with your event, too. No matter what occasion your cake pops are for, you can create a cute display that entices your guests to have a taste.
Steps
Creating a Foam Stand
-
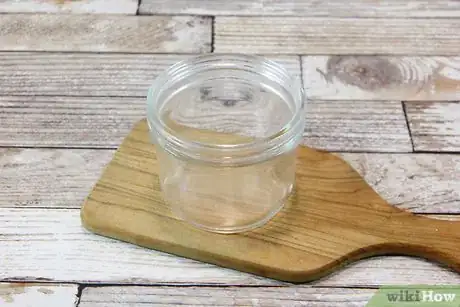
1Choose or make a small container to match the theme of your event. Go for a flat-bottomed container, which will be easier to fit your foam into. You can choose a container large enough to fit all of your cake pops, or simply use multiple smaller containers and arrange them on your table.[1]
Fun Containers for Your Cake Pops
A flower pot
A vase
A hat box
A wooden planter
A picture frame with tall sides
A flat-bottomed bowl
-
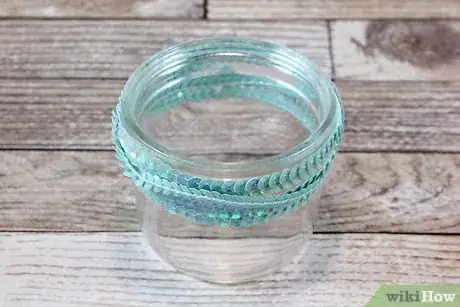
2Decorate your container to match your event's theme. Whatever kind of container you choose, it's easy to make it work for any event with a little creativity. Use colored wrapping paper, ribbons, stickers, and sequins to decorate the outside of your container before you start arranging your cake pops in it.
- For example, for a wedding or bridal shower, you could decorate the box in white paper with a soft white, pink, or blue ribbon.
- For a birthday party, paper the box in bright birthday wrapping paper and tie a colorful bow around the outside to look like a present.
Advertisement -
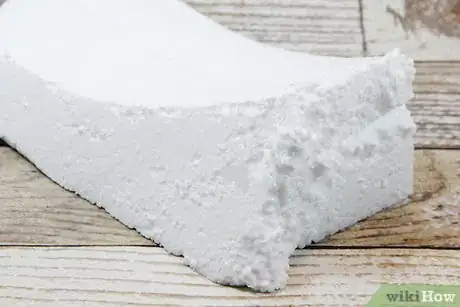
3Use floral foam or Styrofoam to support your cake pops. Floral foam is a lighter material, similar to Styrofoam but not packed as tightly. This makes it easier to place your cake pops in, and gives them more support as well. If you can't find floral foam, though, you can still use Styrofoam in a pinch.[2]
- You can find floral foam in craft supply stores. Look for “dry foam,” which is often used to display silk flowers.
-
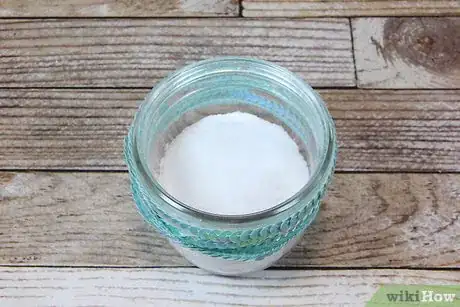
4Cut a length of foam to fit in your chosen container. Use a serrated knife to cut it to the size of your container. Push it into the container so that it fits snugly, but leave a little room at the top for a filler. For a more secure fit, stick the sides of the foam to the container with poster putty or double-sided tape.[3]
-
5Cover the top of the foam with a festive filler. You don't want your guests to see the foam, which will throw off the theme of your display. Instead, spread some colorful filler material across the top! Create multiple layers so that your filler won't show through even after cake pops are taken out.[4]
Use filler materials like…
Candy
Decorative stones
Confetti
Sprinkles
Beads
Shredded paper
-
6Push the cake pops into the foam. Hold each cake pop by the stick and gently push them down through the filler and into the foam until they can stand on their own. Spread them out across the surface for a neat, natural look. Then, set them out on a table for your guests to enjoy![5]
- You can place the pops in neat rows or space them out randomly.
- Avoid handling the cake pop by the cake part. You might accidentally crack or squish it.
Standing Your Cake Pops in a Container
-
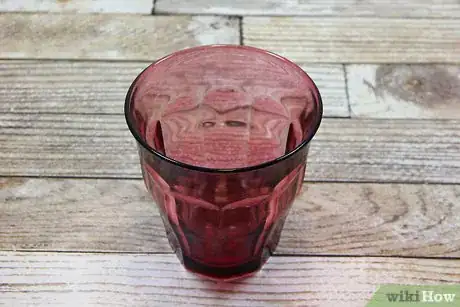
1Choose a vase, glass, or bowl to hold your cake pops. Go for decorative bowls or glasses with a cute or interesting design, if you can. You can also decorate the outside of the container with wrapping paper, yarn, or ribbon. If the pops don't all fit in one container, feel free to use a few.[6]
- Any kind of sturdy container will work well for this display option! In addition to bowls and glasses, you can also try candle holders and vases.
- Use a clear container if you want your guests to be able to see the supporting material inside. Otherwise, use an opaque option.
-
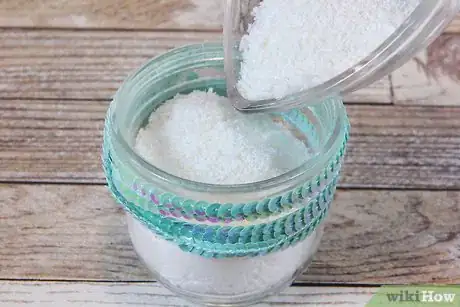
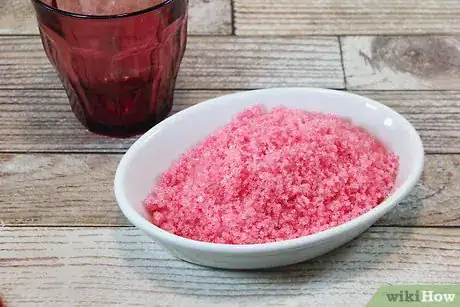
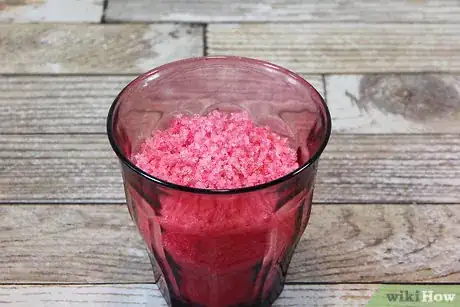
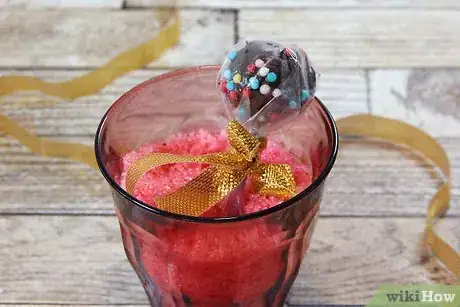
2Pick a soft, sand-like material to hold up your cake pops. Colored crafting sand is a great choice for this display method—it's pretty, but sturdy enough to hold up your cake pops. You can also use regular sand, small pebbles, or even Jell-O. Just make sure your material is strong enough to hold up your pops![7]
- If you use Jell-O, follow the packet instructions and make it directly in the bowl or vase. Most Jell-O needs 2-3 hours to set, so make sure to give yourself plenty of time.
-
3Fill the container with your soft material. Fill your container or containers with the material, stopping about 1 in (2.5 cm) before the top, depending on how much of the stick you want to show. Make sure the top surface is level and firm.
-
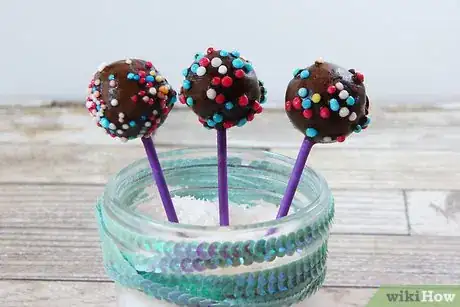
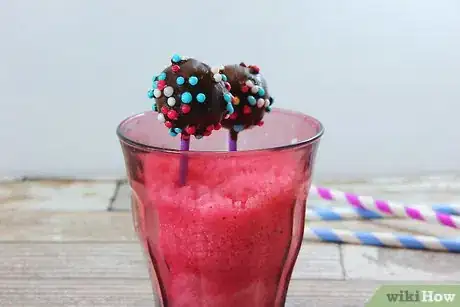
4Stand your cake pops up in the container. Now, simply push your cake pops into your filler material one at a time. Hold them by the stick and push them in until at least 1⁄2 inch (1.3 cm) of stick is under the material. Remember to space your cake pops evenly around the container, and try not to cram them in too tightly!
- You can place the pops in neat rows or space them out randomly.
- It's OK if the pops brush each other, but you don't want them to be too crowded.
Wrapping Cake Pops Individually
-
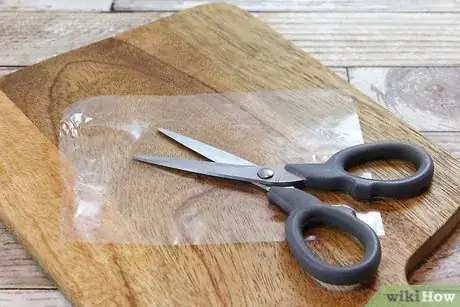
1Cut out a square of plastic wrap and make sure it fits over a cake pop. Lay out a length of clear plastic wrap or cellophane and cut out a small square, about 3 by 3 inches (7.6 cm × 7.6 cm). Place the center of the square on top of your cake pop and carefully crinkle it around to cover the whole thing. You want to have at least 1 inch (2.5 cm) of extra material around the stick so you can tie it off.[8]
- If the square is too small, cut your next one a little bigger. Keep experimenting with the dimensions until you like the look.
- Use colored cellophane for an extra pop of color.
- To save time, you can also simply use small cellophane bags.
-
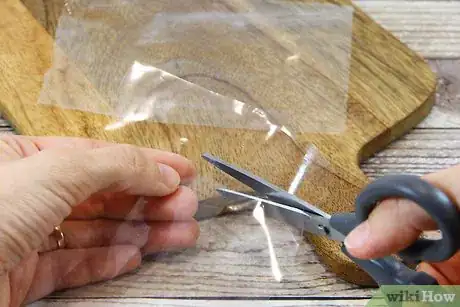
2Continue to make plastic squares for all of your pops. Unwrap your first square and lay it on top of your cellophane. Cut around it with your scissors to create another square of the same size. Continue cutting out squares until you have enough for all of your cake pops.[9]
-
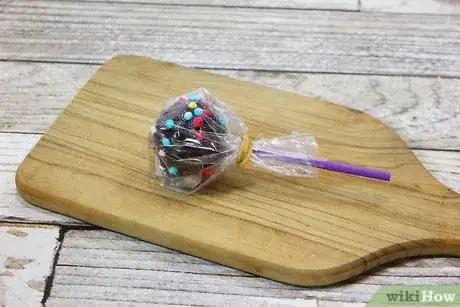
3Crinkle the plastic wrap over each cake pop and secure it with the twist tie. Slip your plastic square over the top of a cake pop and crinkle it around the stick. Holding the stick in one hand, loop a twist tie around the plastic wrap and twist its ends together. Bend them down along the line of the stick so that they blend in.[10]
- Continue twist-tying the plastic wrap on until all of your cake pops are covered.
-
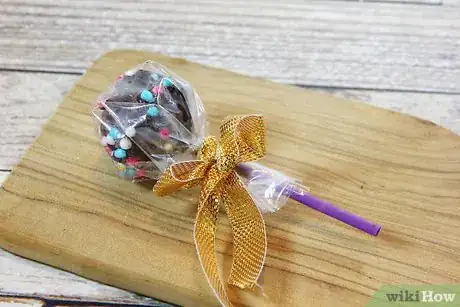
4Tie bows onto your twist ties for extra decoration. If you want an extra bit of color, put a small ribbon onto each twist tie before securing it around the cellophane. Simply cut a ribbon to about 5 inches (13 cm) long, then tie it in a neat bow at the center of the twist tie.[11]
- Choose a ribbon color that matches the theme of your event, such as red for a holiday party or white for a wedding or bridal shower.
-
5Display the cake pops standing up or spread out on a tray. Once your cake pops are covered, you can display them in any way you want. Wrapping them up protects the frosting and decorations from flaking off, so you can lay them down on a plate or platter if you want. You can also place them upright in a stand.
- If you choose to lay your cake pops down, make sure to spread them out evenly, in one or two layers, for the best look.
- Choose a decorative plate or tray. Its color should match the theme of your event!
Things You'll Need
Foam Stand
- Styrofoam or floral foam
- Container(s)
- Decorative materials, like wrapping paper or ribbons
- Serrated knife
- Filler material
Standing Cake Pops in a Container
- Container, such as a vase, bowl, or glass
- Soft filler material, like sand
Wrapping Cake Pops Individually
- Cellophane, plastic wrap, or small plastic bags
- Scissors
- Twist ties
- Ribbon (optional, for bows)
References
- ↑ https://www.craftsy.com/cake-decorating/article/how-to-display-cake-pops/
- ↑ https://www.craftsy.com/cake-decorating/article/how-to-display-cake-pops/
- ↑ https://www.craftsy.com/cake-decorating/article/how-to-display-cake-pops/
- ↑ https://www.craftsy.com/cake-decorating/article/how-to-display-cake-pops/
- ↑ https://www.craftsy.com/cake-decorating/article/how-to-display-cake-pops/
- ↑ http://www.ninerbakes.com/2013/01/22/cakepops-101-ideas-how-to-display-cake-pops-guide-help/
- ↑ http://www.ninerbakes.com/2013/01/22/cakepops-101-ideas-how-to-display-cake-pops-guide-help/
- ↑ http://www.ninerbakes.com/2013/01/22/cakepops-101-ideas-how-to-display-cake-pops-guide-help/
- ↑ https://www.cakecentral.com/forum/t/700449/how-do-you-package-cake-pops-and-cake-truffles
About This Article
To display your cake pops with a foam stand, first decorate a container, or a few small containers, to match your event, such as white paper for a wedding or birthday wrapping paper and a ribbon for a birthday. Then, take a length of Styrofoam or floral foam and cut it to the same dimensions as your container. Fit it in snugly and scatter a few thick, even layers of filler across the top, such as candy, confetti, or sprinkles. Push your cake pops in, spreading them out evenly, and set out your display! For more ways to display cake pops, including how to wrap them, read on!
