This article was co-authored by Lauren Kurtz and by wikiHow staff writer, Amber Crain. Lauren Kurtz is a Naturalist and Horticultural Specialist. Lauren has worked for Aurora, Colorado managing the Water-Wise Garden at Aurora Municipal Center for the Water Conservation Department. She earned a BA in Environmental and Sustainability Studies from Western Michigan University in 2014.
This article has been viewed 48,780 times.
Sedum is a very wide-ranging genus of about 400 species featuring star-shaped flowers and succulent leaves. These plants are easy to grow and require little maintenance. Sedum often grows in big clumps and needs to be divided to keep it from spreading too far. By properly cutting each division so that it has roots, you can successfully propagate new sedum plants.
Steps
Digging up Your Sedum
-
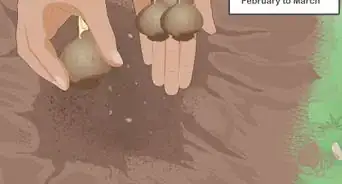
1Dig up sedum in early spring. Since sedum blooms in late summer and fall, the plant should be dug up and divided in early spring. You can begin digging as soon as new growth appears in the spring.[1]
- Divide your sedum every 3 to 4 years to control size and maintain health.
-
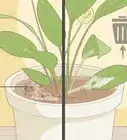
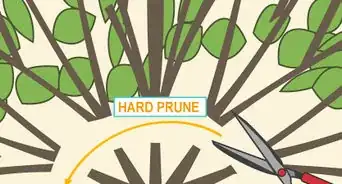
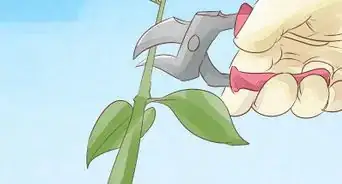
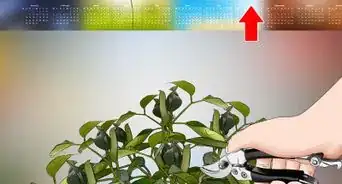
2Cut back the foliage to 2 inches (5.1 cm) above the plant’s base. Using sharp pruners or shears, cut back the plant’s foliage so it is easier to dig around the base of the plant. You can cut the foliage back to about 2 inches (5.1 cm) above its base.
- Clear the cut foliage away from the base of the plant so you have space to dig.
Advertisement -
3Water the plant. Moist soil will make it easier to dig out the sedum, so water your plant before you start digging. Water the plant well, but don’t go overboard. The soil should be moist, but not so wet that it’s muddy.
-
4Use a sharp spade to dig around the plant. Cut all the way around the perimeter of the sedum with a sharp shovel to sever the plant’s roots. Loosen the soil all the way around the plant as well as underneath it.[2]
- At least 3 inches (7.6 cm) of root should remain intact when you dig up the plant.
-
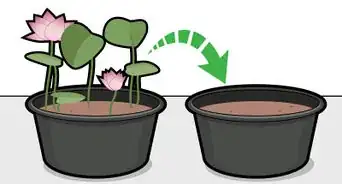
5Lift the sedum out of the ground with your shovel. Once the plant’s roots are detached from the soil, push your spade underneath the plant and pull it out of the ground. Place the sedum plant on the ground nearby.[3]


Cutting the Sedum Plant
-
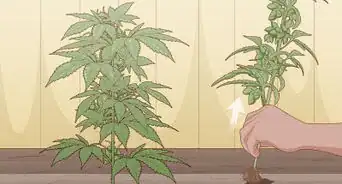
1Choose how many divisions to make. The size of your sedum plant will determine how many divisions you can make. Between 2 and 8 divisions are common, depending on if your plant is small or large.[4]
-
2Use a flat spade to divide large clumps into smaller clusters. Using a sharp, flat spade, begin dividing your sedum. Make clean cuts with your spade all the way through the plant. Try to keep sections a similar size.
- A good way to do this is to first cut the sedum in half, then into quarters, and so on.
- For smaller sedum, you can use a sharp knife instead of a spade to divide the plants.[5]
-
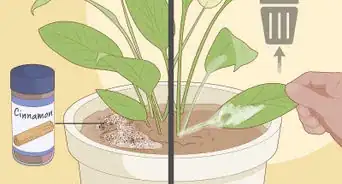
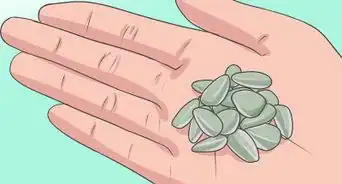
3Cut each section so it contains roots. Each piece of your newly divided plant should contain a section of the root system so it can be successfully replanted. It can be helpful to turn the plant over so you can see the root system when you’re cutting the plant.[6]
- If a section has no root system, it will not be able to be replanted.


Replanting Sedum
-
1Place the sedum into a cup of water or replant the sedum right away. You can place the sedum into a cup of water and wait until the roots are about 3 inches (7.6 cm) long to replant the sedum. However, you may also replant the sedum immediately if you prefer.
- If you replant immediately, keep the soil consistently moist for the first several weeks after replanting the sedum.
-
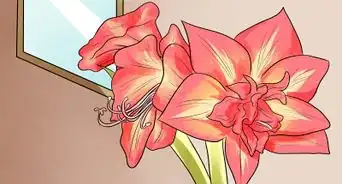
2Plant your sedum in full sun. Full sun means at least 6 hours of sunlight each day. Planting sedum in full sun will encourage the most growth and help your plant thrive.
- Sedum will tolerate partial shade if full sun is not available. However, they won't grow in full shade.
-
3Choose an area with well-drained soil. To perform a soil drainage test, dig a hole that is 12 by 12 inches (30 by 30 cm) deep, then fill it with water. If the water drains in 10 minutes or less, you have good drainage. If the water takes an hour or more to drain, you have poor drainage.[7]
- Sedum prefer well-drained soil and cannot tolerate standing water for any length of time.
- If you need to improve your soil's drainage, add organic matter like well-rotted manure, compost, or peat moss to the it.[8]
-
4Dig a hole deep enough to accommodate the entire root ball. Create a hole twice the diameter of the root ball and make sure it's deep enough so that the top of the division's root ball will be level with the surface of the ground. This is typically around 12 to 15 inches (30 to 38 cm) deep, depending on your division's size.[9]
- Make sure that you do not dig too deep in the soil. The root ball should be at the same depth as it was when you dug it up.
-
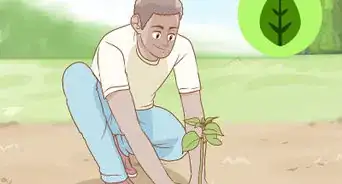
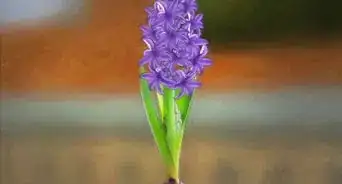
5Place your division in the hole, root end down. Situate the root ball in the center of the hole and hold the division upright. Then, gently fill in the soil around division and pack it very lightly with your hands.[10]
- Be sure to space your plants 6 to 24 inches (15 to 61 cm) apart.
-
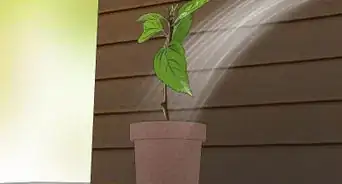
6Water your newly planted sedum directly after planting. Use a garden hose with a gentle stream of water and spray the plants until water begins to puddle on top of the soil. After the initial watering, water your sedum sparingly and only when it feels dry to the touch.
- Sedum are highly drought resistant and usually don't need any supplemental watering once they're in the ground.[11]


References
- ↑ http://www.chicagotribune.com/lifestyles/home/ct-garden-divide-perennials-home-qa-1001-20150928-story.html
- ↑ http://www.chicagotribune.com/lifestyles/home/ct-sun-0409-garden-morton-20170403-story.html
- ↑ https://garden.org/plants/group/sedums/
- ↑ https://hortnews.extension.iastate.edu/faq/when-would-be-best-time-divide-autumn-joy-sedum
- ↑ https://hortnews.extension.iastate.edu/faq/when-would-be-best-time-divide-autumn-joy-sedum
- ↑ https://hortnews.extension.iastate.edu/faq/when-would-be-best-time-divide-autumn-joy-sedum
- ↑ https://garden.org/plants/group/sedums/
- ↑ https://www.treepeople.org/sites/default/files/pdf/resources/How-to%20Test%20Soil%20Drainage.pdf
- ↑ https://garden.org/plants/group/sedums/
About This Article