X
wikiHow is a “wiki,” similar to Wikipedia, which means that many of our articles are co-written by multiple authors. To create this article, 11 people, some anonymous, worked to edit and improve it over time.
This article has been viewed 54,687 times.
Learn more...
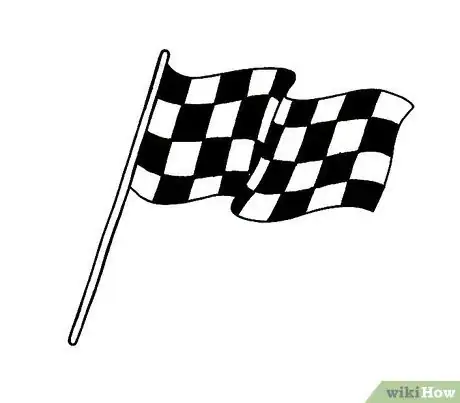
A checkered flag, used to signal the start of a race is a good addition to any drawing of a track or a race car like Lightning McQueen. Here is a simple tutorial that will show you how to draw a checkered flag.
Steps
-
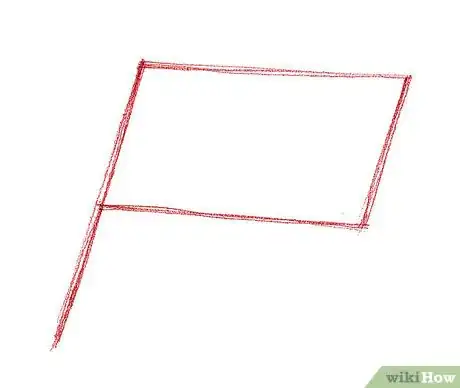
1Sketch the basic shape of a flag. Draw a straight line tilted slightly to the right. Add a rectangular shape following the line's slope.
- If you want a very basic flag for a flier or poster, you can keep it this two-dimensional shape; however, for a more realistic flag you should make waves as seen below.
- Add a rectangular shape following the straight line's angle.
-
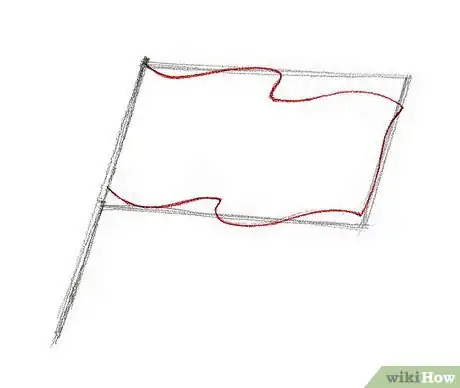
2Over the rectangle draw the wavy shape of the fabric. Imagine actual waves as you're sketching, which arc and bend in a way similar to that of a flag fluttering in the breeze.Advertisement
-
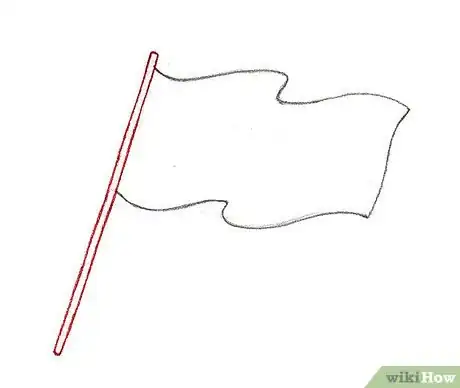
3Draw the stick over the straight line. Erase the straight sections remaining between the waves you drew in step 2.
-
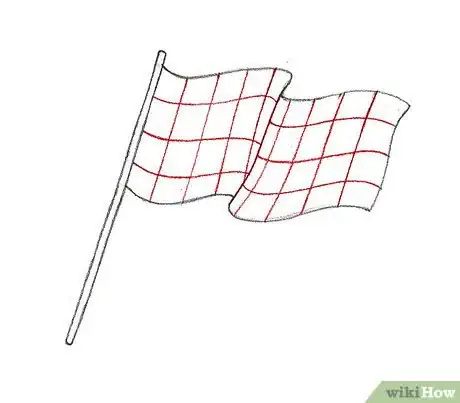
4Add horizontal and vertical lines, following the shape of the waves, to form the checkers. Make sure you incorporate the fabric that's covered by the flag's position, keeping the pattern consistent with it.
-
5Line the drawing with black ink. Fill in every other checker, so it looks like the flag shown.
- Your checkers can be a different color than black, or even multicolored--it's up to you how you want your flag to look!
Advertisement
About This Article
Advertisement
