wikiHow is a “wiki,” similar to Wikipedia, which means that many of our articles are co-written by multiple authors. To create this article, 43 people, some anonymous, worked to edit and improve it over time.
This article has been viewed 878,092 times.
Learn more...
Mapping your ancestry on a family tree is a great way to help children understand their heritage and gain knowledge about great grandparents and other family members they may never have had the chance to meet. For adults, it can be a chance to memorialize people who have passed away and create a beautiful representation of one's family history. Read on for information on how to craft a family tree.
Steps
Family Tree Templates
Researching Your Family History
-
1Find out more about your genealogy. Some people are intimately familiar with their family history, and others don't know as much about their grandparents, great grandparents, cousins, and so on. Before you make a family tree, get all the information you need by conducting research in the following ways:
- Ask family members for information. If you're making a family tree for a school project, your mother and father may be able to tell you everything you need to know about your family. For extensive family history projects, consider looking at a genealogy database. Sites like Familysearch.org have information about long lost relatives you may not have known you had.
- Be thorough. A family tree isn't as useful when someone is accidentally left out. You might want to check with multiple sources to make sure your information is accurate.
-
2Decide how far back to go. It's interesting to trace your family history as far back as you can, but when you're drawing a family tree, it's not practical to record information that extends more than a few generations back. You're limited by the size of the paper you use, since you need to be able to fit all of the names on one page.
- Many people choose to go as far back as their great great grandparents and their siblings, or their great grandparents and their siblings. These are people you, your parents or your grandparents have met, so they are tied to you more closely than more distant relatives.
- If you have a large family with a lot of great aunts and uncles, cousins, and so on, you may have to end with a more recent generation to fit everyone on one page. If you have a smaller family you might be able to extend the tree to a more distant generation.
Drafting a Drawing Plan
-
1Choose paper and a drawing utensil. Since you're taking the time to research and draw your family tree, pick out nice drawing materials so that the information is presented well.
- Art supply stores sell individual sheets of large paper. Choose one that is sturdy and attractive, such as watercolor paper.
- A more convenient option might be a piece of posterboard. This type of paper is also sold by the individual sheet, and it comes in a variety of colors. You can find it at drugstores.
- Plan to draw the family tree in pencil and trace over it with a nice ink pen or marker.
-
2Decide what form your tree will take. Some family trees are drawn in the shape of actual trees that have a branch for each "branch" of the family. Others are more like family diagrams; the end effect is tree-like, but the family names aren't actually superimposed on a tree drawing. Use the style that was assigned to you in class or simply choose the one you prefer.
Drawing the Tree
-
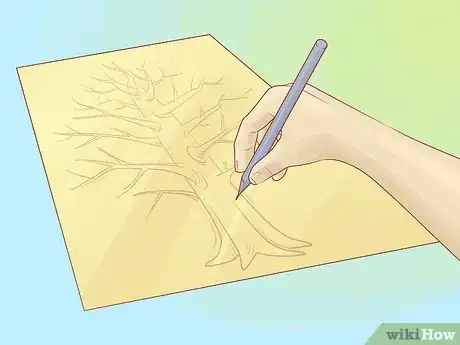
1Draw the tree in light pencil. Envision what it will look like and plan how much space you need to write each name and to draw the necessary connections. Working in pencil allows you to start over on a branch if you run out of room.
-
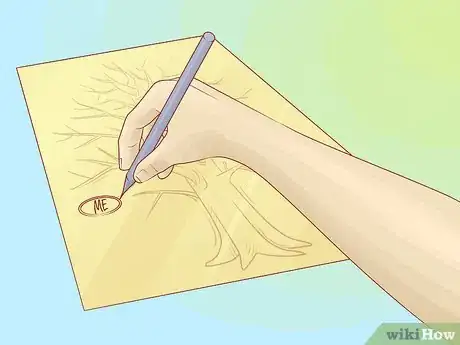
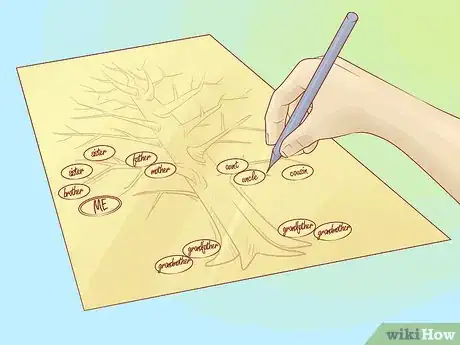
2Write your name. Since this is your family tree, it all begins with you. Write your name in a spot on the page that is surrounded by plenty of space for all of the other names.
- The place where you write your name is the beginning of the tree. If you write it at the bottom of the page, the branches will protrude upward. You could write it at the top of the page and have the rest flow downward, or write it on one side of the page and have the tree bloom out in the other direction.
- If you decide to go with an actual tree shape, go ahead and draw the outline of the tree in light pencil and position your name where you want it.
-
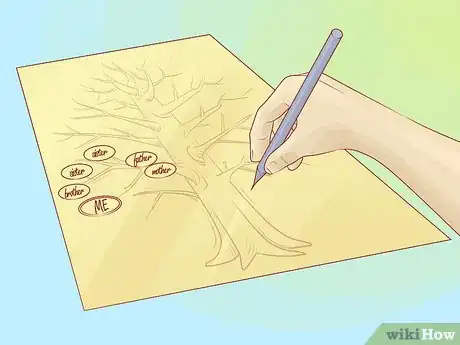
3Add your parents and siblings. Space your parents' names directly above or below your name, depending on what direction you want the tree to flow. Write your siblings' names level with yours, so they extend from your parents' names.
- If you and your siblings have spouses or children, write them as well. Spouses' names are written directly next to their partners, and the children's names are written below their parents' names. You can draw lines connecting parents to their children if you'd like.
- Tailor the tree to fit your family. If you have one parent, or more than two parents, fill them in as well. You can get creative with the drawing to include your step parents, step siblings, and anyone else who is part of your family. The most important aspect of a family tree is making sure everyone is included.
- To keep your tree well-organized, use a regular pattern for the order in which you list the siblings. For example, start with the oldest sibling on the left and then put all subsequent siblings to the right, or vice versa. Either way, keep it consistent throughout the tree.
-
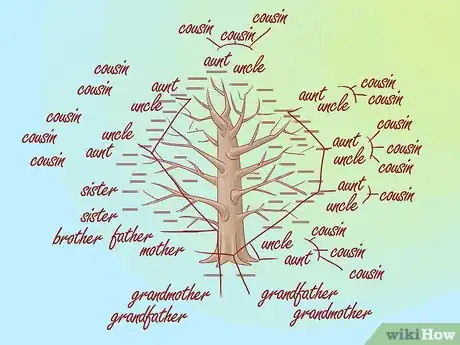
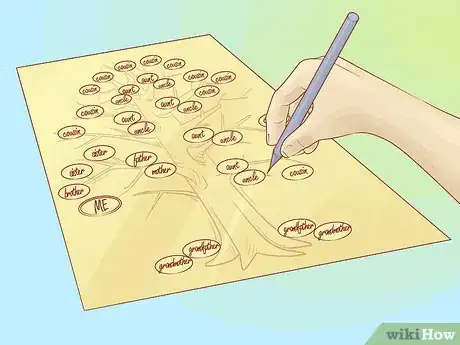
4Write in your aunts and uncles, cousins and grandparents. This is where the tree begins to split off into branches. On your father's side of the tree, write in his siblings' names, their spouses, and their children (your first cousins). Write your father's parents' names on the next level, with a line extending from them to each of their children. Do the same on your mother's side of the tree, including all the members of your extended family on that side.
-
5Include more generations. Continue adding the names of your great aunts and uncles and their spouses and children, your great grandparents, and so on until you've filled in as much of the family tree as you want.
-
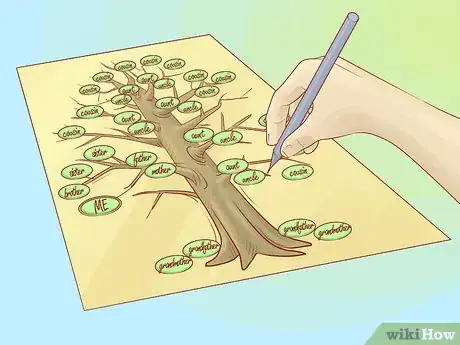
6Enhance it with more detail. Retrace the tree in black or colored ink to make the names and outline stand out. You can add decorations and other details to make the tree more interesting. Here are some examples:
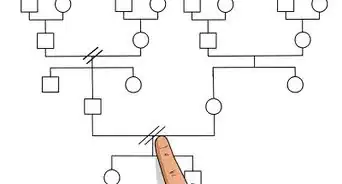
- Use different shapes for males and females. For example, you can use ovals for females and rectangles for males, or whatever other pattern you wish. This way, someone looking at your family tree can tell at a glance the gender of the different individuals.
- Use dashed lines for divorced couples. This way, you can still express the biological relationships between parents and their children, even when they are not married.
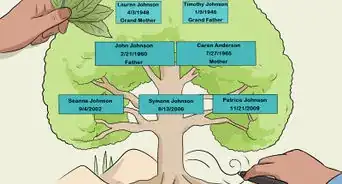
- Add dates of birth and (where applicable) death. This can add a lot of information to your tree and make it interesting to your friends and other family members.
- Add more biographical information for each individual, such as place of birth, maiden names, middle names, and so on.
Community Q&A
-
QuestionWhat can I do if I am not doing the tree way?
 Community AnswerIf you do not do the tree way, there is the diagram method. Try whichever option you like.
 -
QuestionHow am I supposed to fit all of this on one page?
 Ashton CarterCommunity AnswerTry to write small. If that doesn't work, get larger paper.
 -
QuestionWhat relation to me is my father's mother's sister's 3rd son's son?
 Lucy NechCommunity AnswerYour father's mother is your paternal grandmother. Her sister is your great-aunt. Her son is your first cousin once removed. His son is your second cousin.
References
About This Article
To draw a family tree, research your family history by asking family members for information about your relatives. Then, draw a tree or diagram on a large piece of paper. Next, write your name on one of the limbs and add your parents and siblings to the limbs closest to you. From there, use the branches to add your grandparents, aunts, and uncles. Connect them to your parents, keeping your dad’s family on one side of the tree, and your mom’s on the other. Continue adding generations using the information you have. To learn how genealogy sites like Familysearch.org can help you draw your family tree, read on!
