wikiHow is a “wiki,” similar to Wikipedia, which means that many of our articles are co-written by multiple authors. To create this article, 23 people, some anonymous, worked to edit and improve it over time.
This article has been viewed 159,747 times.
Learn more...
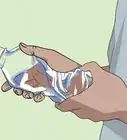
This article will show you how to draw a clear water bottle with a pencil and paper. This does not consist of very many steps and will be an easy object to draw.
Things You Should Know
- Draw the bottle cap first, followed by its mid-section, base, and the fine lines of the cap.
- Then, draw the upper half of the bottle, including its neck where the bottle and cap meet.
- Finish drawing the body of the bottle, then add color and detail to make it appear see-through.
Steps
-
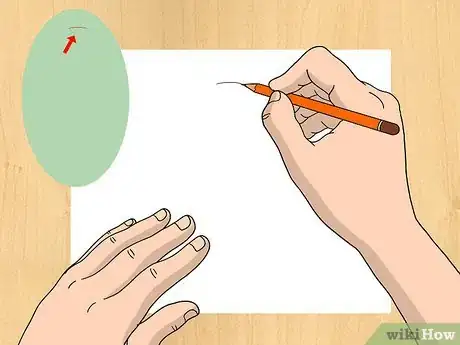
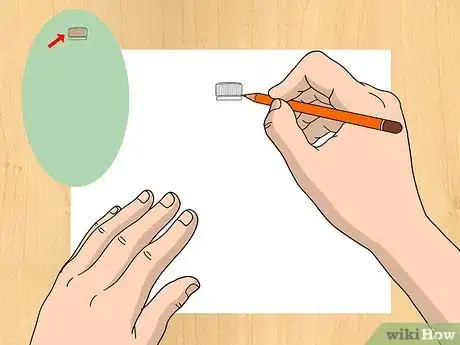
1Draw out the top of the bottle cap.
-
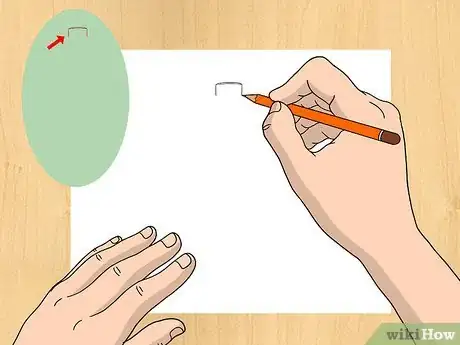
2Draw the rest of the bottle cap's top.Advertisement
-
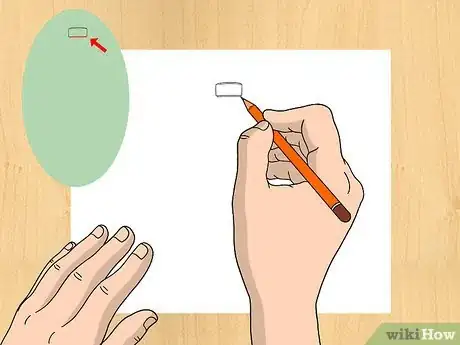
3Draw the midsection of the bottle cap.
-
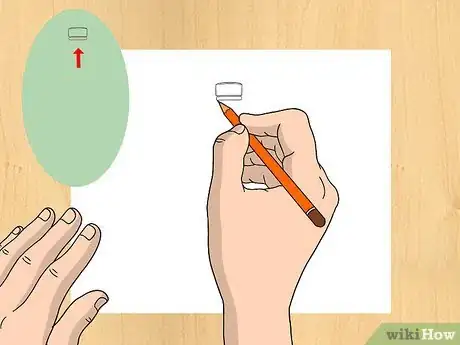
4Draw the base of the bottle cap. This the part that twists off from the bottle.
-
5Draw the fine lines that are usually at the top of the cap. Now, we will be moving on to drawing the bottle itself.
-
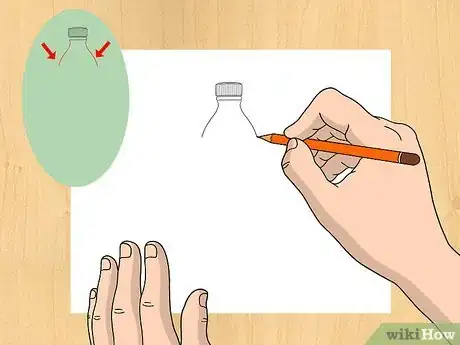
6Draw the upper half part of the bottle where the cap and the bottle meet.
-
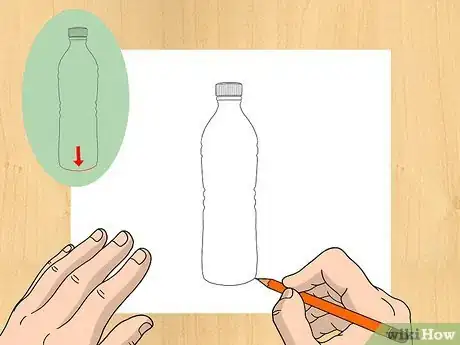
7Draw the body of the bottle. These can come in many different shapes but for now, you may use the example image as your reference.
-
8Have your basic bottle shape completed.
-
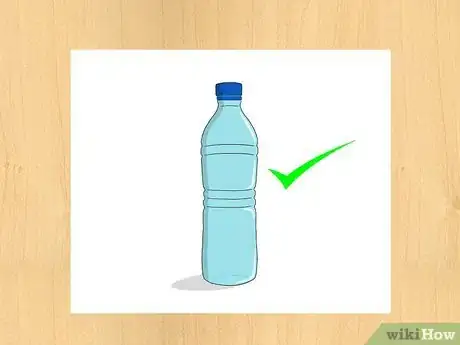
9Add some detail. Draw your bottle in a way that it will appear to be see-through.
-
10And that is all! Color in your bottle with the medium of your choice.
-
11Finished.
Community Q&A
-
QuestionIf I were to draw a bottle of Coke, would I have to do the label first?
 Community AnswerI'd suggest drawing the basic shape of the bottle first, then going to the label, cap, details, etc.
 -
QuestionHow do I draw a bottle of Sprite?
 Community AnswerFollow these steps, but add a label that says "Sprite" and make the bottle green-yellow with dots in it for bubbles.
 -
QuestionHow do I draw a mineral water?
 Community AnswerYou just have to write that it is mineral water on the label when you draw it.
References
- Step by step instructions and illustrations created by http://i365art.com
About This Article
To draw a water bottle, start by sketching a rectangular shape for the cap. Draw a narrow band under the cap to represent the seal that breaks when you twist the cap off. Then, add two short lines extending down from the cap to represent the neck of the bottle. Continue the lines of the neck but curve them out and away from each other to represent the top part of the bottle. Next, draw the body of the bottle. If you want, you can do this by sketching in a basic rectangular shape, then adding details like the ridges, curves, and indentations. For instance, some water bottles are slightly narrower in the middle to make them easier to grip. Fill in other important details such as the ridges around the cap and the label on the bottle, then go over the outlines of your drawing in ink. Erase any guidelines or extra pencil marks. If you like, add color and shading to make the bottle look more realistic.
