This article was co-authored by wikiHow Staff. Our trained team of editors and researchers validate articles for accuracy and comprehensiveness. wikiHow's Content Management Team carefully monitors the work from our editorial staff to ensure that each article is backed by trusted research and meets our high quality standards.
There are 10 references cited in this article, which can be found at the bottom of the page.
wikiHow marks an article as reader-approved once it receives enough positive feedback. In this case, 100% of readers who voted found the article helpful, earning it our reader-approved status.
This article has been viewed 216,318 times.
Learn more...
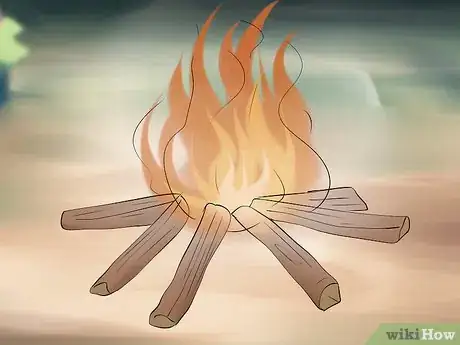
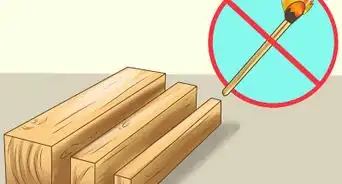
Freshly cut wood retains a lot of water, which makes lighting and sustaining a fire very difficult. Even if it does burn, wet wood gives off less heat, dies quickly, and creates more smoke and soot. Drying wood effectively does take time, though, so it’s best to plan at least six months ahead. But once you cut the wood to the size needed and stack it carefully, all you need to do is wait for the sun and air to dry it out.
Steps
Splitting Your Wood
-
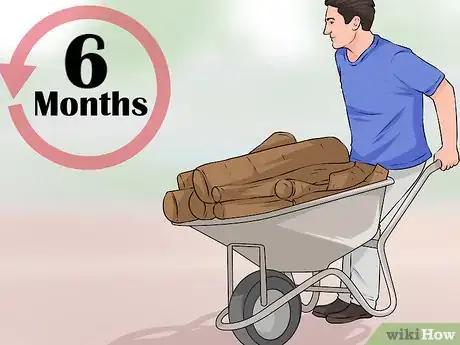
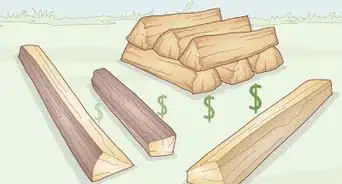
1Gather wood early. Purchase or cut down your firewood no less than six months before you plan to burn it. For best results, do so even earlier to give it that much more time to air-dry. If possible, collect wood a year in advance in order to ensure thorough seasoning.[1]
- Climate can affect drying times. Allow for more time if you live in a particularly wet region.
- More time is also required for denser species of wood, like elm and oak.[2]
-
2Choose a safe work area. Unless you purchased firewood that has already been split, pick an open area outside to cut and split the wood yourself. Make sure the area is open enough for you to handle a saw and/or ax without interference from any obstructions. Favor level ground over uneven ground to ensure good footing as you work.[3]
- Keep people and pets well away from the work area. Once you begin cutting and splitting, check behind you frequently to make sure no one is approaching.
Advertisement -
3Cut whole logs into uniform “rounds.” First, measure the dimensions of your fireplace, furnace, or any other area where you will burn wood. Then subtract three inches (7.6 cm) from either its length or width, based on how the wood needs to be inserted into that space. Use this figure to measure and mark where to cut each whole log. Divide them into rounds of equal length with a saw or ax.[4] [5]
- Since wood shrinks as it dries, some people prefer to cut larger-than-needed rounds.[6] As a beginner, err on the side of caution and cut smaller pieces until you grow familiar with how much shrinkage to expect.
- If you live in a wet climate, cut even smaller rounds, since these will dry faster.[7]
- Cutting uniform lengths of wood will make stacking them easier.
-
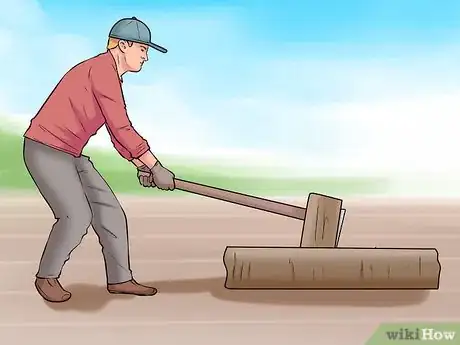
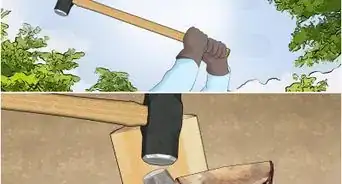
4Split the wood. Place your chopping block on level ground. Set a round on top with a cut side facing up. Saw or chop the round into halves from the top down.[8] Repeat as needed with each subsequent half to create splits of wood that will fit into your fireplace, furnace, or other wood-burner.[9]
- Split the wood at least once even if your wood burner will fit a whole round. Since the wood’s bark seals in moisture, it is critical to expose as much of the inner wood as possible.
- For a quicker drying time, split the wood into smaller pieces than needed.
- Additionally, split the wood into a variety of sizes. Create small pieces for kindling as well as larger pieces that will burn longer.
Stacking Your Split Wood
-
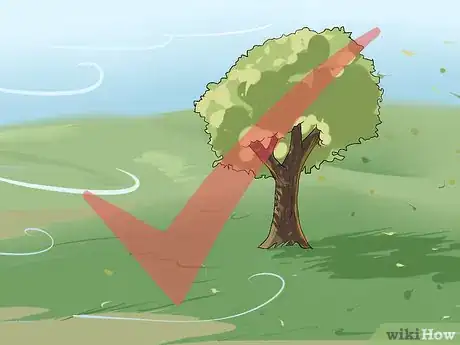
1Choose an area ideal for stacking. Pick an outdoor space that receives little to no shade in order to maximize solar drying. Utilize the air by selecting an area that is open to prevailing winds or other air currents.[10] Avoid areas prone to flooding, runoff, and/or standing water.
- Refer to almanacs or weather stations to determine the direction of your region’s prevailing winds.
- If your land is especially hilly, expect air currents to move up and down the face of hills.
-
2Map out your row(s). If possible, plan to stack your wood in a single row, with the cut ends receiving the strongest air currents head-on.[11] [12] Favor this method over multiple rows. Enable all of your wood to receive equal air circulation.
- If space does not permit one long row of wood, space your row as far apart from each other as possible to allow the most airflow between them.
-
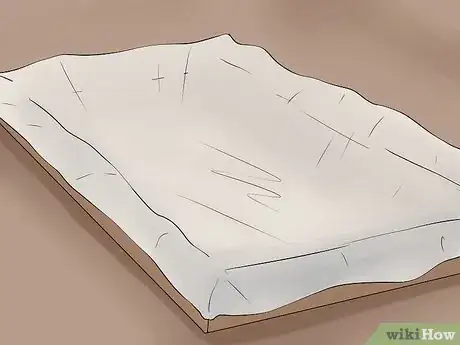
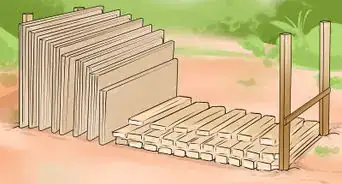
3Create a raised bed. Keep your firewood off bare ground. Avoid rot from moisture that collects below. Use material that won’t absorb water, such as concrete or a grid made of poles laid horizontally.[13] In a pinch, use wooden materials like pallets or lumber that you have no other use for.[14] Make the bed as level as possible for safer stacking.
- If you use wood, line the top of the bed with tarps, plastic sheeting, or similar materials to block the transfer of moisture from the wood underneath to the wood on top. At the same time, create drainage holes in the materials so water doesn't pool on top.
-
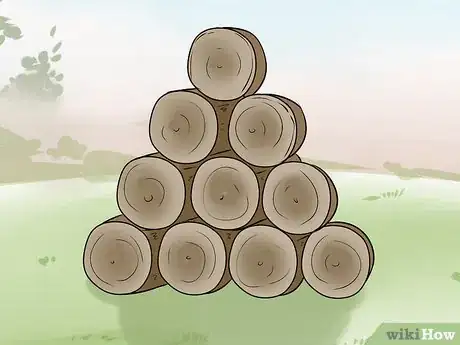
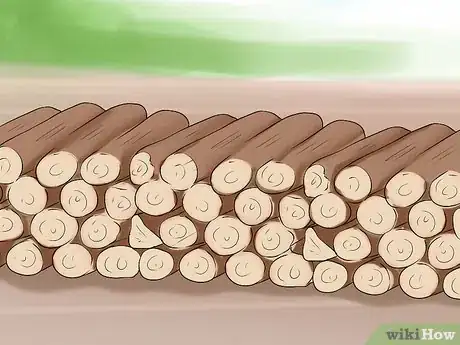
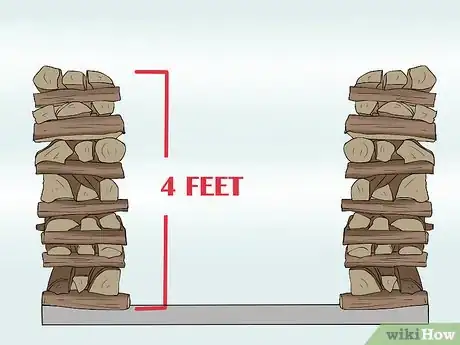
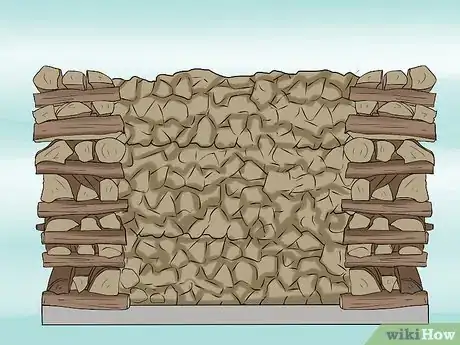
4Build bookends. First, begin your row by placing the bottom layer of split wood along the length of the raised bed. Arrange each piece so that all of the cut ends face the same direction. Then, at either end of your row, create a second layer with the cut ends facing the opposite direction. Continue building up both ends of your row by alternating the direction that each layer faces in order to create stable bookends.[15]
- You can either build the ends all at once or build them as you go. If you build them all at once, stop once they are approximately four feet (1.2 m) high.[16] This way, the top of the pile will still be below head-level for most adults in the event of collapse.
- Use your “best” pieces for the bookends. With each piece of wood, check all sides for evenness. Discard any that noticeably tapers from one end to the other. Such pieces may result in a less stable structure.
- Keep the bark of each piece facing up. Since bark resists moisture, this will help shelter the exposed wood from rainfall.[17]
-
5Stack your wood in layers. Begin your second layer in between the bookends. Arrange the cut ends so they face the same direction as the bottom layer’s. Set each piece so that it covers two pieces in the bottom layer by straddling where the two bottom pieces meet.[18] Repeat until the pile reaches four feet (1.2 m) high.[19]
- Place each piece with the bark facing up to shelter the exposed wood from rain.
- Use smaller pieces to fill gaps, when needed, for stability.
- Leave gaps as they are for better airflow if the layer is strong enough to support the next.
-
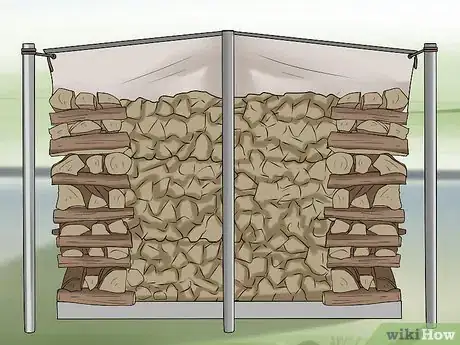
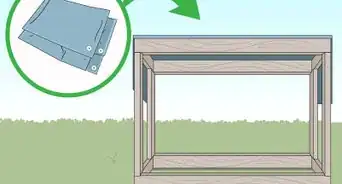
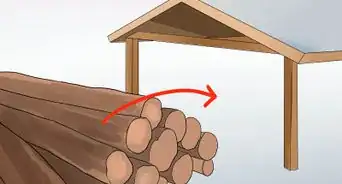
6Cover if desired. Decide whether you are fine with leaving the pile as is or if you want to protect if from rainfall. If you decide to cover it, use black or clear plastic sheeting.[20] For best results, support the sheeting with materials other than the pile itself (such as stakes or poles) so they don’t come into contact.[21]
- Direct contact between the sheeting and wood allows the wood to absorb condensation from the plastic. It also reduces airflow and could result in tears in the plastic due to friction.
- Black materials absorb heat and accelerate evaporation. Clear materials allow direct sunlight.
- Unless you have a lot of rainfall and/or a very short drying season, leaving your pile uncovered should still result in dry firewood by the time you need it.[22]
Testing for Dryness
-
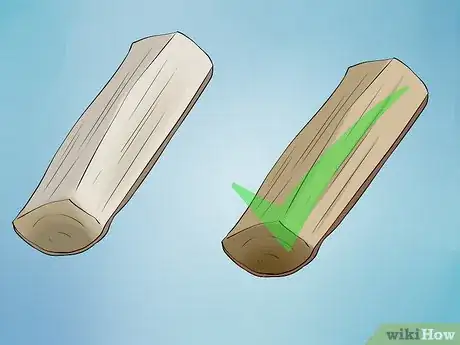
1Inspect the color. Although the exact shade of wood’s color varies from species to species, expect your wood to grow darker as it dries. When you first split the wood, note how bright it is on the inside. Wait for the relatively white wood to fade into a yellow or grayish color before burning.[23]
-
2Smell for sap. When you first split your wood, hold a piece up to your nose and breathe in deep. Familiarize yourself with the smell of its sap. Then, when you’re ready to burn wood, select a test piece from your pile. Split it open and take a whiff. If you still detect sap, place it back in the pile for further drying.[24]
-
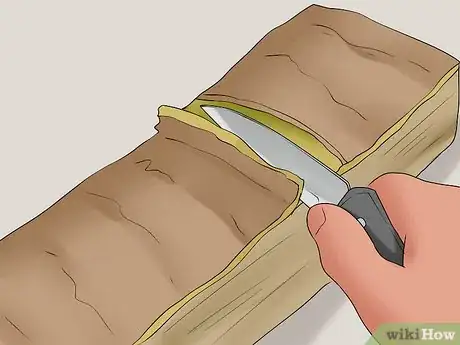
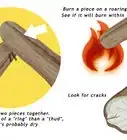
3Test the bark. If most or all of the bark has fallen off on its own, consider the wood safe for burning. If not, slice the bark off with a knife. Inspect the wood immediately underneath. Allow any pieces that appear greenish more time to dry before using.[25]
-
4Judge by density. When you first split the wood, note how heavy each piece feels. Expect the same piece to weigh considerably less once it loses its water weight. To double-check that it is has dried, knock two pieces together. If they sound hollow, consider them dried.[26]
-
5Build a fire. If you are still unsure, assemble a few pieces for a test fire. If either the kindling or the larger pieces refuse to catch fire, give them more time to dry, since they are obviously still too wet. If they do catch, listen for hissing, which indicates the presence of water.[27]
Community Q&A
-
QuestionWhat types of firewood dry fastest?
 Community AnswerThe more porous the wood fibers, the faster it will dry. Examples of faster drying wood include maple and ash, and, I would venture to say, cedar and pine.
 -
QuestionCan I store wood in builders sacks?
 Community AnswerAir-drying wood is preferred, ensuring that there is no/limited exposure to rain (a cover on top of a pile of wood suffices, usually). Sometimes its a good idea to wait a few months and the shift the wood around giving it equal exposure to air and sunshine where possible. Also worth checking whether the wood is from the same trees. Some trees are extremely moist or harder to dry out. Saying that, if you have in general enough fresh air or even wind exposure to the wood, then any wood will dry up quickly. Some people wait more than a year before using wood for burning. However, some types of wood dry extremely fast, so it's simply a matter of checking.
Things You’ll Need
- Outdoor space (both for cutting and for stacking)
- Measuring tape
- Saw and/or ax
- Chopping block
- Raised bed (concrete, poles, or wood)
- Plastic sheeting (optional)
References
- ↑ http://www.woodheat.org/preparing-fuel-supply.html
- ↑ http://www.motherearthnews.com/homesteading-and-livestock/self-reliance/seasoning-firewood-tips-ze0z1411zdeh?pageid=2#PageContent2
- ↑ https://m.stihlusa.com/information/how-to-guides/firewood-tips/
- ↑ http://www.woodheat.org/preparing-fuel-supply.html
- ↑ http://www.motherearthnews.com/homesteading-and-livestock/stacking-wood-zmaz94onzraw?pageid=5#PageContent5
- ↑ http://www.wood-database.com/wood-articles/drying-wood-at-home/
- ↑ http://www2.dnr.cornell.edu/ext/info/pubs/Harvesting/CC%20Accelerated%20Seasoning%20of%20Firewood.pdf
- ↑ http://www2.dnr.cornell.edu/ext/info/pubs/Harvesting/CC%20Accelerated%20Seasoning%20of%20Firewood.pdf
- ↑ http://www.woodheat.org/preparing-fuel-supply.html
- ↑ http://www.motherearthnews.com/homesteading-and-livestock/stacking-wood-zmaz94onzraw?pageid=2#PageContent2
- ↑ http://www.woodheat.org/preparing-fuel-supply.html
- ↑ http://www.motherearthnews.com/homesteading-and-livestock/stacking-wood-zmaz94onzraw?pageid=2#PageContent2
- ↑ http://www.motherearthnews.com/homesteading-and-livestock/stacking-wood-zmaz94onzraw?pageid=3#PageContent3
- ↑ http://www.motherearthnews.com/homesteading-and-livestock/stacking-wood-zmaz94onzraw?pageid=4#PageContent4
- ↑ http://www.woodheat.org/stacking-firewood.html
- ↑ http://www.woodheat.org/preparing-fuel-supply.html
- ↑ http://www.motherearthnews.com/homesteading-and-livestock/stacking-wood-zmaz94onzraw?pageid=3#PageContent3
- ↑ http://www.motherearthnews.com/homesteading-and-livestock/stacking-wood-zmaz94onzraw?pageid=3#PageContent3
- ↑ http://www.woodheat.org/preparing-fuel-supply.html
- ↑ http://www.motherearthnews.com/homesteading-and-livestock/stacking-wood-zmaz94onzraw?pageid=3#PageContent3
- ↑ http://www2.dnr.cornell.edu/ext/info/pubs/Harvesting/CC%20Accelerated%20Seasoning%20of%20Firewood.pdf
- ↑ http://www.woodheat.org/preparing-fuel-supply.html
- ↑ http://www.motherearthnews.com/homesteading-and-livestock/self-reliance/seasoning-firewood-tips-ze0z1411zdeh?pageid=2#PageContent2
- ↑ http://www.motherearthnews.com/homesteading-and-livestock/self-reliance/seasoning-firewood-tips-ze0z1411zdeh?pageid=2#PageContent2
- ↑ http://www.motherearthnews.com/homesteading-and-livestock/self-reliance/seasoning-firewood-tips-ze0z1411zdeh?pageid=2#PageContent2
- ↑ http://www.motherearthnews.com/homesteading-and-livestock/self-reliance/seasoning-firewood-tips-ze0z1411zdeh?pageid=2#PageContent2
- ↑ http://www.motherearthnews.com/homesteading-and-livestock/self-reliance/seasoning-firewood-tips-ze0z1411zdeh?pageid=2#PageContent2
About This Article
To dry firewood, start by choosing a sunny outdoor space that receives little to no shade. Next, create a raised bed with a pallet or lumber and stack your wood on the bed in a single row with the cut ends receiving the strongest air currents head-on. Keep the bark of each piece facing up, since bark resists moisture. Then, create bookends with your best pieces before beginning your second layer. As you're stacking, don't forget to leave gaps to allow for additional air-flow! For tips on creating bookends, read on!
