This article was co-authored by April Ferri. April Ferri is a Professional Hair Stylist and the Co-Owner of Widows Peak Salon, a hair salon based in Los Angeles, California. With over ten years of experience, April specializes in hair coloring and enhancing and transforming natural tones into vibrant shades for beautiful and low maintenance hair. Her work has been featured in Voyage LA Magazine, and she has worked as a stylist for LA Fashion Week.
There are 11 references cited in this article, which can be found at the bottom of the page.
This article has been viewed 45,342 times.
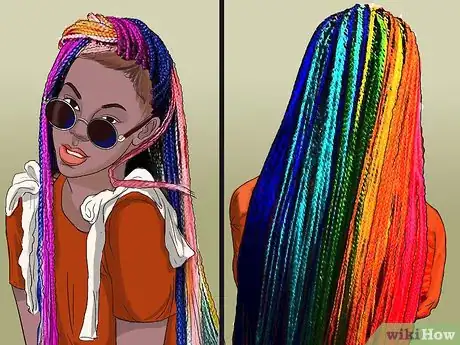
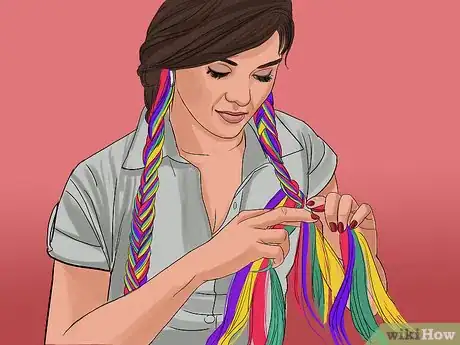
Braids look great on their own, but they’re even more fun when color is added to them. Dyeing synthetic braids is a fairly simple process. You just need rubbing alcohol, acrylic ink, and a spray bottle. Then, you can pick a method of dyeing that is easiest for you—whether it be spraying or dipping braids in color. If you’re dealing with natural hair, hair dye should be used instead of acrylic ink.
Steps
Dyeing Synthetic Hair with a Spray Bottle
-
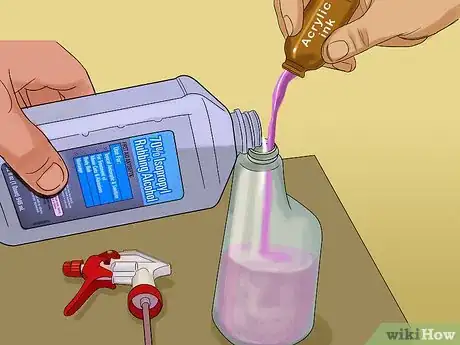
1Mix 3 parts rubbing alcohol and 1-part ink in a spray bottle. Pour 3 parts 70% or more rubbing alcohol and 1-part acrylic ink in the color of your choice in a clean spray bottle. The acrylic ink can be bought at most craft stores. Gently shake the bottle to mix the ink and alcohol together.[1]
- You can also mix another color in another bottle if you plan to dye the braids more than one color.
- Use less water if you want a more vibrant color.
-
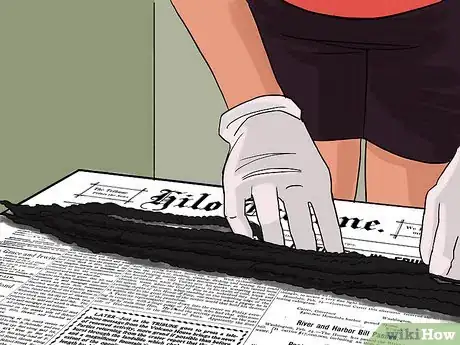
2Lay the braids flat on a flat surface. Put newspaper, plastic, or an old towel on a flat surface to protect the surface from the ink. Lay the braids out completely flat. None of the braids should be bent up or the dye job could come out uneven.[2]
- Put on gloves before you begin to dye the braids.
Advertisement -
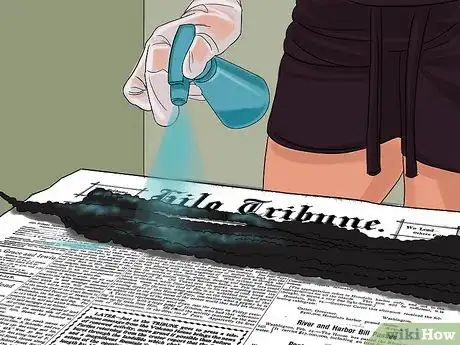
3Spray the braids with the ink mixture. Once the mixture has been created, begin to spray the braids. If you want to dye all of the braids, thoroughly saturate them all the way through. If you only want to dye the ends, spray only the bottom of the braids. Flip the braids over and repeat on the back when you’ve sprayed the front of the braids.[3]
- If you want to add color to natural hair, then dye your hair first. It may not be safe to put the acrylic ink on your natural hair otherwise.
-
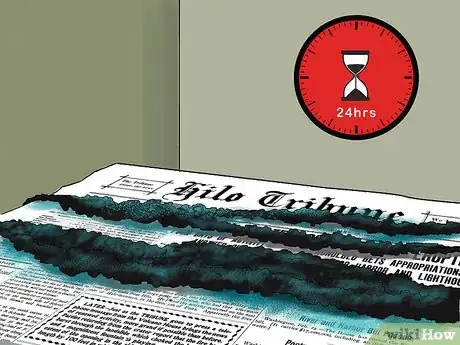
4Let hair sit for twelve to twenty-four hours. Be sure that you’ve sprayed enough ink onto the braids before allowing them to dry. Every part of the hair that you want dyed should be saturated with color. Dye the braids before attaching them to your head and keep them on the flat surface to dry for the next twelve to twenty-four hours. The color of the braids will be more saturated the longer you allow them to sit.[4]
-
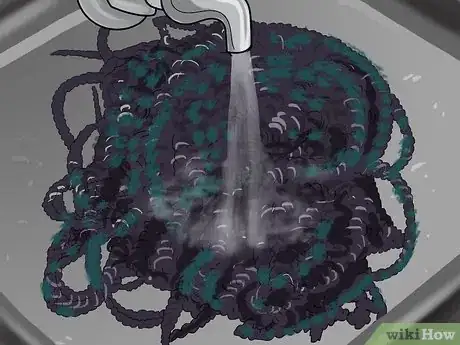
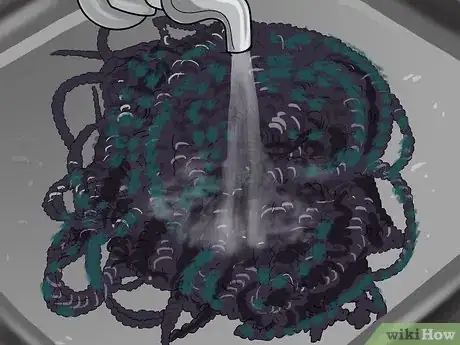
5Rinse the braids with cold water. After drying the braids, rinse them under cold water. This will remove any excess ink. Then, hang them or lay them out flat to air dry. The drying process usually takes 3 to 4 hours, though it may be longer.[5]
Dyeing Synthetic Braids Multiple Colors
-
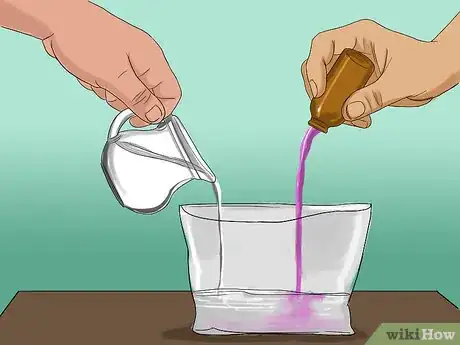
1Mix water and ink in plastic bowls. Pour about one cup (236 mL) of water into a large plastic bowl. If you want a more saturated color, use less water. Then, pour a full 1-ounce bottle (29.6 mL) of ink into the bowl. You can add another half bottle of ink for a darker color. Use a wooden spoon to mix the water and ink. Repeat the process with another bowl and color of ink for the second color.
- You can mix inks to create your own color.
-
2Fold the braids in half. Secure the braid with a rubber band when you fold the braids in half. Folding the braids in half will allow each end to be one color and the middle of the hair to be another color. If you want the color to turn out differently, fold the braids at another place rather than in half.
-
3Dip one end of the braids in a plastic bowl. This should be either the middle or the ends of the hair. Think where you’d like each color to be on the braids before dipping them. After you’ve dipped the braids in, leave out the end of hair you don’t want dyed. Allow it to sit for 15 minutes.
-
4Dip the other end of the braids in another bowl. After 15 minutes, remove the braids from the first color. Let the braids drip dry for a moment and then put the other end of the braids in the other plastic bowl. Do not let the side of the braid that has already been colored interact with the second color. Let the braids sit for 15 minutes and then remove from the bowl.
- If you want some overlap in color, insert a little bit of the first color into the dye.
-
5Rinse the braids. Rinse the braids under cold water. Keep them under the water until it runs clear. Then, lay them out flat to dry. The braids will typically take 3 to 4 hours to dry, but they may take longer.
Dyeing Natural Braids with Hair Dye
-
1Go to the salon if you don’t have experience dyeing hair. It is typically not recommended to dye hair on your own unless you have professional experience. If you’re wanting a big change in color, make an appointment with a hair stylist if possible. It’s okay if you do not have the funds to go to a professional. Just take every precaution possible during the dyeing process.[6]
- If you decide to dye your own hair and mess it up, you can always call a professional to fix it. However, keep in mind that color correction services are typically more expensive than having your hair professionally dyed.
-
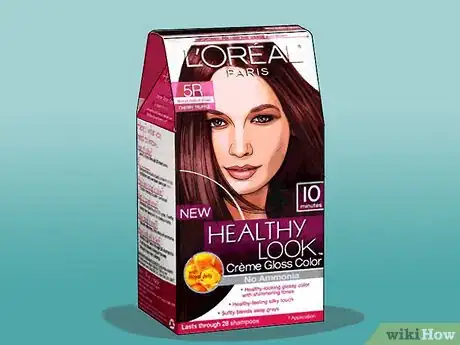
2Buy boxed color. You can buy boxed color at your local beauty store or at most supermarkets with a beauty section. Look at the box and see what hair colors are recommended to use that particular product. You can buy semi-permanent hair dye or temporary hair dye, which will last one to a few days.[7]
- Buy two boxes of color if you have long and/or thick hair.
-
3Use multiple colors on your hair. If you want multiple colors in your hair, buy multiple boxes of different colors. The application process is the same as dyeing your hair one color. But instead of dyeing all or one part of your hair one color, you would apply different colors to different sections of hair.
-
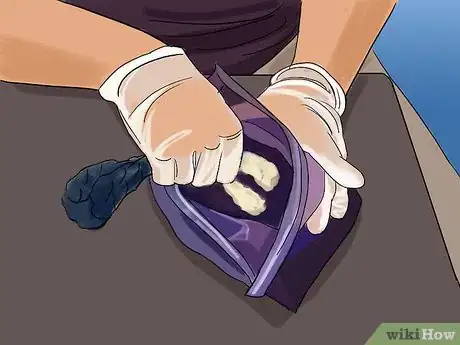
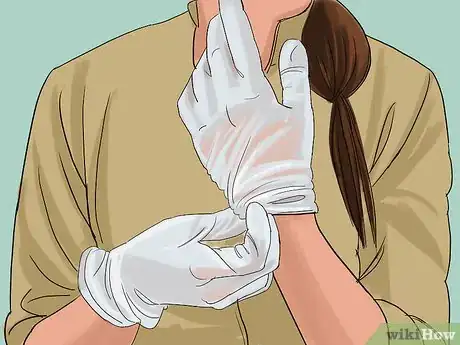
4Protect yours clothes and hands from the color. Hair color can stain both skin and clothes. Put on an old shirt you don’t care about or put on a plastic smock. Many boxed colors will come with gloves, but if not, buy a pair of plastic or rubber gloves. Put on the gloves before handling the color.[8]
-
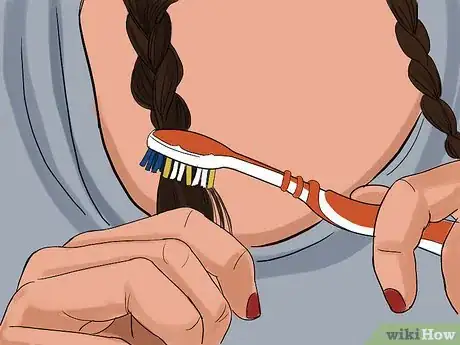
5Test a strand of your hair. You may not like how the color looks on your hair, so it is best to find out before fully committing to the color. Squirt a small amount of color onto the applicator brush. Use that brush to apply the color to a small, hidden section of hair. Wait the recommended amount of time, rinse, and then dry to see the results.[9]
-
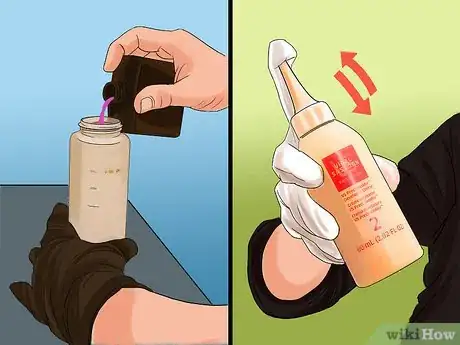
6Mix the color. This may not be necessary if the dye is ready for application straight out of the bottle. If it does need to be mixed, you will have a bottle of dye and developer. Pour the developer into the bottle of color. Shake the bottle to mix.[10]
- The box will need to say if it doesn’t need to be mixed.
-
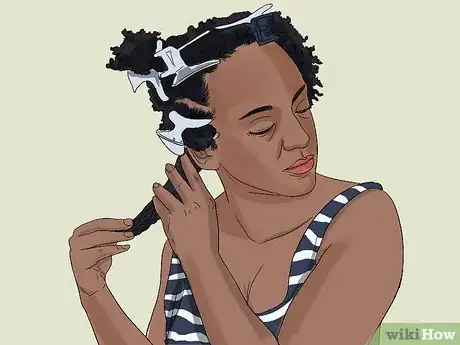
7Use clips to separate sections of hair. Use clips or hair ties to separate your hair into four sections. Separate your hair into two front sections and two back sections. This will make it easier to apply color to your hair.[11]
-
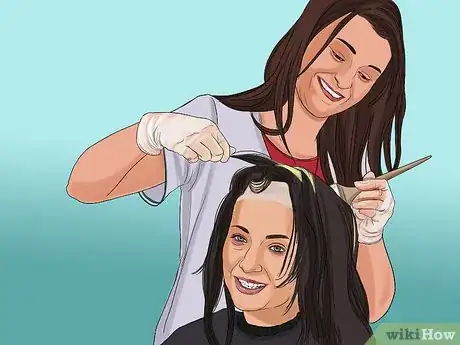
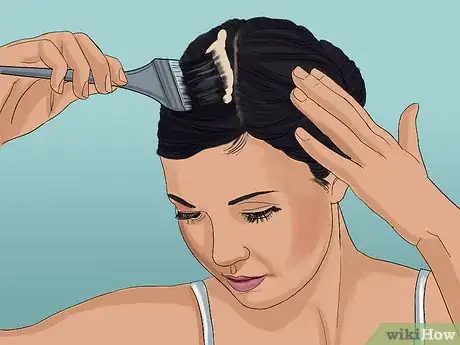
8Apply the color with a brush. Squirt some of the dye onto the applicator brush. Begin to apply the dye to the first section of hair. Reapply color to the brush if necessary. Continue to apply the color until the section is saturated with color. Repeat the process with the next three sections.[12]
-
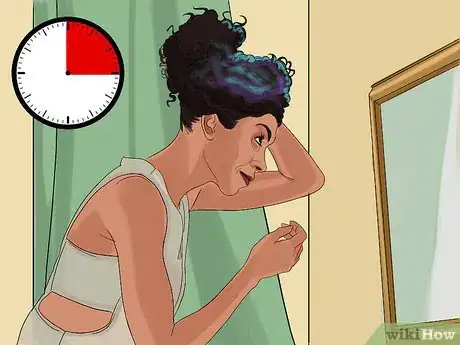
9Wait for the color to take. The instructions that came with your dye will indicate how long you should leave the dye on for. If you do not see a recommended amount of dye, check your progress after 15 minutes. Leave the color on for another 10 to 15 minutes if the color doesn’t look as vibrant as desired.[13]
- Keep in mind that the shade of your hair will affect how vibrant the color looks. If you have very dark hair, then the color will not be as vibrant as it would be if you had light hair and dyed it.
-
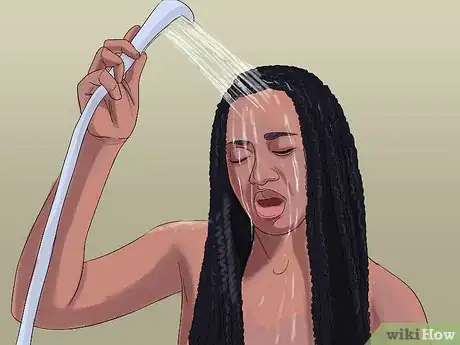
10Rinse out the color. After the recommended amount of time, rinse out the dye. The easiest way to do this is to get in the shower. Do not shampoo your hair, but it is good to condition your hair while in the shower. Make sure the color has been completely rinsed out before getting out of the shower. Then, blow dry or air dry your hair to see the results.[14]
- Many boxed dyes will come with a packet of conditioner.
-
11Braid your hair. Now that your hair has been colored, braid it! Braid your hair any way that you desire, from pigtails to a crown braid. Your freshly colored hair will enhance the beauty of the braids.
Warnings
- Do not use acrylic ink to dye natural hair. If you’re dyeing natural hair, use semi-permanent or permanent hair dye.⧼thumbs_response⧽
Things You’ll Need
For Synthetic Hair
- 70% or more rubbing alcohol
- Plastic or rubber gloves
- Spray bottle
- Rubber band
- Synthetic braids
- Large bowls or other containers for mixing
- Blow dryer (optional)
For Natural Hair
- Boxed dye
- Gloves
- Applicator bottle
- Applicator brush
- Old t-shirt or smock
- Hair clips or hair ties
References
- ↑ https://www.youtube.com/watch?v=cG7fUmxD7dY&feature=youtu.be&t=1m11s
- ↑ https://www.youtube.com/watch?v=cG7fUmxD7dY&feature=youtu.be&t=1m41s
- ↑ https://www.youtube.com/watch?v=cG7fUmxD7dY&feature=youtu.be&t=1m50s
- ↑ https://www.youtube.com/watch?v=cG7fUmxD7dY&feature=youtu.be&t=2m11s
- ↑ https://www.youtube.com/watch?v=cG7fUmxD7dY&feature=youtu.be&t=2m14s
- ↑ http://www.goodhousekeeping.com/beauty/hair/g2754/haircolor-hacks-at-home/?slide=1
- ↑ http://www.goodhousekeeping.com/beauty/hair/g2754/haircolor-hacks-at-home/?slide=2
- ↑ http://www.goodhousekeeping.com/beauty/hair/g2754/haircolor-hacks-at-home/?slide=4
- ↑ http://www.goodhousekeeping.com/beauty/hair/g2754/haircolor-hacks-at-home/?slide=3
- ↑ http://www.goodhousekeeping.com/beauty/hair/g2754/haircolor-hacks-at-home/?slide=4
- ↑ http://www.oprah.com/style/how-to-dye-hair-at-home/all
- ↑ http://www.oprah.com/style/how-to-dye-hair-at-home/all
- ↑ http://www.oprah.com/style/how-to-dye-hair-at-home/all
- ↑ http://www.goodhousekeeping.com/beauty/hair/g2754/haircolor-hacks-at-home/?slide=14
