This article was co-authored by Bess Ruff, MA. Bess Ruff is a Geography PhD student at Florida State University. She received her MA in Environmental Science and Management from the University of California, Santa Barbara in 2016. She has conducted survey work for marine spatial planning projects in the Caribbean and provided research support as a graduate fellow for the Sustainable Fisheries Group.
This article has been viewed 43,312 times.
Using a small power source and some electrodes, you can separate molecules of water into hydrogen and oxygen. The process is simple and can be achieved using a few household items. The process of electrolysis is a good way to produce hydrogen and is an exciting new option for renewable energy sources.[1]
Steps
Electrolyzing the Water
-
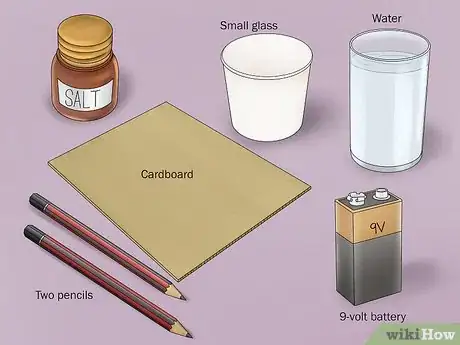
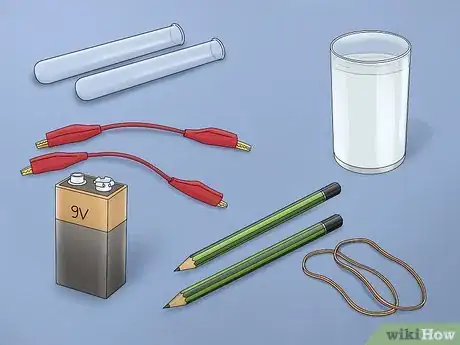
1Gather the necessary materials. Separating hydrogen and oxygen is done through the simple process of electrolysis. To do this experiment, you will need a 9-volt battery, a battery clip with alligator clamps attached to the end of each wire, 2 number 2 pencils, a small glass, water, a small piece of cardboard, and baking soda or salt.[2]
- Most of these items can easily be found around the home.
- Battery clips with end-attached alligator clamps can be found at electronics stores or superstores.
-
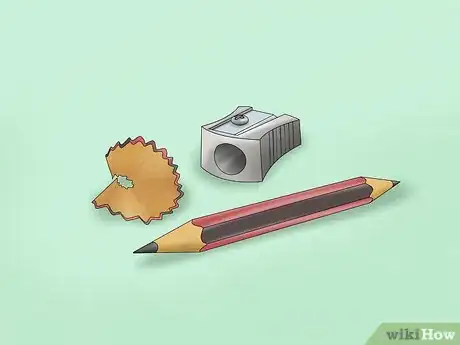
2Remove the eraser and sharpen both ends of each pencil. Pencils have graphite inside of them and these will serve as the electrodes for the experiment. Electrodes will conduct the electricity into the water and cause the molecules to break apart.
- Sharpen the ends so that the graphite is well-exposed on both ends of each pencil.
Advertisement -
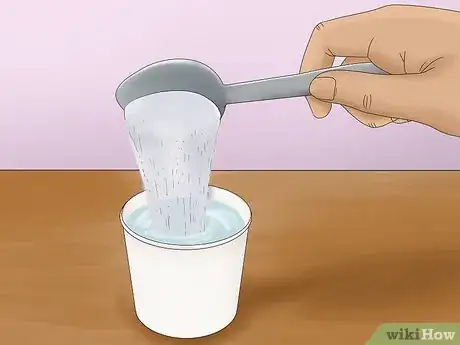
3Dissolve salt or baking soda in water. By adding salt or baking soda to the water, you increase the conduction of electricity through the water. Add a cup of warm water to your glass and a tablespoon of salt or baking soda.[3]
- Stir until the powder is fully dissolved.
- If you add salt, the reaction will be different than just electrolyzing pure water. As the molecules of water break apart, hydrogen gas will be formed, and oxygen will combine with the sodium ions to form hydroxyl ions and the chlorine in the salt will form a chlorine gas. (Please note that chlorine gas is highly toxic)
- If you add baking soda, the gases that form are hydrogen, oxygen, and carbon dioxide.[4]
-
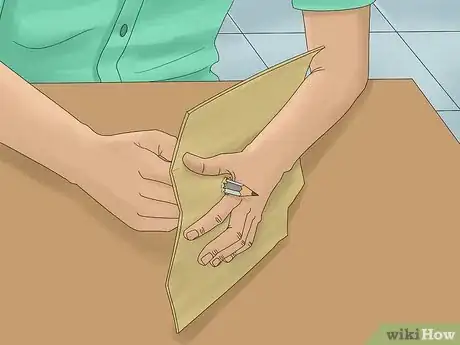
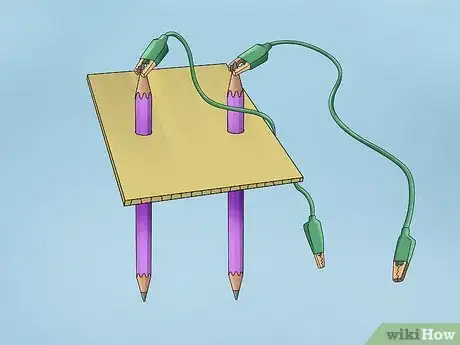
4Push the pencils through the cardboard. Make 2 holes in the cardboard about 1⁄2 inch (13 mm) apart by pushing the pencils through. Position them so that the cardboard is about halfway down the pencils. If the pencils are not secure, tape them to the cardboard.[5]
- Cut the cardboard so that it hangs over the top of the glass container with your mixture. Position it on top of the container so that the pencils dangle just above the bottom.
- Make sure the pencils are not touching each other.
-
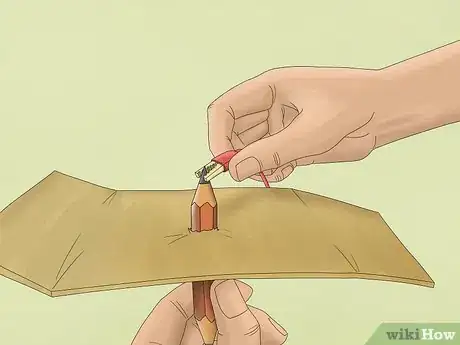
5Attach one alligator clamp to the top end of each pencil. At this point, you should have the two pencils sticking out of the glass with the bottoms submerged in the water. Attach one alligator clamp from the battery clip to the graphite portion of each pencil.
- It doesn’t matter which clamp you attach to which pencil.
-
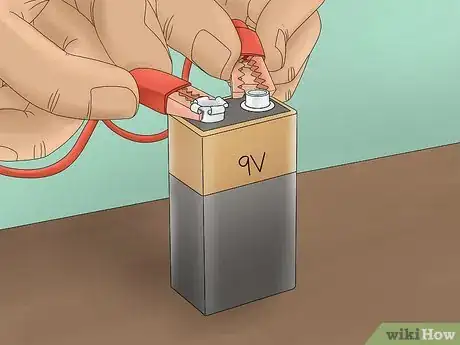
6Attach the battery clip to the 9-volt battery. After you have everything set up and ready to go, you can connect the electricity. Attaching the clip will cause a current to run through your system. Once the battery is attached, you will see bubbles forming at the ends of the pencils submerged in the water.[6]
- The bubbles produced are bubbles of hydrogen and chlorine gas. The oxygen combines with the sodium to form hydroxyl ions and the remaining chlorine forms a gas.
Collecting the Hydrogen
-
1Gather the necessary materials. It is one thing to just show electrolysis working, but you may also want to collect the hydrogen gas produced. In order to collect the gases, you will use a similar set up to the one in the first part, but you will also need 2 test plastic test tubes and rubber bands/tape to hold them in place. You’ll need a container larger than a glass for this; a small plastic food container works really well.[7]
- You’ll also need the same supplies as above: 2 number 2 pencils, 9-volt battery, battery clip with alligator clamps, and water.
-
2Set up the electrolysis system. This setup will be slightly different because both of the pencils will be completely submerged in the container. Sharpen both ends of each pencil so that the pencil is shorter than the length of the test tube. Attach an alligator clamp to one end of each pencil. Tape the alligator clamps to the bottom of the container so that the pencils stick straight up into the air.[8]
- Position the pencils in the clamp so that the tips don’t touch the bottom of the container.
-
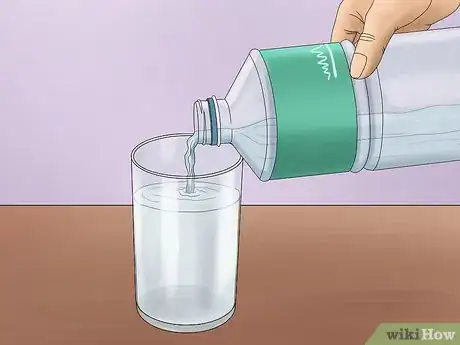
3Fill the container with warm water. If you want pure hydrogen and oxygen, add only baking soda to the mixture. If you are just interested in collecting hydrogen gas, you can add salt, but know that the reaction will produce hydrogen and chlorine gas from the salt.
- The oxygen atoms will combine with the sodium and available hydrogen ions to form sodium hydroxide.
-
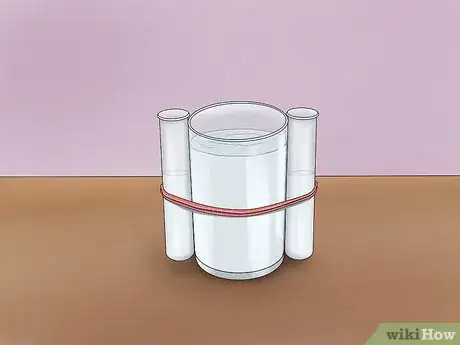
4Position the test tubes in the container. Place the test tubes upside down in the container and tilt them so that they fill completely with the solution. Once they are completely full, attach them face-up to the outside of the container with rubber bands or tape.[9]
- It’s very important that no bubbles are present in the test tubes.
-
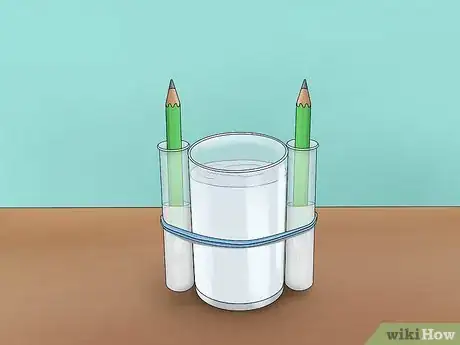
5Slide the free end of one pencil into each tube. At this point, one end of the pencil has a clamp on it and the other is free. Tilt the test tube so that you can slide one pencil into the tube. Repeat this with the second test tube and pencil. If the pencil is touching the end of the test tube, sharpen it down to make it shorter.[10]
- Remember the test tube needs to be completely full of water with no bubbles anywhere.
-
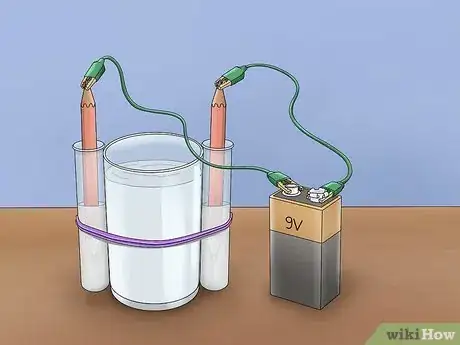
6Attach the battery clip to the battery. When the whole setup has been completed, attach the battery clip to send current running through the system. The pencil that is connected to the negative side of the battery will produce hydrogen, while the pencil connected to the positive side will produce oxygen.[11]
- As the gas is produced, the water in the tube will be displaced and you will have a tube of pure hydrogen and chlorine gas or oxygen.
Community Q&A
-
QuestionIf we don't have test tubes at home, what should we use instead?
 Community AnswerAny clear glass container should work. If you're really desperate, a jam jar could probably work.
References
- ↑ http://energy.gov/eere/fuelcells/hydrogen-production-electrolysis
- ↑ https://www.education.com/science-fair/article/water-electrolysis/
- ↑ https://acswebcontent.acs.org/member_communities/Outreach_Activities.pdf
- ↑ https://www.education.com/science-fair/article/water-electrolysis/
- ↑ https://acswebcontent.acs.org/member_communities/Outreach_Activities.pdf
- ↑ https://www.energy.gov/sites/prod/files/2014/06/f16/solar_electrolysisofwater.pdf
- ↑ https://www.youtube.com/watch?v=8CtOrF2ENJg
- ↑ https://www.youtube.com/watch?v=8CtOrF2ENJg
- ↑ https://www.youtube.com/watch?v=8CtOrF2ENJg
