wikiHow is a “wiki,” similar to Wikipedia, which means that many of our articles are co-written by multiple authors. To create this article, 15 people, some anonymous, worked to edit and improve it over time.
The wikiHow Tech Team also followed the article's instructions and verified that they work.
This article has been viewed 376,822 times.
Learn more...
Emailing pictures from a smartphone is quite easy. You will normally use two apps, one for the email and one for browsing your gallery of pictures. If you are using an Android phone, you can use the Gmail app and the Photos app (or any other photo gallery app that you use to see photos in your phone). If you are using an iPhone, you will be using the Mail app and the Photos App.
Steps
Using Android
-
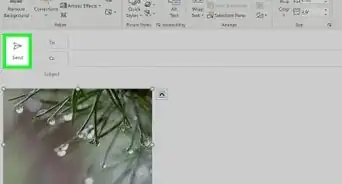
1Make sure that the photo you’re trying to email is saved onto your phone. Open all controls by tapping the white arrow in the bottom left. Tap into your gallery and open the picture.
-
2Tap the Share icon and choose your desired email. The share icon is two small arrows with one circle between them. After tapping the share icon, you are given a number of options, depending on the digital accounts associated with the phone.
- Digital accounts include email and social media accounts.
Advertisement -
3Select the photos you want to email. After choosing your email option, you will be brought to a screen where you can navigate through the phone's photos. Select images by gently tapping on the image you want to send.
- Images not taken with the phone's camera, such as ones that you have downloaded or received via Bluetooth, may be in a folder named DCIM. Unless otherwise set, images taken directly on your phone’s camera may go directly to a Photos app.
- You are able to send multiple images by checking them all off consecutively.
-
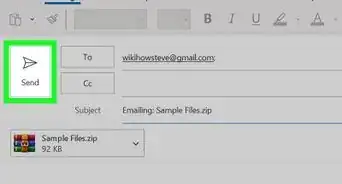
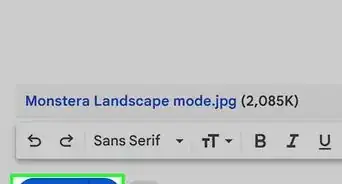
4Tap the next button after picking your photographs. This will carry the chosen photos into a new window, where they will be attached to an email.
-
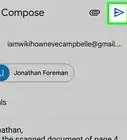
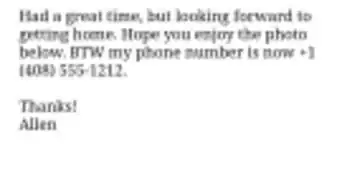
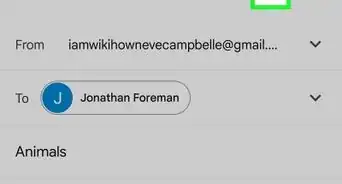
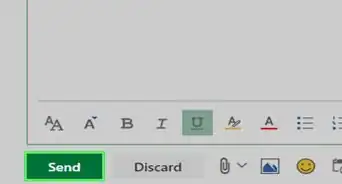
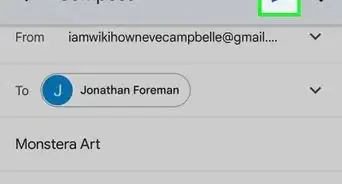
5Compose your email message and send. By tapping on the fields, enter an email contact and a message if desired. You can also add a subject here.
- When typing in the email address field, save time by tapping the “.com” button.


Using iPhone iOS
-
1Open your photo app and find the picture(s) you want to email. The photo app is an icon that looks similar to a multi-colored flower. Scroll up in down by stroking the screen.[1]
-
2
-
3Click the share symbol and attach to your mail. The share symbol is at the bottom left of the screen and looks like a square with an arrow pointing upwards. After tapping the share option, tap “Email photos”.[4]
- Some iPhones require you to tap "Next" and then "Mail".
- Repeat these steps until all the pictures you want to email are attached.
-
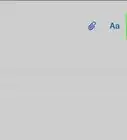
4Construct your email. After you click on the mail icon, a new message will appear. Write the body of the email and fill out the subject.
- If you are using iOS 8 or higher, move the cursor down to the body of the email, where you'd normally add a memo, information, or other various texts. Hold down in that area, until a magnifying glass pops up. Release your finger from the screen, and a black menu should show up with options for "select" and "select all".
- To the right of the black bar, press the arrow pointing to the right. "Quote Level" and "Insert Photo or Video" options should appear after pressing the arrow. Tap "Insert Photo or Video."
-
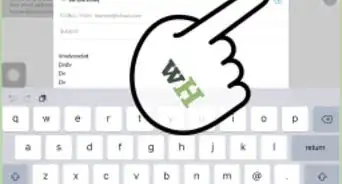
5Add contacts. Click on the “To:” field if your cursor is not already on it. Type in who you want to send your message to.[5]
- Click on the contacts symbol in the right side of the field to add directly from your contacts list. The “contacts” symbol looks like a blue circle with a blue plus sign.[6]
- Continue to add contacts to “CC/BCC” fields if needed.
-
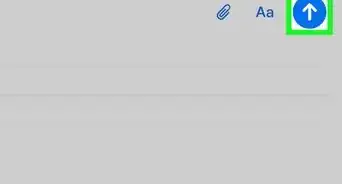
6Send your email. Once all pictures are attached, select send at the top right corner of the screen.[7]
- Edit your email before sending to ensure that you have the correct photos, recipients, and text.


Community Q&A
-
QuestionWhat does "compose email" mean?
 Community AnswerIt means write a new email.
 -
QuestionWhat should I write in the "compose" section?Community AnswerMaybe a brief description of the picture in case the receiver needs clarification.
-
QuestionHow do I put the pictures side-by-side?
 Community AnswerYou can't. The images are arranged automatically.
Warnings
- Limit the number of pictures you send depending on the capability of your device.⧼thumbs_response⧽
- Double check the recipients before sending as you don’t want to send inappropriate personal photos to coworkers.⧼thumbs_response⧽
-Step-53.webp)
References
- ↑ http://www.imore.com/iphone-101-email-photo-nonmms-iphone
- ↑ http://www.imore.com/iphone-101-email-photo-nonmms-iphone
- ↑ http://www.imore.com/iphone-101-email-photo-nonmms-iphone
- ↑ http://www.imore.com/iphone-101-email-photo-nonmms-iphone
- ↑ http://www.imore.com/iphone-101-email-photo-nonmms-iphone
- ↑ http://www.imore.com/iphone-101-email-photo-nonmms-iphone
- ↑ http://www.imore.com/iphone-101-email-photo-nonmms-iphone
About This Article
1. Open your photo gallery.
2. Tap the photo.
3. Tap the sharing icon.
4. Select your email app.
5. Enter the recipient's email address.
6. Enter a subject and message.
7. Tap the Send button.