This article was co-authored by Joanna Kula. Joanna Kula is a Licensed Esthetician, Owner and Founder of Skin Devotee Facial Studio in Philadelphia. With over 10 years of experience in skincare, Joanna specializes in transformative facial treatments to help clients achieve a lifetime of healthy, beautiful, and radiant skin. She is also a contributing author for the prestigious Les Nouvelles Esthetiques & Spa magazine and has been featured in a number of magazines including InStyle.
wikiHow marks an article as reader-approved once it receives enough positive feedback. In this case, 100% of readers who voted found the article helpful, earning it our reader-approved status.
This article has been viewed 770,840 times.
Getting regular facials can help keep your skin healthy and glowing. But going to a spa or esthetician for a professional facial can be expensive. Fortunately, you can get similar results by exfoliating, steaming, and using a face mask at home. The key is understanding the correct order to do each step and using the right products for your skin type so you end up with clear, bright skin.
Steps
Cleansing and Exfoliating Your Face
-
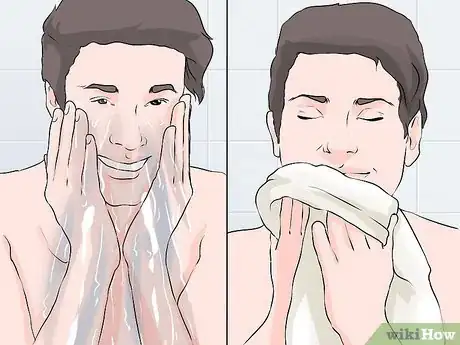
1Cleanse your face. It’s important to start with a clean face before you exfoliate. Wet your face with warm water, and massage a cleanser that fits your skin type into your skin. Rinse off the cleanser with lukewarm water.[1]
- You can pat your face with a clean towel so it’s not dripping but it’s not necessary to dry it completely. You want your skin to be slightly damp when you exfoliate.
- For oily skin, choose an oil-free gel or foaming formula that will remove excess oils and deep clean your pores.
- For dry skin, choose a cream or oil-based formula that will cleanse your skin without stripping it of moisture.
- For sensitive skin, choose a fragrance-free, non-irritating cream formula.
- For acne-prone skin, choose an oil-free formula with acne fighting ingredients, such as salicylic acid.
-
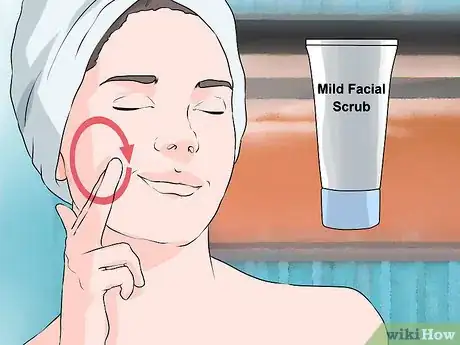
2Apply a gentle scrub. Once your face is clean, take a small amount of a mild facial scrub and rub it over your face. Massage it into your skin in upward circular motions for 30 seconds to 1 minute, paying special attention to areas where the skin is especially rough, dry, or prone to clogged pores.[2]
- Opt for a facial scrub that contains gentle microbeads rather that crushed fruit or nut shells. It will be less likely to irritate your skin.
- If you have oily or acne-prone skin, you can exfoliate two to three times a week.
- If you have normal or combination skin, you can exfoliate up to two times a week.
- If you have dry or sensitive skin, you shouldn’t exfoliate more than once a week.
Advertisement -
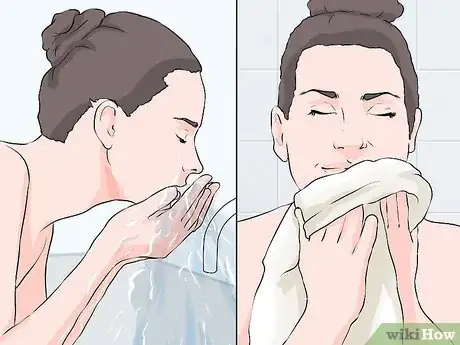
3Rinse your face with water and pat dry. After you’ve massaged the facial scrub into your skin, splash your face with warm water to wash it off. Make sure to remove all of the residue before patting your face dry with a clean towel.[3]
- If you want to exfoliate without steaming and using a mask, follow up the scrub with your usual serum and/or moisturizer.
Steaming Your Face
-
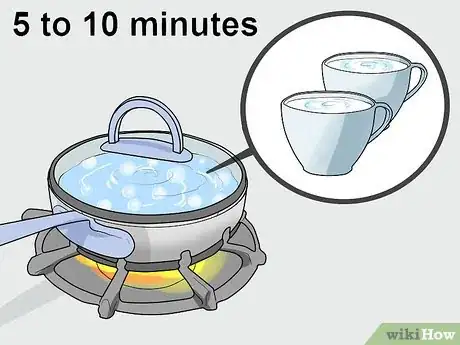
1Bring some water to a boil in a pot. Fill a large saucepan with 1 to 2 cups (237 ml to 473 ml) of water, and place it on the stove. Turn the heat to high, and allow the water to come to a complete boil, which should take 5 to 10 minutes.[4]
- If you prefer, you can boil the water in a tea kettle.
-
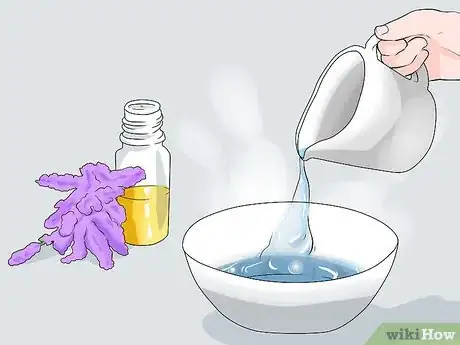
2Pour the water into a bowl and add essential oils. Once the water comes to a boil, remove it from the stove. Carefully transfer the water to a large bowl, and mix in the essential oils of your choice. Allow the water to steep with the oils for a minute or so.[5]
- For dry or mature skin, add rose and/or jasmine essential oils to the water to soften your skin.
- For acne prone skin, add tea tree and/or rosemary oil to the water for their antibacterial properties.
- For combination skin, add grapefruit oil to the water to help balance your skin.
- For sensitive skin, add geranium and/or lavender oil to the water to help soothe your skin.
- You can also add eucalyptus oil to the water if you’re having trouble with allergies or a cold. It can help with congestion.
-
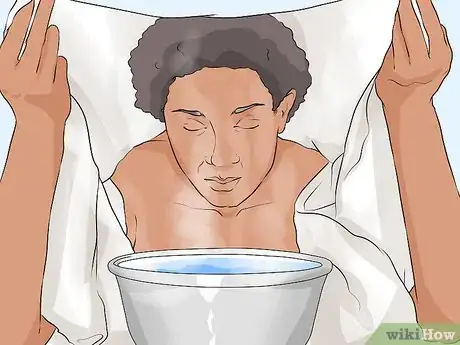
3Drape a towel over your head and hold your face over the bowl. When the water and oil have steeped for a couple of minutes, place a large towel over your head. Move your head over the bowl so your face is approximately 5 to 10 inches (13 to 25 cm) from the steam.[6]
- Make sure that the towel is covering your head and the area around the bowl, so the steam is trapped and focused on your face.
- Be careful not to move your face too close to the steam or you may burn your skin.
EXPERT TIPJoanna Kula is a Licensed Esthetician, Owner and Founder of Skin Devotee Facial Studio in Philadelphia. With over 10 years of experience in skincare, Joanna specializes in transformative facial treatments to help clients achieve a lifetime of healthy, beautiful, and radiant skin. She is also a contributing author for the prestigious Les Nouvelles Esthetiques & Spa magazine and has been featured in a number of magazines including InStyle.Licensed Esthetician
 Joanna Kula
Licensed EstheticianTry using your face wash along with the steam to get your skin ultra-clean. Joanna Kula, Lead Esthetician at Rescue Spa PA, says: "Steam is a great way to deep clean and purify your skin. First, do a gentle cleanse without the steam to remove dirt, makeup, and oil. Then, add the steam and wash your face again, but this time, spend a few minutes massaging in your cleanser."
-
4Steam your face in intervals. Hold your face over the steam for 90 seconds to 2 minutes. Take a 1 to 2 minute break, and then return your face to the steam. Repeat the process for a total of 5 2-minute steaming sessions.[7]
- If you find that your skin is getting too hot or starts to feel like it’s burning, immediately stop steaming your face.
-
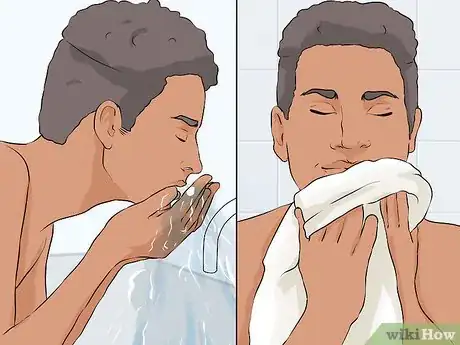
5Rinse your face and pat dry. When you’re done steaming your skin, splash your face with warm water to rinse it. Pat your face dry with a clean towel so it’s ready for a mask.[8]
- If you plan use a clay mask next, it’s not necessary to dry your face completely.
Applying a Facial Mask
-
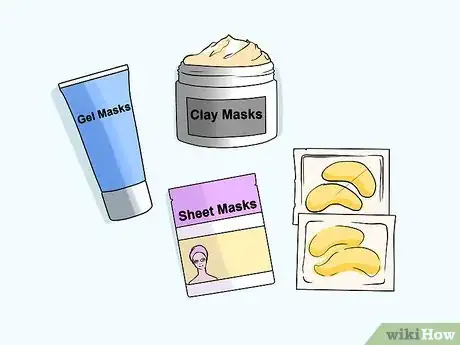
1Select a mask that matches your skin type. Just as with your facial cleanser, it’s important to choose a face mask that suits your skin type. You can choose from among clay, gel, cream, and sheet masks that remove excess oil, treat acne, hydrate, brighten, and soothe the skin.[9]
- Clay-based masks are best for oily and acne-prone skin because they absorb excess oil and deep clean the pores. They can also tighten enlarged pores.
- Hydrating cream masks are best for dry, dehydrated, or mature skin. They typically contain oils that add moisture to the skin.
- Gel masks are good for most skin types, including sensitive skin. They are usually oil-free but can still hydrate and soothe the skin.
- Sheet masks are thin cloth or paper masks that are saturated with liquid ingredients that treat a variety of skin issues. You can find hydrating, exfoliating, and brightening formulas.
-
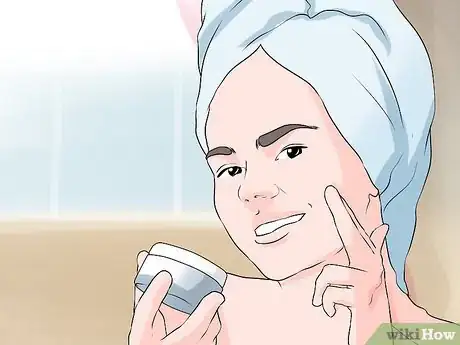
2Smooth the mask over your face and let it dry. Once you’ve chosen a mask, carefully apply it to your face with clean fingers. You can also spread it over your neck and decollete if you like. Allow it to dry according to the instructions on the packaging. In most cases, you’ll need to leave the mask on for 10 to 20 minutes.[10]
- If you prefer, you can apply the mask to your face with a brush. A flat synthetic foundation brush works well.
- Follow the instructions on the mask’s packaging to determine how thick or thin a layer you should apply.
- If you’re using a sheet mask, remove it from the packaging and place it over your face. Press it down gently to ensure that it’s adhering to your skin. To keep it from falling off, it’s best to lie down when you’re wearing a sheet mask.
-
3Wash the mask off with water and pat dry. When the mask has dried, splash your face with warm water to remove it. It may help to dampen a washcloth to remove it, especially if you’re using a clay mask. Use a clean towel to pat your face dry.[11]
- Consult the mask’s packaging to be sure that you’re using the proper procedure for removing your mask.
- If you’re using a sheet mask, there’s no need to rinse it off. Remove the sheet to dispose of it, and rub the liquid residue into your skin until it’s absorbed.
-
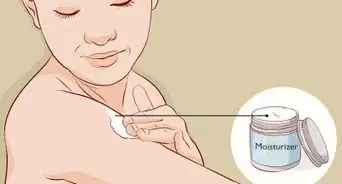
4Apply your usual moisturizer. After you’ve removed the mask, splash your face with cool water and dry your face once more. Massage your usual serum and/or moisturizer over your skin for healthy, glowing skin.[12]
- You can use a toner before you apply the moisturizer if you want.
Community Q&A
-
QuestionShould I steam and then exfoliate?
 Community AnswerYes, this is a good idea. Steam opens up your pores while exfoliating cleans out the dirt in them, so the two in sequence are a very effective cleansing method.
 -
QuestionThis is the first time I'm giving myself a facial and I'm not sure if I should use the clay mask or the other one. What should I do?
 Midnight_HeiressCommunity AnswerDifferent types of facials act as remedies for different dermatological conditions or concerns. Your skin type also is important to take into consideration when choosing a facial.
 -
QuestionAbove it says to wash/cleanse, exfoliate, steam, face mask, and wash. But the response to a Q&A says to steam THEN exfoliate. Which is it?
 Community AnswerYou should steam and then exfoliate so as to reap the full benefits. Steaming and then exfoliating allows the pores to be fully cleaned as steaming would open the pores up, allowing the exfoliating to clean the dirt in the pores better.
Warnings
- Don’t place your face too close to the water when you’re steaming. The steam can burn your skin just as the boiling water can.⧼thumbs_response⧽
- If you have any type of skin irritation or trauma, such as severe acne, dermatitis, inflammation, or rosacea, don’t steam your face. You may wind up irritating your skin further.⧼thumbs_response⧽
- Use caution when handling the boiling water. It’s very easy to burn your skin.⧼thumbs_response⧽
Things You’ll Need
- A facial cleanser
- A clean towel
- A pot
- Water
- A large bowl
- Essential oils
- A large towel
- A mask
- A washcloth
- A moisturizer
References
- ↑ http://www.xovain.com/skin/at-home-facial
- ↑ http://www.huffingtonpost.com/2015/05/12/exfoliate-face-how-to_n_2528493.html
- ↑ http://www.huffingtonpost.com/2015/05/12/exfoliate-face-how-to_n_2528493.html
- ↑ https://www.ebony.com/do-it-yourself-at-home-steam-facial/#axzz4SdSUx1Jh
- ↑ https://www.ebony.com/do-it-yourself-at-home-steam-facial/#axzz4SdSUx1Jh
- ↑ https://www.ebony.com/do-it-yourself-at-home-steam-facial/#axzz4SdSUx1Jh
- ↑ https://www.ebony.com/do-it-yourself-at-home-steam-facial/#axzz4SdSUx1Jh
- ↑ http://www.xovain.com/skin/at-home-facial
- ↑ http://blog.reneerouleau.com/what-type-of-facial-mask-is-best-for-my-skin/
About This Article
To exfoliate, steam, and use face masks for an at-home facial, start by pouring boiling water into a bowl and adding some essential oils. Then, hold your face over the bowl with a towel draped over your head for 5 intervals of 2 minutes to open your pores. Next, rub a gentle facial scrub over your face in small circles for 1 minute, which will remove rough, dry skin. After you’ve rinsed it off and patted your skin dry, apply a mask and allow it to dry for 10 minutes so it can brighten and soothe your skin. Finally, rinse off the mask and apply your regular moisturizer. For tips on how to pick the right products for specific skin problems, like acne or dryness, read on!








-Step-12-Version-3.webp)


