This article was co-authored by Mia Rubie and by wikiHow staff writer, Jessica Gibson. Mia Rubie is a Nail Artist and the Owner of Sparkle San Francisco, a nail studio based in San Francisco, California. She has over eight years of nail artist and management experience and is known for her push-the-envelope designs and artistic eye for colors. Her clients include Sephora, Target, and Vogue. Her work has been featured in the San Francisco Chronicle and StyleCaster. She holds a BBA focusing on Entrepreneurial and Small Business Operations from San Francisco State University. You can find her work on her Instagram account @superflynails.
wikiHow marks an article as reader-approved once it receives enough positive feedback. In this case, 85% of readers who voted found the article helpful, earning it our reader-approved status.
This article has been viewed 134,033 times.
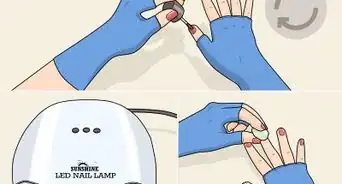
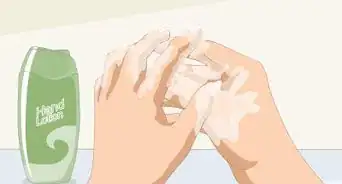
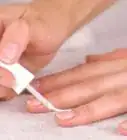
If your nails are growing out but you don't want to go to the salon for a while, fill your nails at home! Purchase a nail fill kit from the beauty supply store or pick up the tools you need to fill your own acrylic or gel nails. Remove the top layer of acrylic paint or gel before you buff or file the nails. Once the surface of your nails is clean, fill the gap with acrylic mixture or gel primer. Let the nail dry before you apply your nail polish.
Steps
Preparing Your Nails
-
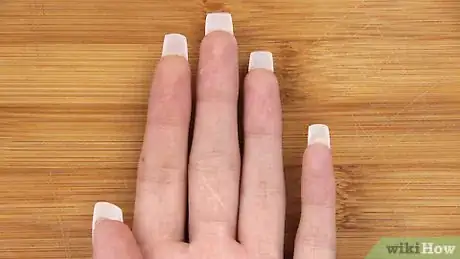
1Fill your nails every 2 to 3 weeks. Because the natural nails underneath your acrylic nails will continue to grow, a gap between your cuticle and acrylic nail will begin to show within 2 or 3 weeks.
- You'll need to fill your nails more frequently if they grow out faster.
-
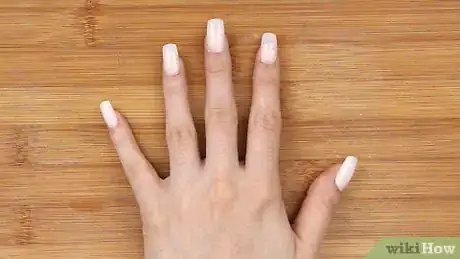
2Use nail polish remover to remove the old paint. Dip a cotton ball in non-acetone nail polish remover. Press the soaked cotton ball directly on your nails. Rub the cotton ball over each nail until the old nail polish is removed.
- Avoid using acetone-based nail polish removers, which could damage the acrylics.
Advertisement -
3Wash and dry your nails. Wash your nails with soap and water to remove any traces of the nail polish remover. Use a dry cotton ball or soft towel to completely dry the nails.
- Cleaning the nails can help prevent infection.
Filling Acrylic Nails
-
1Use a nail buffer to smooth the excess acrylic. Rub a buffer over the bumpy end of the acrylic where it meets your natural nail. Continue to buff the nail until the top layer of your nail is smooth. Ensure that you only smooth the acrylic and not your natural nail.[1]
-
2Apply 1 to 3 coats of nail primer. Dip a brush into your nail primer and spread 1 drop over the natural part of your nail. Let the primer dry completely before adding 1 to 2 more coats, if desired. The primer will protect your nail and make the polish go on more smoothly.
- Avoid getting nail primer on your finger or cuticles because it can burn or irritate the skin.
-
3Combine acrylic powder with acrylic liquid on the end of a brush. Place acrylic liquid in 1 small dish and acrylic powder in another. Dip an acrylic nail brush into the liquid and dab it into the acrylic powder. Repeat this 4 to 5 times, so a bead of acrylic mixture forms on the end of the brush. You can use this mixture to fill your nails.
-
4Spread the acrylic mixture on the natural part of your nails. Dip an acrylic nail brush into the mixture, so 1 drop is on the end of the brush. Dab the drop of acrylic mixture in the middle of your natural nail and use the brush to tap it evenly across your natural nail. Use the sides of the brush to fill in the corners and near the cuticle. Pull the excess acrylic mixture down the nail so it smoothly covers the existing acrylic nail.[2]
- If you apply too much acrylic mixture, it will be difficult to spread evenly. Use the cotton swab with nail polish remover to wipe away the acrylic fill mixture and try again.
-
5Let your filled nails air dry. It can take for 5 to 20 minutes for your nails to dry completely. Avoid smudging your nails while they're drying.
-
6Buff or file your nails until they're smooth. Use a nail file or nail buffer to smooth and shape the ends of your nails. If you like, you can also buff the surface of your nails so they're smooth.[3]
-
7Apply 1 to 3 coats of paint to the nails. Spread a base coat on the acrylic nails and let it dry completely before you apply the nail polish. This could take 25 to 30 minutes, depending on the type of polish you use. For a brighter color or stronger nail, you can paint another 1 to 2 coats. Once the colored coats have dried, brush on a top coat to protect your nails.
Filling Gel Nails
-
1File the top layer of the gel nails. To prevent layers of gel from building up, use a 180-grit file to smooth out the top layer of gel. Try to remove just the top layer of gel. Repeat this for each nail.[4]
-
2Buff the gel nail where it meets the natural nail. Take a superfine file or fine-grit buffer and brush it over the bumpy line where the gel nail meets your natural nail. Keep buffing until there's no bump and the nail is smooth.[5]
- You shouldn't see any shine on the nails once you've finished buffing.
-
3Wipe your nails clean with a lint-free wipe dipped in rubbing alcohol. Wipe the rubbing alcohol over each nail to get rid of any dust. Cleaning the nail will prepare it for the new coat of gel paint.
-
4Use a nail brush to spread gel primer on each nail. Dip your brush in the gel primer and dab a drop-sized amount in the center of the natural nail near the cuticle. Tap the primer evenly around the rest of the natural nail and then pull the brush down across the gel nail.
-
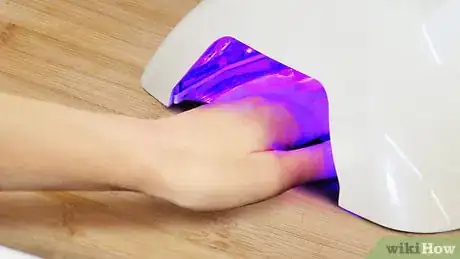
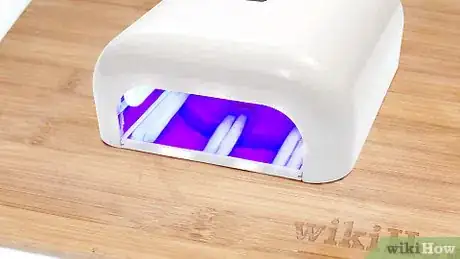
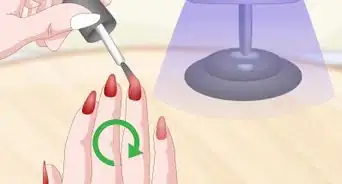
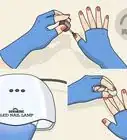
5Cure your fingernails for 1 minute under a UV light. Place your nails under a UV light for 1 minute to cure the primer. Since a UV light is the only way to truly cure the gel polish, you'll need to simply let the nails dry if you don't have the light. Let the nails dry for 25 to 30 minutes before applying another coat.[6]
-
6Apply 1 to 3 coats of gel nail polish. Dab a little gel nail polish in the center of your nail towards the cuticle. Use the brush to coat the entire nail so a thin layer of polish covers the nail.
- If you notice a sticky or tacky surface, dip a cotton ball in rubbing alcohol and brush it over the nails to remove the sticky texture.
-
7Dry the nails completely under UV light for 3 minutes between coats. If you like, you can finish with a top coat to protect the gel nails.
Community Q&A
-
QuestionWhen should I get my nails filled?
 Drew Hawkins1Community AnswerIf you already have your nails filled, you should get them refilled every 2-3 weeks. Your natural nails underneath will form a gap between your cuticle and the acrylic nail after about 2 or 3 weeks of growth. Depending on how fast your natural nails grow, you'll want to get them filled so the nail beneath isn't visible.
 -
QuestionWhat does it mean to get a fill on your nails?
 Drew Hawkins1Community AnswerIf you have acrylic nails, eventually they'll grow out with your natural fingernails. Getting a fill on your nails refers to having the gap between the acrylic nail and your own cuticle filled in so it isn't visible. The acrylic edge connected to your nail is filed down and the empty space is filled in with an acrylic mixture.
 -
QuestionWhat do they do to fill in acrylic nails?
 Drew Hawkins1Community AnswerTo fill in acrylic nails, the edge where the acrylic nail connects to the natural nail beneath it is filed down so it's smooth. Then, an acrylic mixture is applied to the gap to close it in. When the solution dries, there isn't a visible gap between the acrylic nail and your natural nail.
Things You'll Need
Filling Acrylic Nails
- Nail buffer
- Acrylic fill mixture
- Acrylic brush
- Nail polish
- Non-acetone nail polish remover
- Cotton balls
- Clean towel
- Nail primer
- Nail file
Filling Gel Nails
- Acetone nail polish remover
- Cotton balls
- Cuticle pusher
- Clean towel
- 180-grit nail file
- Superfine file or fine-grit buffer
- Lint-free wipe
- Rubbing alcohol
- Gel nail polish
- UV nail lamp
References
- ↑ Mia Rubie. Nail Artist. Expert Interview. 23 April 2020.
- ↑ https://youtu.be/ehYc9dNiXnE?t=194
- ↑ Mia Rubie. Nail Artist. Expert Interview. 23 April 2020.
- ↑ Mia Rubie. Nail Artist. Expert Interview. 23 April 2020.
- ↑ http://www.nailsplash.com/page/gelnails#3
- ↑ http://www.nailsplash.com/page/gelnails#3
About This Article
To fill your nails at home, you’ll need to remove the old paint and apply new layers of primer and paint. Start by rubbing off your old paint with nail polish remover. Once your nails are clean and dry, use a nail buffer to smooth out the excess acrylic or gel. Then, brush 1 to 3 coats of nail primer or gel primer onto your nails. If you’re using gel primer, leave them to dry for 30 minutes. If you’re using acrylic, let the primer dry for 10 minutes, then spread acrylic mixture on top. You’ll also want to buff your nails smooth if you’re using acrylic. Finally, paint your nails with 1 to 3 coats of nail polish. For more tips, including how to cure gel nails with a UV light, read on!
