This article was co-authored by Chad Zani. Chad Zani is the Director of Franchising at Detail Garage, an automotive detailing company with locations around the U.S. and Sweden. Chad is based in the Los Angeles, California area and uses his passion for auto detailing to teach others how to do so as he grows his company nationwide.
There are 8 references cited in this article, which can be found at the bottom of the page.
This article has been viewed 59,334 times.
When you store your car outside and uncovered frequently, you might notice some areas of the paint start to look a little sun faded. Don’t worry about paying for a whole new paint job—we have good news for you! There’s actually a pretty simple way to restore the faded paint’s color and brightness all on your own with a few car detailing supplies. It’ll take some time and a lot of elbow grease, but it’s an affordable and effective way to reverse the effects of sun exposure.
Steps
Washing and Using a Clay Bar
-
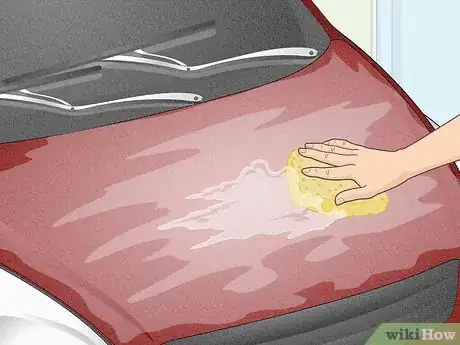
1Wash your car thoroughly with car washing soap and a car washing sponge. Fill a bucket with water and add 1-2 oz (29.5-59 mL) of car washing soap. Spray your car down all over using a hose. Dip your sponge into the bucket of soapy water and scrub your car all over. Rinse off the soap suds with your hose to leave your car nice and clean.[1]
- Use a microfiber cloth or a microfiber or a foam hand pad to reduce scratches.
- If it’s hot out, work in small sections and rinse off each section as you go, so the soap suds don’t dry on your car and leave streaky residue.
- Always wash your car before you perform any detailing work. Otherwise, you can end up rubbing bits of dirt and debris into the paint and making it look even worse!
-
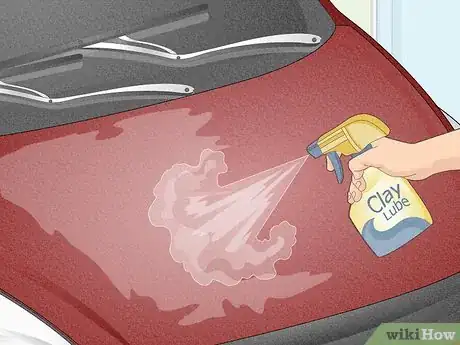
2Spray the faded areas of paint liberally with an automotive clay lube. Point the nozzle of a bottle of clay lube directly at the paint. Squeeze the spray bottle’s trigger and move the nozzle around until the entire faded area is covered in lube.[2]
- Automotive clay lube is a special lube for use with automotive clay bars, which are special resin bars used to remove micro contaminants from the surface of your car’s paint.
- The lube is important because it helps the clay slide smoothly across the paint while it picks up dirt, so you don’t scratch the paint.
- Purchase clay lube and an automotive clay bar online or wherever they sell auto detailing supplies near you.
Advertisement -
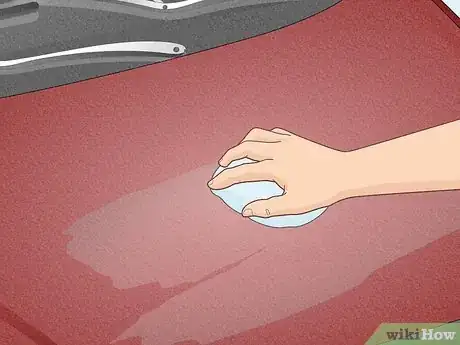
3Rub an automotive clay bar over the faded areas to remove micro dirt. Stretch the clay bar out into a hand-sized puck. Gently rub the clay across the paint using left to right or up and down motions.#*Use a microfiber cloth or a microfiber or a foam hand pad to reduce scratches.[3]
- Automotive clay bars are also sometimes known as detailing clay.
Buffing and Polishing
-
1Wet an orbital car buffing pad and attach it to an electric buffer. Dip a clean buffing pad in a bucket of clean water or hold it under running water for a few seconds. Attach the wheel to the rotary disc of an electric buffer.[4]
- Working with a damp buffing pad provides some lubrication to help you move it smoothly over the paint.
- Never set the buffing pad face-down or it can pick up dirt and debris and end up scratching your car’s paint.
- All the supplies you need to complete this part of the job are available at home improvement centers, auto detailing supply shops, and online.
-
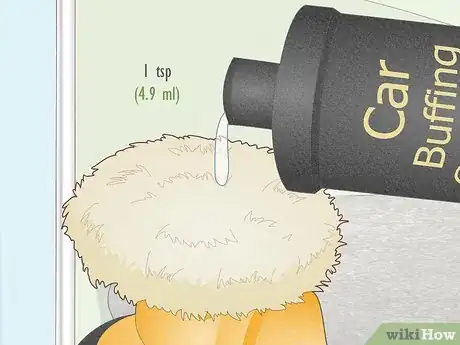
2Apply about 1 tsp (4.9 mL) of car buffing compound to the buffing pad. Put a small dab of buffing compound in the middle of the pad. You can always apply more as you work if you need to, so use the compound sparingly.[5]
- Buffing compound is also known as cutting polish.
- Buffing compound works like a very fine sandpaper to remove imperfections in the paint and expose the undamaged layers beneath the top.
-
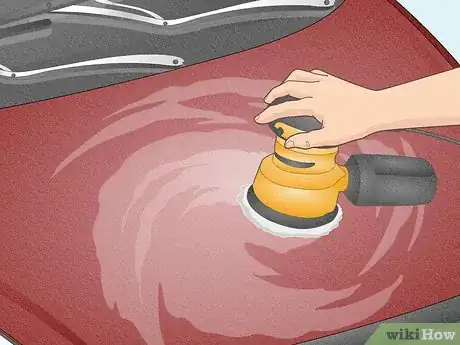
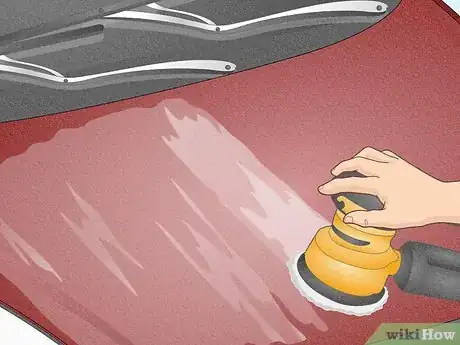
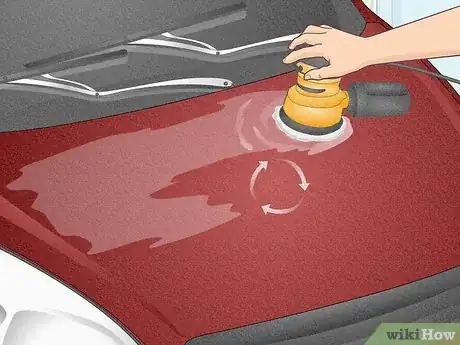
3Polish the faded paint with the buffing compound. Press the buffing pad lightly against the faded area of the paint. Move the buffer over the area you’re working on in even, overlapping strokes. Alternate between using left to right and up and down motions.[6]
- If you’re fixing a large area of sun faded car paint, such as the whole hood of your car, work in small sections of about 2 ft (0.61 m) by 2 ft (0.61 m).
-
4Wipe the compound off the surface with a microfiber cloth when it looks shiny. Rub the microfiber cloth firmly across the buffed area to remove all remaining residue from the buffing compound. Inspect the area to see if the color is restored to all the faded paint and feel it with your hands to check if it’s smooth.[7]
- It helps to get down at eye level with the surface to really make sure that the whole area of paint is all nice and shiny again.
-
5Repeat the process up to 3 times until you're happy with how the paint looks. Put another small dab of compound on the buffing wheel and press it lightly against the paint. Move the electric buffer side to side and up and down, overlapping each stroke, until the paint looks bright and shiny. Wipe off the residue with a microfiber cloth and inspect the surface closely.[8]
- If you see some faint swirls on the surface, don’t worry. You’ll be able to polish them out in the next step.
-
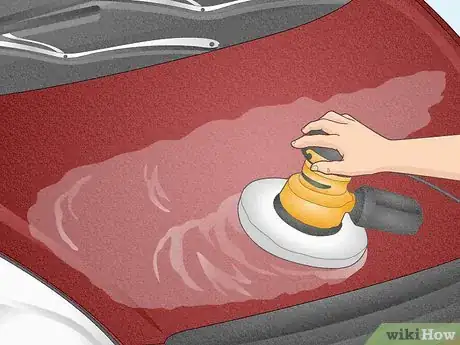
6Apply 1 coat of finishing polish using using a polishing wheel. Remove the buffing pad from your electric buffer and attach a polishing wheel. Put about 1 tsp (4.9 mL) of finishing polish in the middle of the pad and apply it to the surface the same way you applied the compound.[9]
- Finishing polish is always the last step in polishing your car’s paint. It has a high level of shine and works to get rid of light swirls and other minor imperfections left over after buffing the paint with compound.
Waxing
-
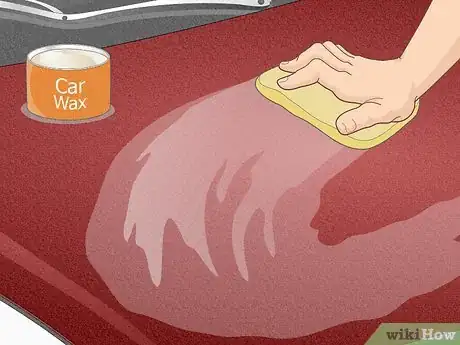
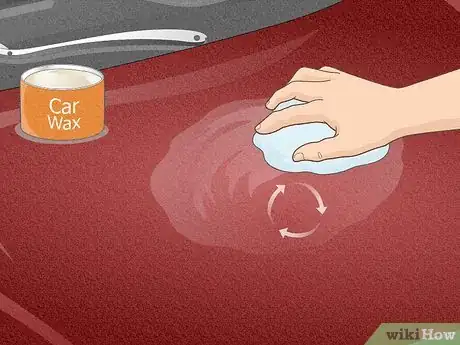
1Rub wax onto the polished area with a microfiber cloth. Pour a small dab of car wax, about the size of a dime or penny, out onto a clean, dry microfiber cloth. Press the cloth with the wax against the area you polished and rub it in circular motions until you cover the whole restored area in wax.[10]
- As an alternative to car wax, use paint sealant and apply it in the same way as you apply wax. Paint sealant is more durable, but wax is shinier.
-
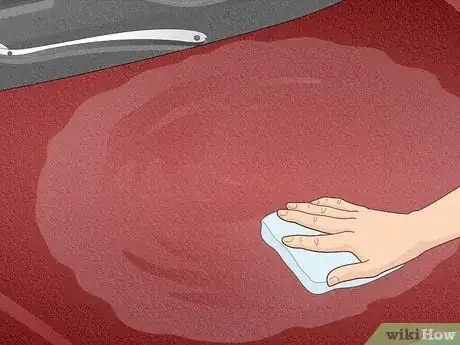
2Buff the wax off with a clean microfiber cloth. Grab another clean, dry microfiber cloth and press it against the waxed surface. Rub it firmly against the surface using circular motions until there is no more wax residue and the surface looks nice and shiny.[11]
- Feel free to stop here if you’re happy with how the finish looks!
-
3Apply additional coats of wax if you want more protection and shine. Repeat the process to apply 1, 2, or even 3 additional coats of wax. The brightness of the paint gets noticeably deeper with every coat.[12]
- To keep the paint protected, reapply wax to your car every 3 months or so. If you chose to use paint sealant instead, reapply it every 3-6 months.
Warnings
- Never buff your car’s paint without washing your car first. Otherwise you might just rub dirt and debris into the paint and scratch it up.⧼thumbs_response⧽
Things You’ll Need
- Car washing soap
- Car washing sponge
- Bucket
- Hose
- Automotive clay bar
- Automotive clay lube
- Car buffing compound
- Electric buffer
- Buffing pads and polishing pads
- Car wax
References
- ↑ https://avalonking.com/blog/the-definitive-guide-to-repairing-fading-car-paint/
- ↑ https://www.youtube.com/watch?v=g3CL04f2NAc&feature=youtu.be&t=105
- ↑ https://www.youtube.com/watch?v=g3CL04f2NAc&feature=youtu.be&t=115
- ↑ https://avalonking.com/blog/the-definitive-guide-to-repairing-fading-car-paint/
- ↑ https://avalonking.com/blog/the-definitive-guide-to-repairing-fading-car-paint/
- ↑ https://www.youtube.com/watch?v=_94wO2Nxgdk&feature=youtu.be&t=120
- ↑ https://www.youtube.com/watch?v=_94wO2Nxgdk&feature=youtu.be&t=145
- ↑ https://avalonking.com/blog/the-definitive-guide-to-repairing-fading-car-paint/
- ↑ https://guidetodetailing.com/damage-repair/how-to-restore-faded-oxidized-paint/
