This article was co-authored by David Julien. David Julien is a DIY Specialist and the Principal Owner at Nice DIY based in Quebec, Canada. David specializes in creating plans to make unique, affordable, and modern home furnishings. He holds a BA in Graphic Design from the University of Quebec Outaouais. Nice DIY uses sustainable and high-quality materials to create products that are simple to make for everyone.
There are 9 references cited in this article, which can be found at the bottom of the page.
This article has been viewed 10,614 times.
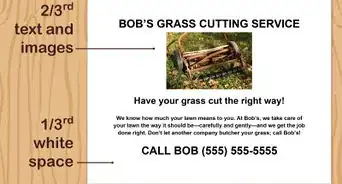
In some cases, you might want to fold a promotional poster to mail it like a brochure. However, in most cases it’s better not to fold posters because it creases them. In this article, we answer some of the top questions people have about folding, rolling, and packing posters. We hope it helps!
Steps
How do you fold a poster like a brochure?
-
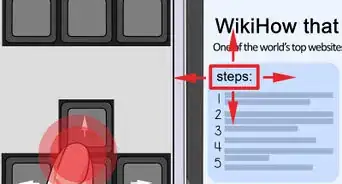
1Start by folding the poster into thirds vertically, accordion-style. Fold the middle 1/3 of the poster back over the first 1/3 of the poster. Fold the last 1/3 of the poster back over the middle 1/3.[1]
- This is called an accordion fold because if you pull the vertical edges in opposite directions, the poster unfolds like an accordion.
- Keep in mind that folding any poster creates creases in it. This is an option if you want to mail some sort of poster as a brochure, but it’s not recommended for collectible posters or art prints.
-
2Next, fold the poster into thirds again horizontally, letter-style. Fold the top 1/3 of the poster down onto the middle 1/3. Finish by folding the bottom 1/3 of the poster up over the middle 1/3.[2]
- This is called a letter fold because it’s the typical way you fold a letter to mail it. It’s also known as a trifold.
- You can fit a poster folded this way into a large envelope if you want to mail it.
How do you flatten a rolled poster?
-
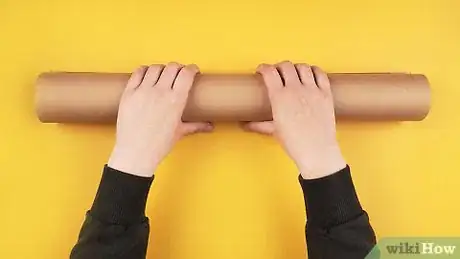
1Roll the poster back on itself for one option. Unroll the poster and wrap the back of the poster around something cylindrical, such as a poster tube. Place a rubber band around the poster and tube to hold the poster in place, then wait 1 hour. Remove the poster.[5]
- If the poster is still curling when you try to lay it flat, repeat the process until you can lay it flat.
-
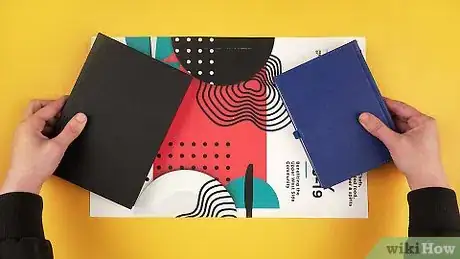
2Lay the poster flat and weigh down the corners for another option. Unroll the poster and lay it flat on a hard, clean surface. Place a flat, heavy object, such as a book, on top of each corner of the poster. Wait 24 hours, then remove the objects and check if the poster is flat.[6]
- If the poster still doesn’t stay flat after being weighed down for 24 hours, repeat the process. Try using heavier objects in the corner if the poster is stubborn.
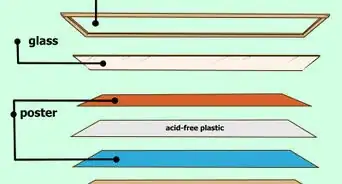
- To hang a poster without a frame, you can use double-sided tape on the back of the poster that does not damage paint.[7]
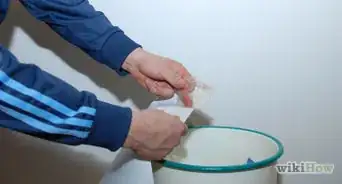
- Put a transparent tape on the corners of the poster.[8]
- Or insert sewing needles in the four corners. It will make tiny holes in the wall that will not be visible.
References
- ↑ https://www.youtube.com/watch?v=lmOleRR4RV8&t=80s
- ↑ https://www.youtube.com/watch?v=lmOleRR4RV8&t=83s
- ↑ https://www.youtube.com/watch?v=fOgWuLhUaRc&t=75s
- ↑ https://www.youtube.com/watch?v=-y7LrzMF1zc&t=15s
- ↑ https://www.youtube.com/watch?v=o8WegVyeLzc&t=16s
- ↑ https://www.youtube.com/watch?v=Q9sK9fsTu28&t=51s
- ↑ https://www.printmoz.com/blog/best-way-to-hang-posters
- ↑ https://www.printmoz.com/blog/best-way-to-hang-posters
- ↑ https://www.youtube.com/watch?v=u8OW-v1zES8&t=75s
