Explore this Article
IN THIS ARTICLE
Other Sections
X
wikiHow is a “wiki,” similar to Wikipedia, which means that many of our articles are co-written by multiple authors. To create this article, volunteer authors worked to edit and improve it over time.
This article has been viewed 25,600 times.
Learn more...
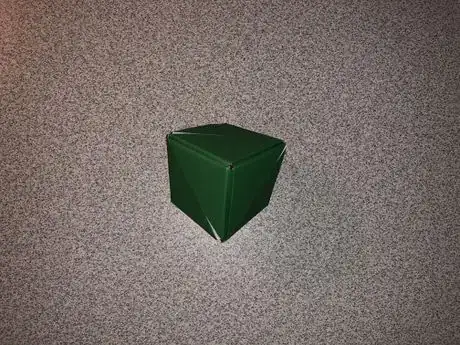
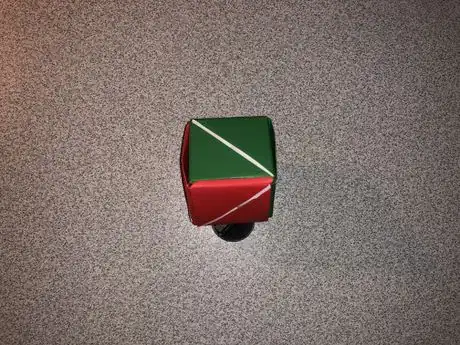
This article will teach you to use origami paper to fold a flower box. Also known as a Magic Rose Cube, this piece of paper art can be transformed from a simple cube into a flowering rose. Read on to find out how to make one.
Steps
1
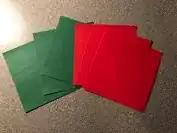
Prepare six evenly sized sheets of Kami paper.
2
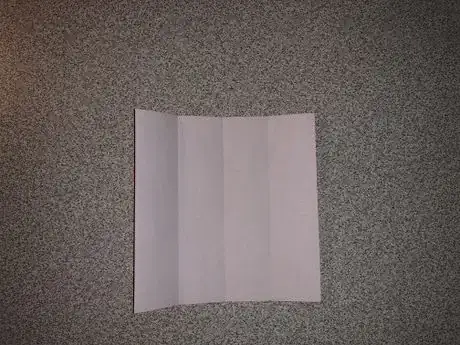
Fold all six pieces of paper horizontally into fourths.
3
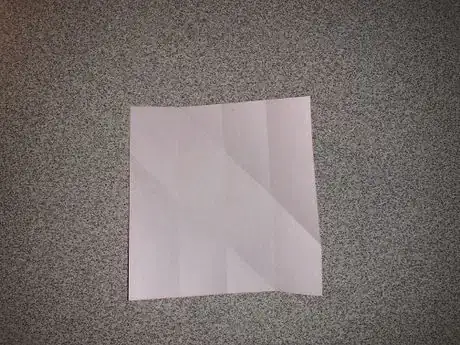
Create diagonal folds that meet with the outer crease for all six pieces of paper.
4
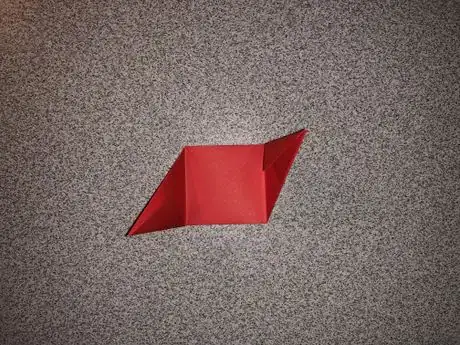
Follow diagonal creases to create two pockets in the red pieces of paper.
-
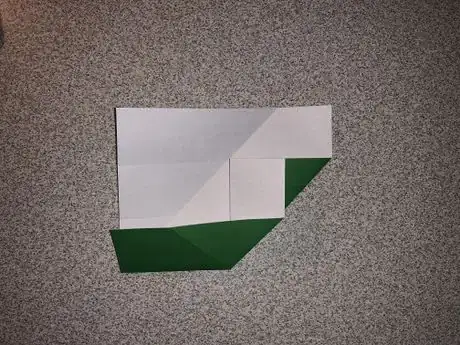
Fold the paper along one of the diagonal creases that were made, so that the corner lines up with the horizontal crease. Fold the same corner back in the opposite direction of the horizontal crease closest to that corner so that the bottom flap naturally folds upward. Repeat this step for the other corner so that the two pockets cover the white space on the other pocket.
- After repeating this step for the other corner, the box begins to take its shape as the first side is nearly completed.
5
Flip the red pieces of paper over.
6
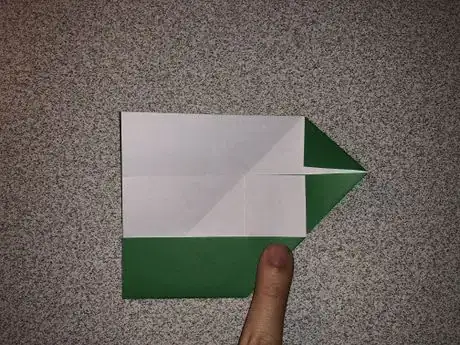
Fold the two sides of the rhombus inward.
-
The triangle flaps should face inside for the same red pieces of paper. Create folds so that the same corner of the rhombus that has the triangle flap meets with the corner along the same line as the base of the triangle. Folding both sides of the rhombus accordingly will create a square, and the first side of the box.
7
Create a pocket.
-
Follow one of the diagonal creases to create one pocket in the remaining green pieces of paper. Fold the paper along one of the diagonal creases that were made, so that the corner lines up with the horizontal crease. Fold the same corner back in the opposite direction of the crease on that corner so that the bottom flap naturally folds upward. Create a crease from the pocket.
Advertisement
8
Make a larger triangle.
-
Fold the small white corner on the same corner as the last crease made inside twice on the three pieces of green paper. Fold the corner triangle located on the upper right corner of the three pieces of green paper inward so that it meets with the folded piece from the last step. Fold this newly made larger triangle upward to completely eliminate that triangle.
9
Fold the second pocket inside of the first.
-
This will create the other three sides of the square on the three green pieces of paper that remain. Fold the last pocket along the original diagonal crease and tuck it inside the first pocket that was made. Naturally fold the paper into the final sides of the square. Create a crease along the pocket that was made, and fold the outside triangle inward to finish the fold.
Advertisement
10
Flip the three green pieces of paper over.
11
Create the last side of the box.
12
Connect the green paper.
-
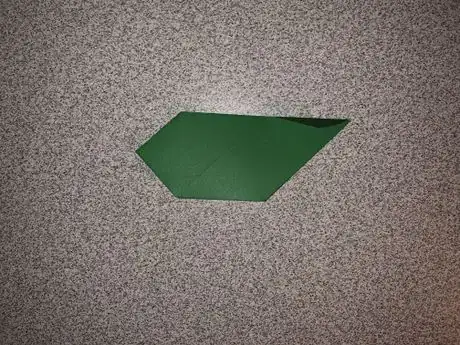
Assemble the box by connecting the green pieces of paper together by their longer triangular arms. Connect the green pieces of paper to each other to form one corner of the box. Insert the longer arms of the box inside of existing pockets on another green piece by inserting the longer arm into the square of the other piece so that it naturally fits inside the existing pocket on the paper. Expose the shorter arms/triangles so that only the longer arms are used to connect the green pieces together on this half of the box.
13
Connect the red paper.
-
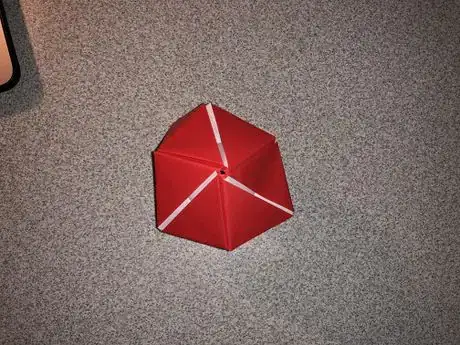
Assemble the other half of the box by connecting the red pieces of paper together by either of their sides. Follow the same process used to assemble the green half of the box to assemble the red half. Insert the long flap of one of the red pieces into the pocket that exists in one of the other red pieces. Connect all three red pieces of paper so that they form a uniform corner of the box where all the lines point towards the corner of the red half.
Advertisement
14
Connect the green and red portions of the box.
15
Create the flower.
-
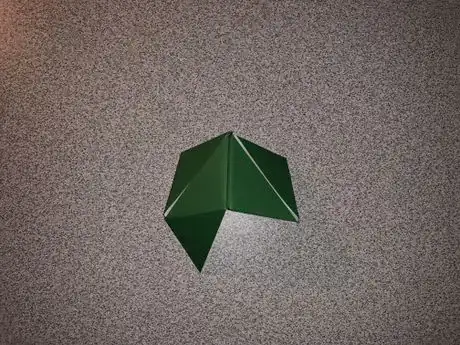
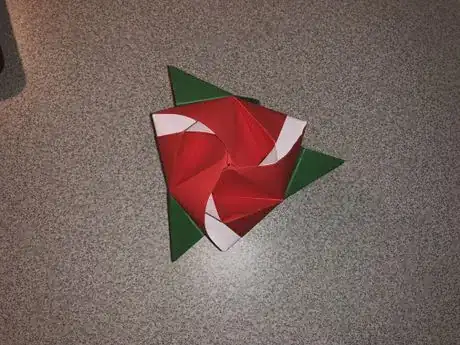
Do so by unfolding the short arms of the leaves, and “fluffing” the flower. Remove the small flaps of the green pieces from their respective red pocket to expose the “leaves” of the flower. Pinch on the diagonal line of the leaves to fully expose the leaves. Pinch on the diagonal line of the flower to expose the “petals” of the flower, and the flower takes its final shape.
Advertisement
You Might Also Like
Homemade Dawn Powerwash: Easy Recipe for Refills
How to
Make a Drone
 How to Get Spray Foam off Your Hands
How to
Make a Smokeless Fire Pit
How to
Grind Weed Without a Grinder
How to
Remove Gold from Circuit Boards
How to
Fix a Leaky Sink Trap
How to
Use a Light Timer
How to
Cut Vinyl Plank Flooring
 How to Defrost a Samsung Ice Maker: A Quick Guide
How to
Paint on Plastic

How to
Clean a Sink Drain
How to
Adjust a Lazy Susan
How to
Install Quarter Round
Advertisement
References
About This Article
wikiHow is a “wiki,” similar to Wikipedia, which means that many of our articles are co-written by multiple authors. To create this article, volunteer authors worked to edit and improve it over time. This article has been viewed 25,600 times.
80 votes - 54%
Co-authors: 5
Updated: November 20, 2022
Views: 25,600
Categories: Flora Origami | DIY
Advertisement
