This article was co-authored by Marshall Stephens. Marshall Stephens is an Aquarium Expert at Private Oceans Aquariums in West Palm Beach, Florida. Marshall has over 20 years of experience in the aquarium industry and focuses on captive-bred animals. They specialize in tropical and marine aquariums and are a contributor to the Loggerhead Marine life center in Jupiter Florida.
There are 18 references cited in this article, which can be found at the bottom of the page.
This article has been viewed 15,540 times.
If you have ever been wowed by the beauty of life under the sea, then growing coral is for you. You can grow your own colorful coral frags in a saltwater reef tank. Coral is delicate, but it survives well in the right conditions. To grow coral, you will have to set up a tank and then maintain it on a consistent basis. Coral grows at a slow rate but can be cut to position around your tank. You can even add saltwater creatures to turn your aquarium into a miniature seascape.
Steps
Setting up a Tank
-
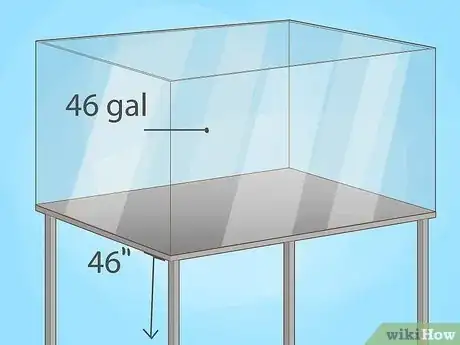
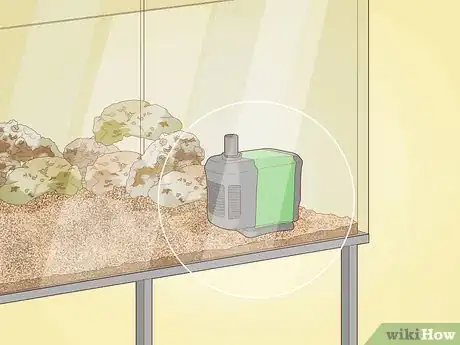
1Choose an all-in-one tank to house the coral. If you get an all in one aquarium, it will have most or all of the parts required to create a healthy environment for your coral. You do not have to have a massive tank to start your aquarium, but the size determines how much room you have for coral. Try using a 46 gallon tank, for instance, set on a 46 in (120 cm) stand. Check the label to make sure the tank includes a water pump, filtration system, a light source, a heater, and a protein skimmer.[1]
- Choose a tank according to your budget and the space available in your home. Keep in mind that aquarium stands are designed to offer space for storing important features like the pump.
- All-in-one tanks tend to be a little smaller than ones assembled by hand. If you plan on building your own tank, you have to buy all of the parts and find room for them around the tank.
-
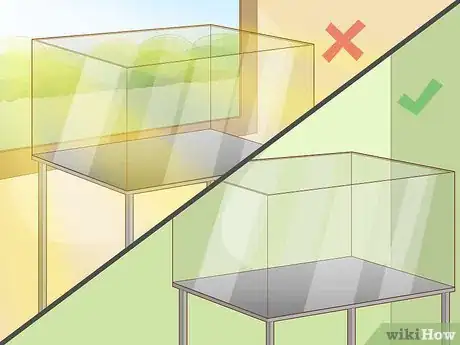
2Place the tank in a stable area out of direct sunlight. Set up the aquarium stand over level ground away from nearby windows. Sunlight causes algae to grow in the tank, so limit exposure to protect the aquarium’s ecosystem. Keep it away from heaters, air conditioners, and other sources of temperature fluctuations, but make sure you have some electrical outlets nearby to plug in the pump and other components.[2]
- Aquariums are heavy! Make sure yours is on the ground floor of your home or, at least, a spot that can bear plenty of weight.
- You can test the aquarium for levelness by placing a carpenter’s level inside of it. Another option is to pour water inside the tank. If the water flows toward one side, prop it up with wood shims.
Advertisement -
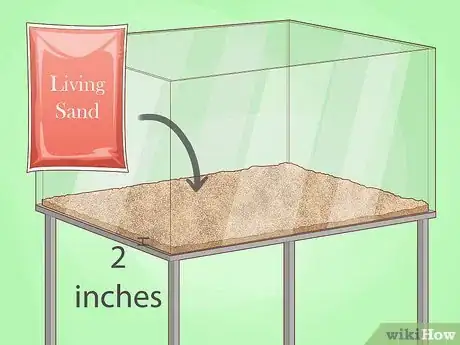
3Cover the first 2 in (5.1 cm) of the tank with living sand. Plan on using about 1.45 lb (0.66 kg) of sand for every 1 US gal (3.8 L) of water your aquarium holds. Head to your local pet supply store to get living sand, which contains helpful bacteria your aquarium needs to thrive. Wipe the aquarium clean with a damp cloth, then pour the sand directly into it.[3]
- The sand can be added later, but it will cause the water to turn cloudy. Run the pump and filter until it becomes clear again.
- Some people use gravel, crushed coral or other substrates to create a base in the tank. You can even grow coral without a base. Living sand looks nice, but it also helps condition the water and feed the coral.
-
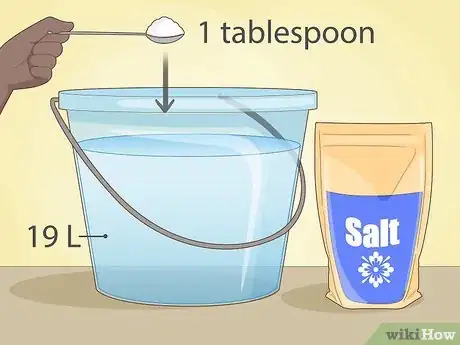
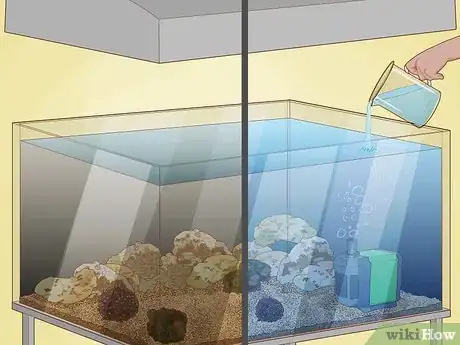
4Mix saltwater in a separate container to fill the tank. If you plan on making your own saltwater, get a plastic mixing bucket, such as a new trash can. For safety, run tap water through a reverse osmosis or deionization (RO/DI) filter. Combine the warm water with sea salt in the mixing container. Then, place a powerhead or air pump at the bottom to mix the water until it looks clear.[4]
- Check the manufacturer’s instructions for the proper amount of salt to use. The average is about 1 tablespoon (13.8 g) of sea salt per 5 US gal (19 L) of water.
- You can get sea salt and mixing tools online or at a pet supply store. Try getting a mixing kit so you don’t have to buy it all separately.
- Note that you can also buy pre-made saltwater, but it gets expensive.
-
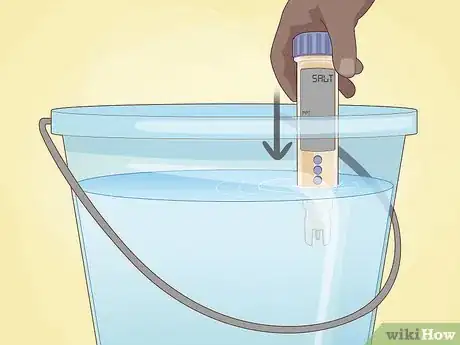
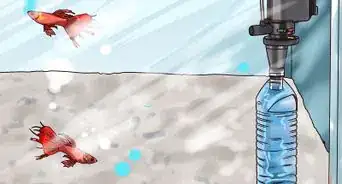
5Test the water’s salt content with a hydrometer before adding it to the tank. The water should have a specific gravity of 1.025 kg/m3. To get it into the tank, place a water pump in the container with connected tubing running to the tank. Let the pump run until the tank is full.[5]
- If the specific gravity is low, the water isn’t salty enough. Mix in more salt. If it’s too high, try mixing in more fresh water.
- You can attempt to pour water into the tank with some small buckets, but it’s a hassle that often gets messy.
-
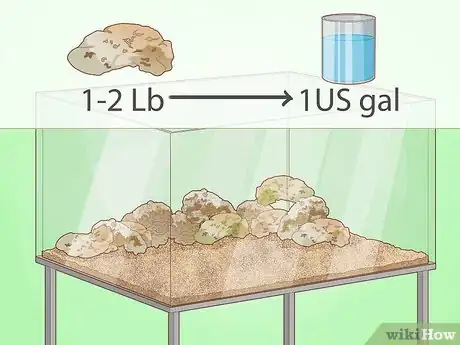
6Position live rocks along the bottom of the tank. Live rocks have helpful bacteria for your coral. As a rule of thumb, get 1 to 2 lb (0.45 to 0.91 kg) of live rocks for every 1 US gal (3,800 mL) of water your tank holds. Rinse the rocks with fresh salt water in a separate container before scattering them across the aquarium’s sand.[6]
- Keep the rocks spread out. Don’t stack them, since that will leave fewer spots for the coral.
- If you’re planning on keeping fish in the aquarium, make sure they have plenty of room to move through the rocks.
Conditioning the Water
-
1Run the tank’s pump and filtration system for 4 weeks. Plug all of the tank’s components into a nearby outlet, but leave the lights off. Allow the tank to run undisturbed, but check the filter each day. Clean it by placing it in a separate bucket and rinsing it with fresh salt water.[7]
- Cycling an aquarium this way wakes up bacteria so it can create the ideal conditions for coral to thrive in. It takes a while, but be patient. The result is well worth the wait.
- Cycling is valuable any time you wish to add new coral or other creatures to the aquarium. Let the aquarium run as normal for 2 weeks before introducing anything new to it.
-
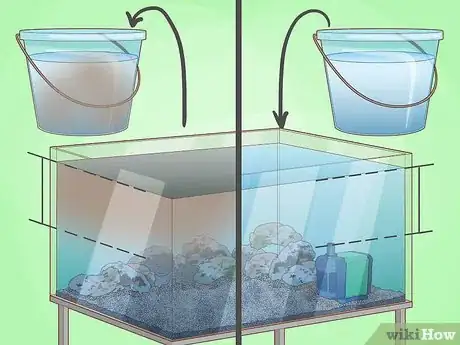
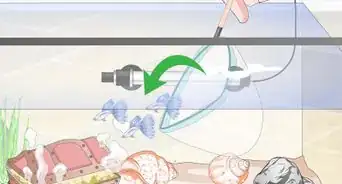
2Replace half of the tank’s water with clean salt water each week. Mix a fresh batch of salt water in a container and set it near your aquarium. Set up a separate container nearby, keeping it below the tank’s water line. Run an aquarium vacuum siphon from that container to the tank, then start it. Watch as it drains the water, then shut it off afterward.[8]
- Take this opportunity to clean out any debris in the tank. You can suck it out with the siphon or gravel vacuum.
- After the initial 4-week cycle, the water won’t have to be changed quite as often.
-
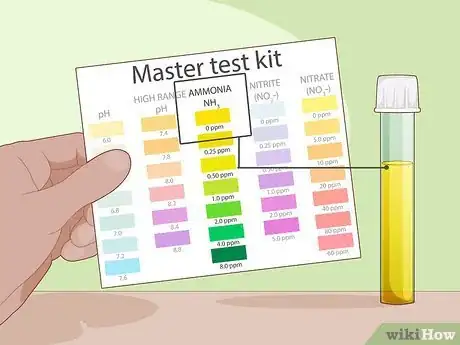
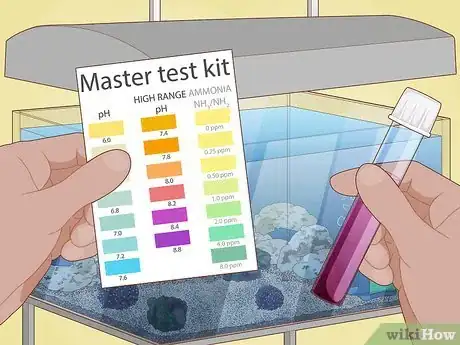
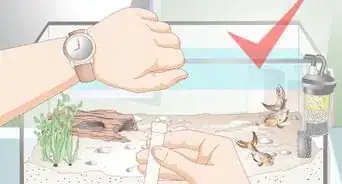
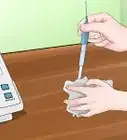
3Monitor the ammonia and nitrate levels each week until they reach 0. Get an aquarium water-testing kit so you have all you need to perform the test. Use the included glass vials to scoop up some of the water you removed from the tank. Then, add a drop of the testing dye, using a separate one for each sample. Wait for the water to turn a color, then match it to the color chat included with the kit.[9]
- Ammonia and nitrate come from things living in the tank, including bacteria, fish, and coral. Too much of it becomes toxic. It could prevent the coral from ever adapting to your tank.
- To reduce ammonia and nitrate, continue cycling the aquarium’s water. Eventually, you will have removed all of the harmful chemicals.
-
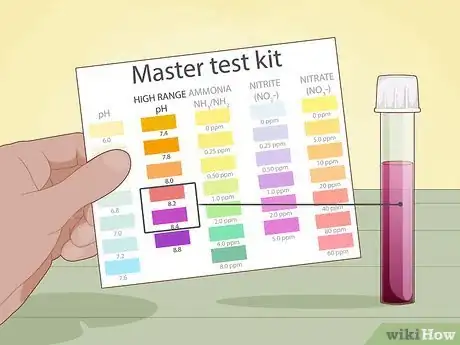
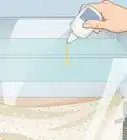
4Test the water’s pH to see if it falls between 8.1 and 8.4. Use the pH testing dye in your kit on a sample of tank water. Cycling the water helps reset the pH. If you’re looking for a quicker solution, use baking soda to lower the pH and vinegar to raise it. Add them to the tank carefully to avoid shifting the pH too much.[10]
- For example, sprinkle 1 teaspoon (4.80 g) of baking soda per every 20 US gal (76 L) of water your tank holds. Test the water again afterward.
- Add about 1 teaspoon (4.9 mL) of vinegar for every 5 US gal (19 L) of water in the tank.
Installing Coral
-
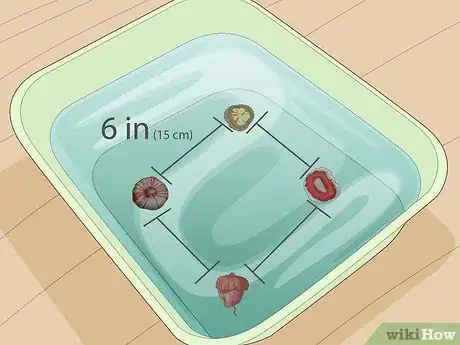
1Place the coral in a separate container outside of the tank. Set up a clean plastic bin that can hold enough water to submerge the coral in. After putting on rubber gloves and safety glasses, cut open the bags the coral came packed in. Each bag will have water in it, so be careful. Pour the water into the bin, then place the coral so it’s underwater. Try to keep the coral at least 6 in (15 cm) apart, especially if you have different varieties.[11]
- Transportation is hard on coral, so try not to handle it too much. Pour out the water first, then set it down gently. Keep it submerged.
- Some types of coral, such as zoanthid coral, emit a very dangerous toxin. It causes symptoms like fever, weakness, and muscle pain, so it can cause a lot of harm. Always wear safety gear when handling coral![12]
-
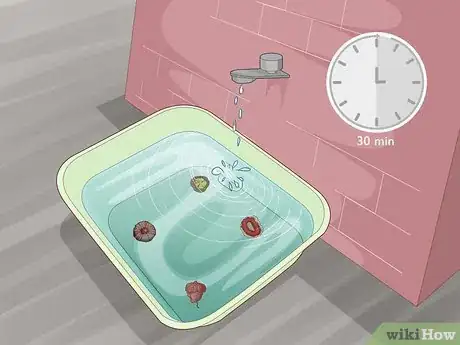
2Drip tank water into the container for 30 minutes to acclimate the coral. Open the drain on your aquarium tank until the water begins dripping out at a slow but steady rate. Keep the coral bin underneath it. Check back on the bin every so often to make sure it’s not about to overfill.[13]
- Coral is delicate, so exposing it to the aquarium water helps it survive once it is transferred into the tank. Make sure the water is warm and well-tested, though!
- If you are unable to drip water into the bin, pour about 1⁄2 cup (120 mL) of it onto the coral every so often. Try doing it every 5 minutes.
-
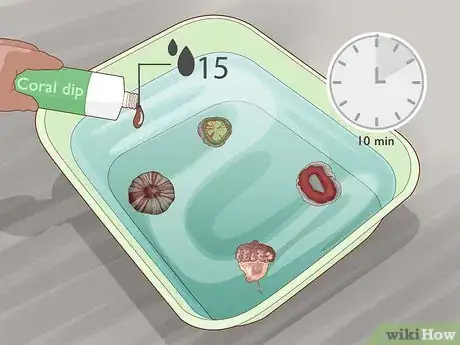
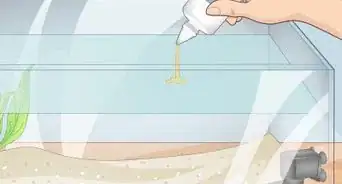
3Soak the coral for 10 minutes with water treated with coral dip. Set up a second bucket next to the one with the coral. Fill it with warm salt water from your tank, then add about 15 drops of the coral dip. Stir it into the water with a turkey baster. Afterward, transfer the coral to the coral dip. While it’s soaking, use a turkey baster to suck up water and blow it all over the coral.[14]
- Bottles of coral dip usually don’t come with a dropper, so plan on getting one beforehand. You can get a turkey baster online and at most general stores that sell kitchen gear.
- Coral dip is useful for getting rid of nasty bugs that could be hiding in the coral. You often won’t spot them at first, but watch for them to emerge as you use the turkey baster.
- Some people also scrub coral with a soft brush, such as a soft-bristled toothbrush.
-
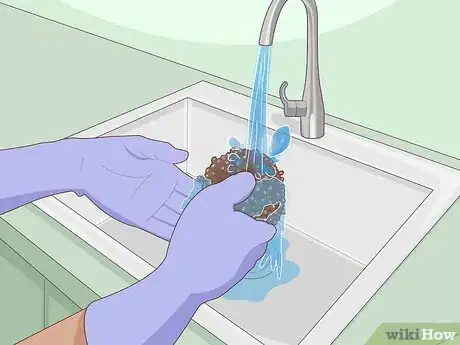
4Rinse the coral before placing it in your tank. Move the coral back into the bin you used to acclimate it to the tank water. Swish the water around by hand or use a turkey baster to blow some of the water at the coral. Rinse each piece of coral thoroughly to prevent the coral dip from getting into your tank. Afterward, give each one a final inspection to check for any lingering bugs.[15]
- Coral doesn’t respond well to coral dip, so rinse it off as soon as you’re done using it.
- If some of the coral dip gets into the tank, it won’t kill the coral. However, avoid reusing any water containing coral dip.
-
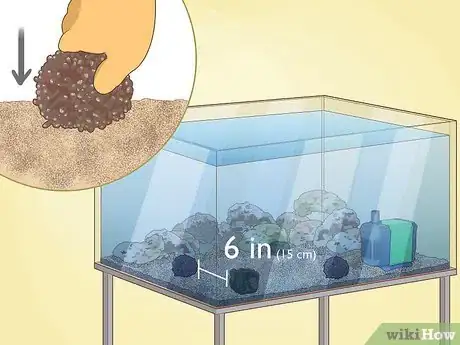
5Press the coral into the sand inside your tank. Coral often comes attached to a stand, making it easy to fit in a tank. Push the coral down so it stands upright. Scatter the coral out around the tank so they aren’t crowded together. As a rule of thumb, leave hard coral at least 6 in (15 cm) apart. Then, continue cycling the water and monitoring its quality as the coral adapts.[16]
- Some types of hard coral can be placed closer together, while soft coral usually doesn’t need to be separated. You can place as much coral in the tank as you can fit, but it’s better to add them gradually while watching the water conditions to ensure the aquarium stays stable.
- You can also mount coral by using a waterproof epoxy or super glue to stick it to rock or small stands called frag plugs. Some people use monofilament fishing line to tie coral to rocks.
- Make sure mounted coral doesn't overshadow anything beneath it. Coral will die out if it doesn’t get enough light.
Encouraging Growth
-
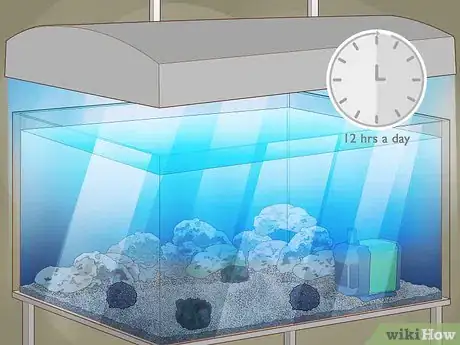
1Turn the tank’s fluorescent lights on for 12 hours a day. Coral requires plenty of light to grow, but it also needs some time in the dark. Create a schedule to ensure the coral gets adequate light. Keep it on during the day, then shut it off when you go to bed at night.[17]
- In general, make sure your light gives off about 6 to 8 watts of light per 1 US gal (3.8 L) of water in the tank. Deeper tanks require a stronger light source, while shallow tanks don’t need as much light.
-
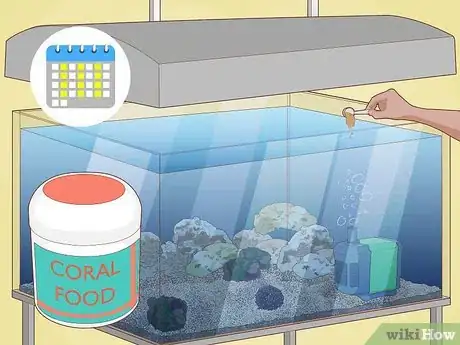
2Feed the coral a powdered coral food 2 to 3 times a week. Get coral food consisting of phytoplankton, krill, shrimp, or other types of organic material. Pick a small dose of it with a turkey baster, then spread it near the coral’s mouth. You may not notice this at first, but every piece of coral has a small opening surrounded by many tentacles. If you spray the food nearby, the coral will smell it and pull it into its mouth.
- Spread the food around the various polyps, or growths, on the coral. Each polyp is technically a separate living thing, and they will all be hungry!
- Coral gets some food from the algae growing on it, but, if you want it to thrive, feed it coral food as well.
-
3Maintain the tank’s temperature and water level every day. Set aside a few minutes every day to check on conditions inside the tank. Make sure all of the equipment is in working order, including the lights, pump, and heater. Check the temperature with a thermometer and replace the filter if it looks dirty. Then, pour some fresh, purified water in the tank if it needs to be topped off.[18]
- The correct temperature is 73 to 84 °F (23 to 29 °C). Coral will start to fade after being exposed to unsuitable temperatures.[19]
- Use fresh tap water purified through a reverse osmosis or deionization filter instead of salt water. The salt gets left behind as the water evaporates, so adding more would make the aquarium too salty.
- Make maintenance a part of your daily routine so you don’t forget to do it. If you check every day, you can catch and correct problems as they arise.
- Note the coral and even take pictures of the aquarium on occasion. This will help you spot subtle symptoms, such as the coral beginning to lose its bright coloring.
-
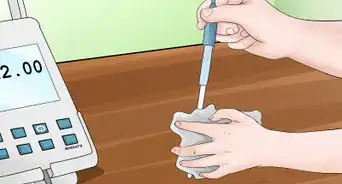
4Complete a water test at least once a week. Use the test to maintain the mineral levels in the water. Take samples of the water to monitor the pH, ammonia, and nitrate levels with the colored dye from a testing kit. Make sure these levels stay constant each week.[20]
- The ammonia and nitrate levels should stay near zero. If they start to rise, cycle the tank with fresh water. Do the same if the pH balance is off.
-
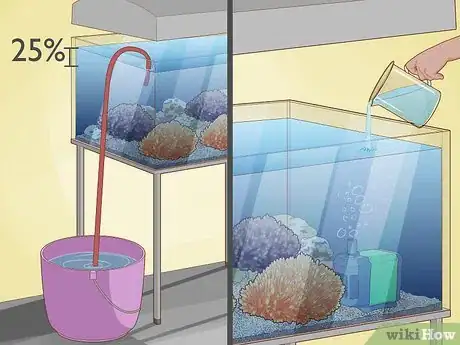
5Replace 25% of the water with fresh salt water each month. Since the water gets used up, cycling is a way to keep mineral levels high for your coral. Place a siphon in the tank and run its tube to a separate bucket. Mix more warm salt water in another bucket, then pump it back into the aquarium.
- You could also cycle smaller amounts of water every 1 to 2 weeks. Regardless of how often you do it, test the water frequently to make sure it’s safe for coral.
-
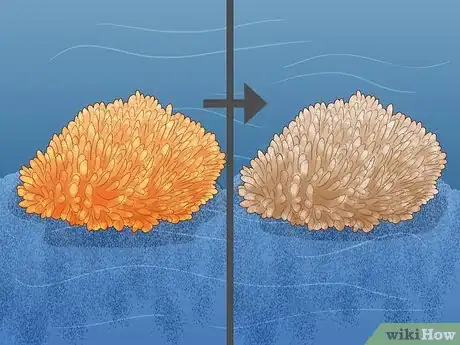
6Check the tank’s conditions if the coral stops growing or loses its color. Coral grows extremely slowly, so monitoring its health this way is difficult. The easiest way to check up on it is by noting its coloring and how it changes over time. Unhealthy coral bleach and fade, which usually has to do with change in aquarium conditions. If your coral stays bleached for too long, it won’t recover.
- The main problems are water quality and lighting. Test the water quality frequently and note if any other pieces of coral are fading. If only one of them is fading, it could be due to inadequate lighting.
- For example, a high nitrate level often causes coral to fade. You can fix this by cycling the water, using a good filter, and keeping the aquarium clean.
-
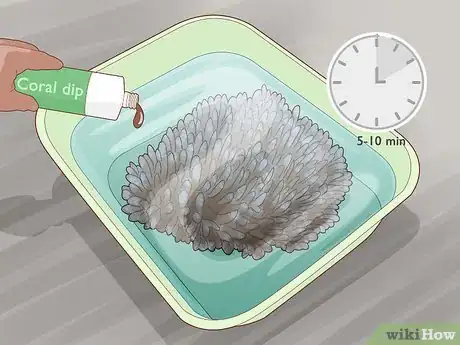
7Clean the coral if you notice discolorations from disease or pests. These problems are all difficult to diagnose, so pull the piece of coral out of the tank as soon as possible. Move it to a separate quarantine tank. Search the coral carefully, using a magnifying glass or the zoom function on a camera, for any signs of pests. If you see any, soak the coral in coral dip for 5 to 10 minutes.[21]
- For example, your coral could have black-band disease, identifiable by thin, black ring and discolorations. Another common disease is rapid tissue necrosis (RTN), where coral suddenly turns white.
- The causes of coral diseases are mostly unknown but may be due to bacteria or invasive pests. Most are usually difficult to overcome, so separating infected coral is the best strategy. RTN can also be caused by poor water conditions.
- If your coral has pests like red bugs, worms, or nudibranchs, use a turkey baster to scrape off eggs, small pests, and other debris as well.
-
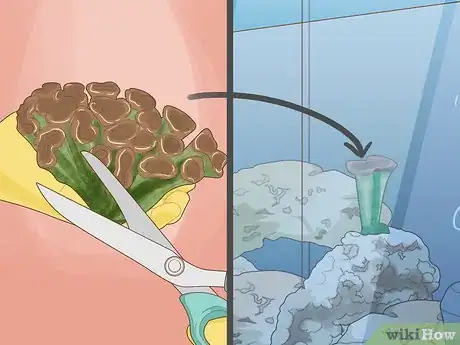
8Cut coral polyps with sharp scissors if you wish to spread them around the tank. Pull the coral out of the tank and set it in a dry container. Use something sharp and sterile to trim the parts you wish to remove. Drop them into a separate container filled with aquarium water. You can then place them on mount them on frag plugs, glue them, or tie them to rocks in your aquarium.[22]
- For example, if you have a mushroom coral, cut horizontally across the stalk, right underneath the cap. You will end up with a pair of coral pieces that will continue to grow!
- You can chip polyps off of harder coral with a chisel and hammer. Even though this may seem cruel, it’s actually normal. Coral breaks apart and spreads this way in nature.
Warnings
- Some types of coral are toxic, so wear gloves and safety glasses when handling them. Go to a medical center right away if you start feeling ill after handling coral.[23]⧼thumbs_response⧽
Things You’ll Need
- Coral
- Living sand
- Living rocks
- Aquarium sea salt
- Coral dip
- Plastic buckets
- Powerhead or air pump
- Turkey baster
- Sharp scissors, scalpel, or another cutting tool
Expert Interview
Thanks for reading our article! If you'd like to learn more about aquariums, check out our in-depth interview with Marshall Stephens.
References
- ↑ https://www.saltwatersmarts.com/how-to-pick-place-for-saltwater-aquarium-537/
- ↑ https://www.saltwatersmarts.com/how-to-pick-place-for-saltwater-aquarium-537/
- ↑ https://www.youtube.com/watch?v=fXUNs9_uiU4&feature=youtu.be&t=648
- ↑ http://www.tfhmagazine.com/aquarium-basics/salt-mix.htm
- ↑ http://www.tfhmagazine.com/aquarium-basics/salt-mix.htm
- ↑ https://www.youtube.com/watch?v=QvD1n3P2z5w&feature=youtu.be&t=348
- ↑ https://reefbuilders.com/2018/04/20/ask-reef-builders-3-how-long-should-i-cycle-a-reef-tank-before-putting-corals-in/
- ↑ https://www.saltwatersmarts.com/how-to-cycle-saltwater-tank-527/
- ↑ https://www.saltwatersmarts.com/how-to-cycle-saltwater-tank-527/
- ↑ https://www.reef2reef.com/ams/ph-and-the-reef-aquarium.7/
- ↑ https://www.youtube.com/watch?v=hTLSbjWpePo&feature=youtu.be&t=56
- ↑ https://www.sahealth.sa.gov.au/wps/wcm/connect/public+content/sa+health+internet/resources/coral+handling+safety+tips+for+aquarium+owners
- ↑ https://www.youtube.com/watch?v=hTLSbjWpePo&feature=youtu.be&t=95
- ↑ https://www.youtube.com/watch?v=OkzHECzRK9g&feature=youtu.be&t=100
- ↑ https://www.youtube.com/watch?v=OkzHECzRK9g&feature=youtu.be&t=134
- ↑ https://reefbuilders.com/2018/04/20/ask-reef-builders-3-how-long-should-i-cycle-a-reef-tank-before-putting-corals-in/
- ↑ http://www.tfhmagazine.com/details/articles/marine-aquarium-basics-full-article.htm
- ↑ http://www.tfhmagazine.com/aquarium-basics/columns/a-marine-aquarium-maintenance-checklist-the-salt-creep.htm
- ↑ https://aem.asm.org/content/69/7/4236
- ↑ http://www.tfhmagazine.com/aquarium-basics/columns/a-marine-aquarium-maintenance-checklist-the-salt-creep.htm
- ↑ http://www.reefaquarium.com/2012/coral-diseases/
- ↑ http://www.tfhmagazine.com/saltwater-reef/feature-articles/a-guide-to-fragging-part-2-mushrooms-full-article.htm
- ↑ https://globalnews.ca/news/4167774/toxic-coral-aquarium/
