This article was co-authored by wikiHow Staff. Our trained team of editors and researchers validate articles for accuracy and comprehensiveness. wikiHow's Content Management Team carefully monitors the work from our editorial staff to ensure that each article is backed by trusted research and meets our high quality standards.
wikiHow marks an article as reader-approved once it receives enough positive feedback. In this case, several readers have written to tell us that this article was helpful to them, earning it our reader-approved status.
This article has been viewed 243,792 times.
Learn more...
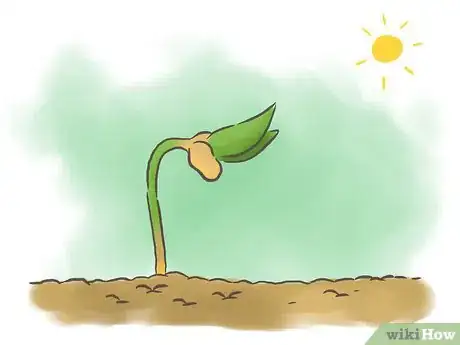
Kidney beans are moderately easy to grow, but you do need to make sure that the roots do not get waterlogged or otherwise damaged at any point during the season. Like many other bean varieties, kidney beans can be grown as bushes or as vines, so you will need to choose a type that works best according to the space you have.
Steps
Preparations
-
1Use seeds instead of seedlings. Most kidney bean plants do not survive the transplanting process, so you should plan on directly sowing the seeds instead of getting starter plants.[1]
-
2Choose a suitable location. Kidney beans need full sun in order to thrive, so you should plan on growing them in a spot that gets at least six hours of direct sunlight a day, if not more.[2]
- If possible, find a spot with soil that is naturally somewhat loose. Loose soil drains water more effectively, and this is crucial if you want to grow a healthy kidney bean plant. If you notice that the water settles or pools in a given area when it rains, you should consider choosing another location.
- Practice crop rotation from year to year. Do not plant kidney beans in soil where other legumes have grown within the past three years.
Advertisement -
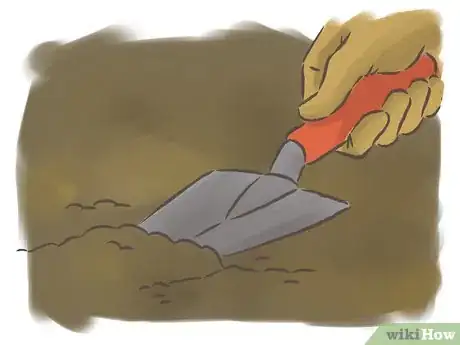
3Amend the soil. The soil needs to be fairly light and loose so that water can drain. If your soil is too heavy, you will need to amend it with enough organic material to even it out. The pH of the soil also needs to be near neutral.
- Good soil amendments include manure and compost. Either option will help loosen the overall density of the soil while also providing plenty of nutrition for the plant as it starts out.
- Amend the soil by mixing these extra components in with a trowel or small garden rake a few weeks before you plan to plant.
- The pH of the soil should be between 6.0 and 7.0.
- Consider mixing a powdered inoculant into the soil, as well. This is a type of natural, healthy bacterium that makes it easier for beans to absorb nitrogen during the earliest and most crucial stages of growth.
-
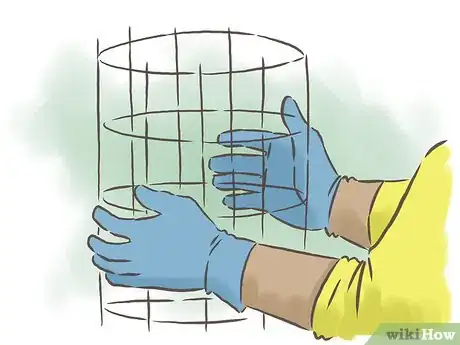
4Install a trellis, if necessary. While many popular kidney bean varieties are bush beans, there are a few pole bean varieties. Pole beans grow vertically, so you will need to fix a stake or trellis to the growing location if you want these varieties to produce their maximum yield.
Planting
-
1Wait until after the last frost passes. Kidney beans require adequate warmth and humidity to thrive. Plant them in the spring once you feel fairly certain that the last frost has already passed.
- The temperature of the soil should be 70 to 80 °F (21 to 27 °C). If at all possible, avoid letting the soil temperature drop below 60 °F (16 °C).[3]
- Ideally, the air temperature should be 65 to 80 °F (18 to 27 °C) throughout most of the growing season.
- If a frost does arrive unexpectedly after your kidney bean plants have sprouted, cover the seedlings with a bit of mesh cloth or canvas to help protect them from the freezing temperatures.
-
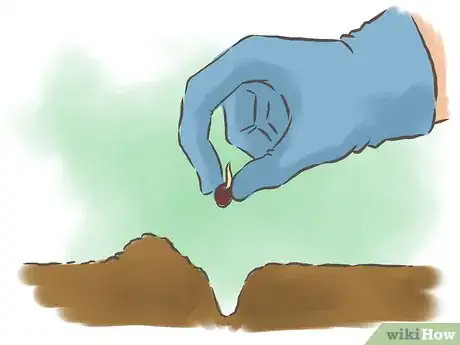
2Plant the seeds deep enough. Kidney bean seeds should be planted 1 to 1-1/2 inches (2.5 to 3.8 cm) deep.[4]
- Many gardeners prefer to space seeds 1 to 2 inches (2.5 to 5 cm) apart initially. After your seedlings reach a height of roughly 3 inches (7.6 cm), thin them out to a more appropriate spacing, removing the weakest seedlings when possible and preserving the strongest.
-
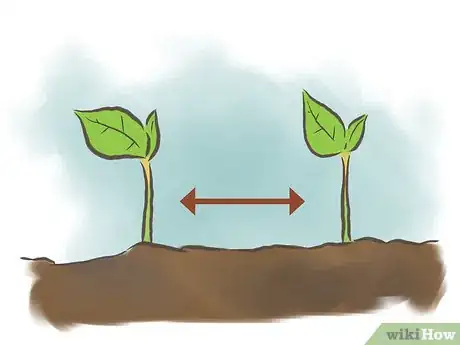
3Give the seeds enough space. For most varieties, you will need to sow separate kidney bean seeds 3 to 4 inches (7.6 to 10 cm) apart from one another.
- More specifically, pole or vine varieties do well when spaced 4 inches (10.16 cm) apart, while compact bushes may benefit more if spaced up to 8 inches (20.32 cm) apart.
- The seeds should germinate within 10 to 14 days.
Container Growing
-
1Choose a large pot. While container gardens do not provide the most beneficial set of conditions for kidney beans, these plants can grow inside of containers when taken care of properly. For each kidney bean plant, you will need a pot with a diameter of 12 inches (30.5 cm).[5]
- When choosing to grow kidney beans in containers, you should opt for a bush variety instead of a pole variety. Bush varieties tend to do better in more confined spaces.
- The main reason that kidney beans are not typically grown in containers is simply that the yield of an average plant is not enough for one person. You will usually need to plant six to ten plants if you want to supply yourself with enough beans for regular use. You should only plant one kidney bean plant per pot, however, so you will need six to ten separate pots if you plan on producing enough for yourself.
-
2Add extra gravel to the container. Before you add any soil to the container, you will need to spread a layer of gravel at the bottom to improve drainage. Otherwise, kidney bean plants can quickly become waterlogged inside of pots.[6]
-
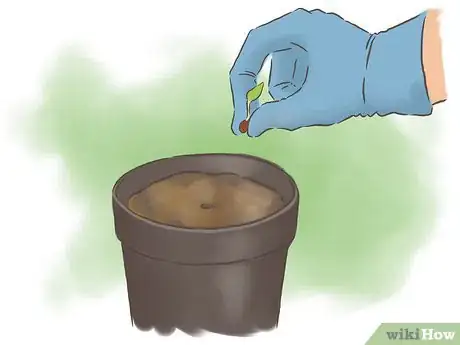
3Plant the seeds deep enough. As with a standard garden, you need to plant a kidney bean seed 1 to 1-1/2 inches (2.5 to 3.8 cm) deep. Sow the seed in the middle of the pot.
Daily and Long-Term Care
-
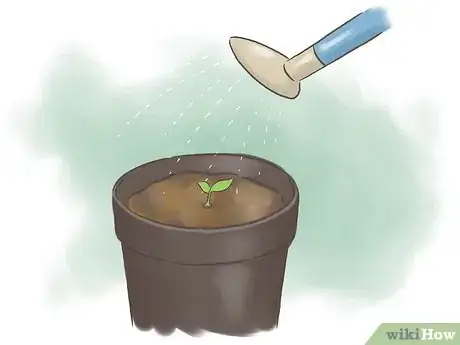
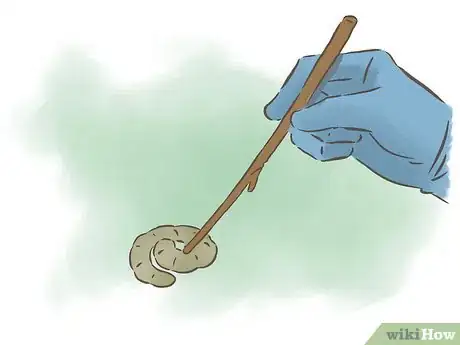
1Water only when the soil dries out.[7] The soil should never be allowed to get too soggy since the roots of the plant are easily damaged when waterlogged. As such, you should only give the plants extra water if your area has experienced a drought.
- Instead of watering the soil in an effort to keep it continually damp, you should only water it if you check the soil and determine that it has dried out at least a full 1 inch (2.5 cm) down from the surface. You can test it by gently sticking your finger down into the soil and feeling for moisture.
-
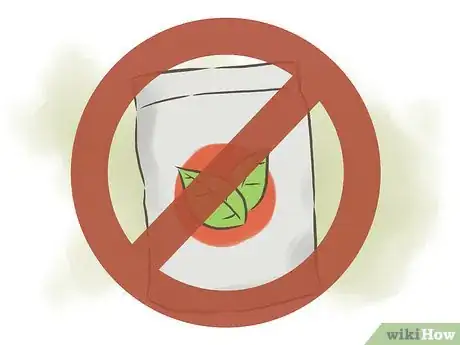
2Avoid high-nitrogen fertilizers. Even though nitrogen-based fertilizers will make your kidney bean plants look vibrant and leafy, these fertilizers actually do more harm than good since they encourage the plant to send its energy to its leaves rather than its fruits. Large doses of nitrogen will produce an impressively leafy plant that bears very few edible beans.
- After the plant gets started, kidney beans actually produce their own nitrogen inside their roots. A fertilizer with high levels of nitrogen will inevitably end up feeding the plant too much nitrogen.
- If your plants are suffering and in need of more nutrition, use a small amount of organic fertilizer that does not supply a hearty amount of nitrogen.
-
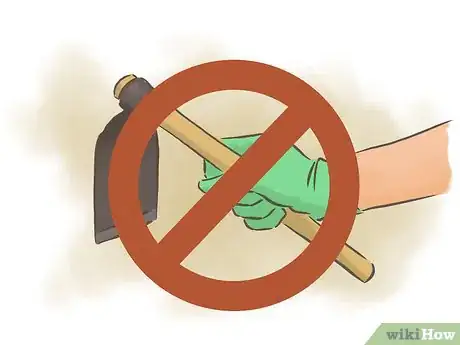
3Be careful when removing weeds. The roots of the plant are quite shallow, so when you dig up weeds, you need to do so carefully to avoid accidentally disturbing or damaging the roots of the kidney bean plant.
- Never chop up the weeds around a kidney bean plant using a hoe or trowel. Instead, you should pull the weeds up by hand.
- You could also help keep weeds out by spreading a 1- to 2-inch (2.5- to 5-cm) layer of mulch on around the plant after it sprouts. Additionally, mulch provides the extra benefit of maintaining adequate warmth and humidity while preventing pods from rotting once they touch the ground.
-
4Watch out for pests and disease. Some garden pests do target kidney beans, and the plant is also vulnerable to a few different diseases.[8] If you run into problems, you may need to apply an appropriate pesticide or fungicide.
- Beetles, slugs, cutworms, and leafhoppers will go after the leaves of the plant. These can be removed easily if you check your plants regularly and pick them off as you see them. If this is not an option, though, look for a pesticide that specifically targets these insects.
- Aphids may also attack your plant, but these cannot be picked off by hand. Treat the plant with an appropriate pesticide once you spot aphids since these pests can spread bean mosaic virus.
- Bean rust is a reddish-brown fungus that can show up in patches on the leaves of a kidney bean plant, and it should be treated with a fungicide as soon as you spot the first signs of it.
- Powdery mildew may attack your plant, as well. It will look like a fine white powder. You should treat the plants with a fungicide as soon as possible and reduce the amount of watering you do. Humid conditions produce mildew, so make sure that the plants are only watered at the soil level and not on the leaves.
- If squirrels, deer, or rabbits become pests, you can keep them out with fencing or netting.
Harvest and Storage
-
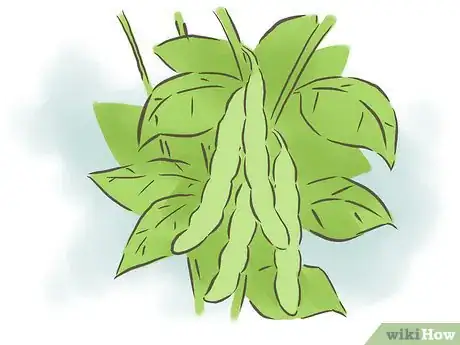
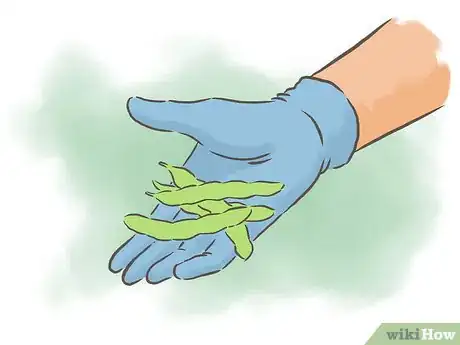
1Collect all the beans at the end of the season. Bush varieties should be harvested once at the end of the growing season. Pole varieties can be harvested several times throughout the season, but the largest harvest will usually be at the end of the season.
- Depending on the variety you chose, kidney beans should be ready to harvest after 90 to 150 days.
- Pole varieties produce a harvest on a regular basis for one to two months.
- Adequately mature bean pods will be dry to the touch, and the beans inside the pods will feel very hard.
- Check the beans of one pod before you harvest the other pods. You can check to see if the beans are done by carefully biting down on one. If your teeth can dent the bean, then the rest should be allowed to dry for a longer period of time before you harvest and shell them.
-
2Pull plants early, if necessary. If dropping temperatures or other unfavorable conditions threaten your harvest, you can pull kidney bean plants early and allow the beans to finish drying the rest of the way afterward.
- High humidity can also make it difficult to dry the beans on the plant. In this instance, you will need to finish drying them inside, as well.
- Remove the plants and hang them upside-down by the root for several days or weeks until the pods seem dry and the beans inside are hard. Make sure that most of the foliage has died before you pull the plants.
- Keep the beans in a warm indoor location with lots of circulating air as you dry them.
-
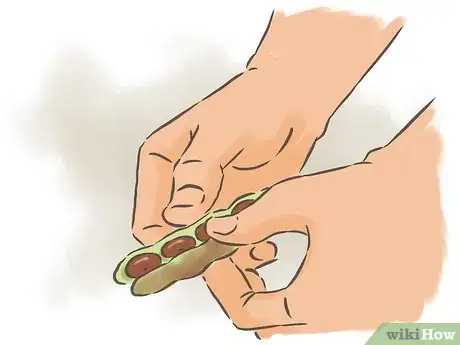
3Break the pods apart. After you have plucked the pods from your plant, you will need to break them open and pull out the beans hidden inside. If you allowed the plants to mature correctly, the beans should already be hard and dry.
- You can shell a small harvest by hand, but if you have a larger harvest, you may want to shell them in batches. Place the pods in a pillowcase or similar bag. Carefully step on the pods through the pillowcase to crack them open. When done, sift through the pieces to sort out the beans and leave behind the broken pods.
-
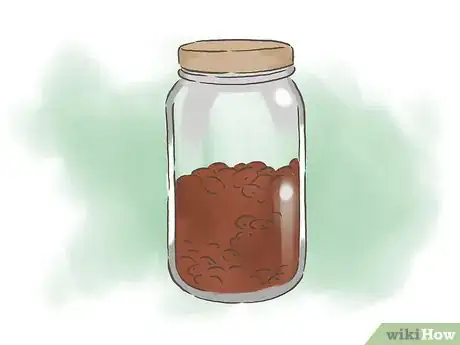
4Store the beans in a dark spot. Place the harvested kidney beans in a jar and store them in a dry, dark location until ready to use.
- Dried beans can last up to a year in the right conditions.
- For best results, store the beans in airtight jars or bags.[9]
Community Q&A
-
QuestionAfter how many days will the roots appear?
 Community AnswerIf you are talking about how long it will take for the beans to sprout, it will take 6-8 days if the beans are not soaked in water and 2-4 days if they are.
 -
QuestionHow many beans are there in a kidney bean pod?
 Community AnswerIt depends on the pod. Most pods tend to have between 6 and 7 beans.
 -
QuestionCan I plant the bean in the disposable glass?
 Community AnswerYes, but make a small hole in the bottom, and make sure the glass is a bit sturdy. The glass should be big for the roots.
Warnings
- Raw kidney beans and their sprouts are poisonous. Kidney beans should only be consumed after they have soaked and cooked in boiling water for at least 10 minutes.⧼thumbs_response⧽
Things You'll Need
- Kidney bean seeds
- Manure or compost
- Powdered inoculant
- Trellis (optional)
- Trowel
- 12-inch (30.5-cm) container (optional)
- Gravel (optional)
- Watering can
- Pesticide or fungicide (as needed)
- Fencing or netting (as needed)
References
- ↑ http://www.heirloom-organics.com/guide/va/1/guidetogrowingkidney.html
- ↑ http://www.gardeningblog.net/how-to-grow/kidney-beans/
- ↑ http://www.growthis.com/how-to-grow-kidney-beans/
- ↑ http://www.gardeningblog.net/how-to-grow/kidney-beans/
- ↑ http://www.gardeningblog.net/how-to-grow/kidney-beans/
- ↑ http://www.gardeningblog.net/how-to-grow/kidney-beans/
- ↑ https://www.morflora.com/grow-kidney-beans/
- ↑ https://www.morflora.com/grow-kidney-beans/
- ↑ http://www.weekendgardener.net/vegetables/beans-dried.htm
About This Article
To grow kidney beans, wait until the spring after the last frost. Find a sunny spot in your garden with well-draining soil and bury the seeds 1 ½ inches (4 cm) deep, leaving 4 inches (10 cm) between seeds if you’re growing a vining variety or 8 inches (20 cm) if you’re growing a bush variety. You can also plant the seeds in 12-inch (30-cm) pots if you want to grow them in containers. It will take around 10-14 days for the seedlings to sprout. If you’re growing a vining variety, provide a trellis for the plants to grow on. Water the soil enough to keep it consistently moist, but not soaked. Your kidney beans should be ready to harvest after 100-140 days depending on the variety. Once the pods are dry and hard, remove them and break them apart to get to the beans inside. Store the dried beans in a sealed container in a dark, dry place for up to a year. For more tips, including how to harvest and store your kidney beans, read on!
