This article was co-authored by Ollie George Cigliano and by wikiHow staff writer, Devin McSween. Ollie George Cigliano is a Private Chef, Food Educator, and Owner of Ollie George Cooks, based in Long Beach, California. With over 20 years of experience, she specializes in utilizing fresh, fun ingredients and mixing traditional and innovative cooking techniques. Ollie George holds a BA in Comparative Literature from The University of California, Berkeley, and a Nutrition and Healthy Living Certificate from eCornell University.
There are 13 references cited in this article, which can be found at the bottom of the page.
You call up your favorite pizza shop, ready to ask for your usual order. But when the shop answers, they ask a question you didn’t see coming: “Do you want that hand-tossed, or pan?” If you’re at the crossroads of making this important pizza decision, but aren’t sure how these types of pizza are different, we’ve got you covered! We understand the importance of pizza, so we’ll tell you all about the differences between hand-tossed and pan. And, if you’re curious about making your own pizza, we’ll tell you how to make each type!
Things You Should Know
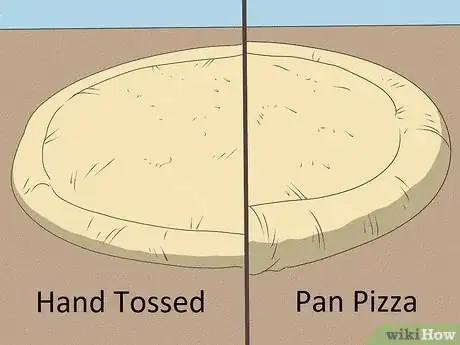
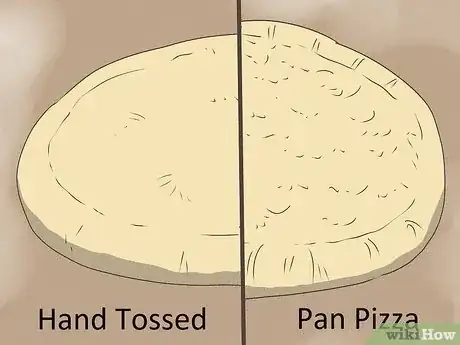
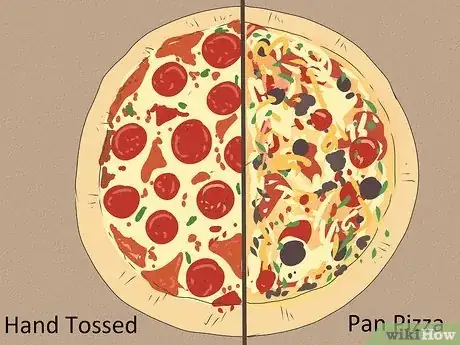
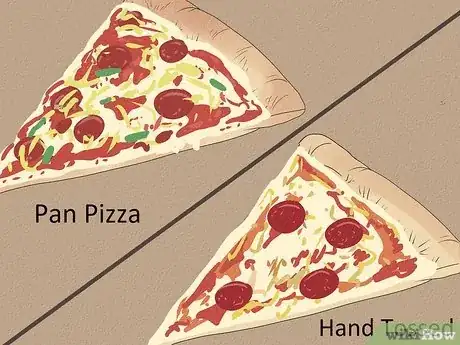
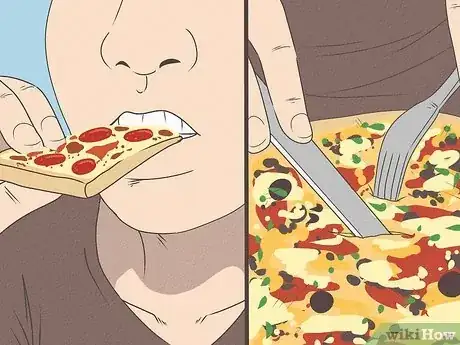
- Hand-tossed pizza has a thinner, crispier crust and softer dough. A pan pizza’s crust is thick and chewy, while its dough is more bread-like.
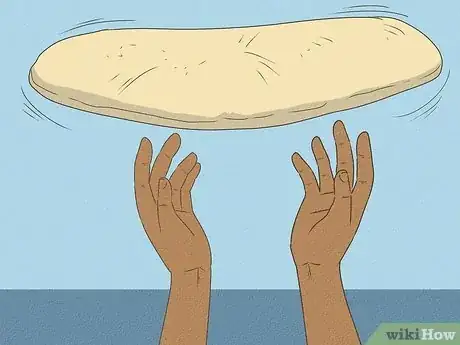
- To make hand-tossed pizza, hold the dough with one hand palm up and the other in a fist. Angle and extend your arms towards your face and toss the dough up.
- To make pan pizza, roll the dough out with a rolling pin. Spread it inside a cake pan or skillet greased with olive oil.
Steps
Making Hand-Tossed Pizza
-
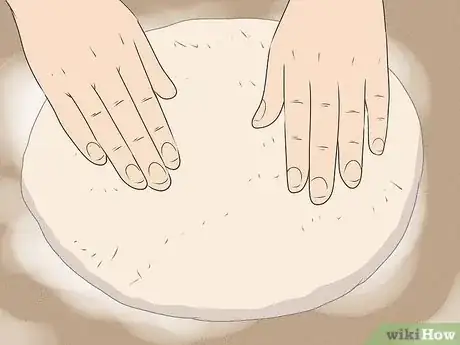
1Dust flour onto your work surface and flatten your dough into a circle. To prevent your dough from sticking to the counter, sprinkle it with a thin layer of flour. Then, place your store-bought or homemade dough on top of the flour. Using your hands, press the dough into a flat circle.[8]
-
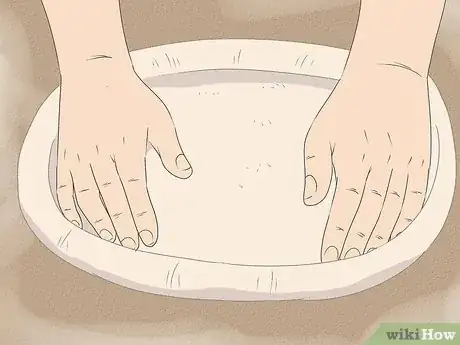
2Spread the dough with your fingers, creating a crust. Press your hands into the dough, about 1 inch (2 cm) from the edge. Move your hands around the perimeter of the dough, pressing and spreading your hands into it as you go. This creates the crust and thins the dough out.[9]
-
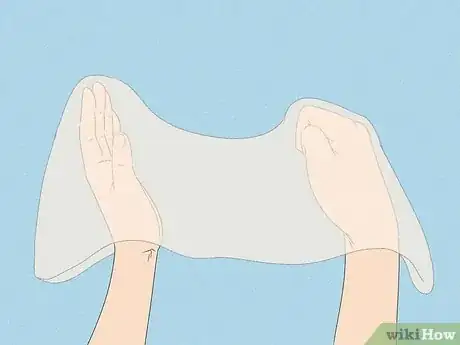
3Hold the dough in both hands, one palm-up and the other fisted, and gently drape it over your hands. Take the dough into both of your hands. With your dominant hand, face your palm up and press your fingers together. With your other hand, make a fist.[10]
-
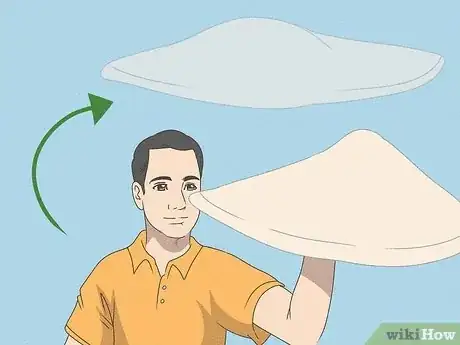
4Swing the dough up and out from your chest and towards your face. Hold your hands tight against your chest, twisting your body towards your non-dominant side. Then, quickly extend and swing your arms over to the other side of your chest. At the same time, push your arms up so you’re bringing the dough level with your face.[11]
- Essentially, you’re swinging the dough across your body while pushing it upwards. This creates a rotation which thins your pizza as it spins in the air.
-
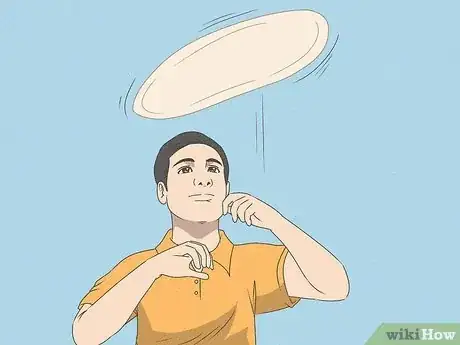
5Toss the dough up and catch it with your fists. Release the dough from your hands once it reaches your face. While in the air, it should rotate and spin, thinning out. Then, fist both of your hands. When the dough starts to drop, extend your arms forward to catch it.[12]
- If you tear your dough when you catch it, don’t worry! Just take a small piece from the crust and spread it over the tear.
-
6Repeat the movements until your dough is at your desired thickness. Keep tossing the dough until it’s reached a thinness that you like. You might throw it once, or decide it needs multiple tosses. This is just personal preference, as there’s no right amount of times to throw it.[13]
-
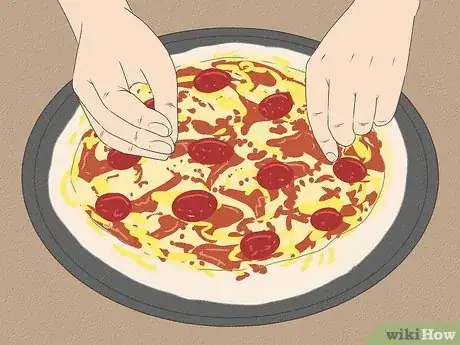
7Place the dough on a baking sheet and add your toppings. Gently lay your tossed dough on a baking sheet. Brush olive oil on top of your dough and add on your favorite pizza sauce and mozzarella cheese. Then, layer on any other toppings that you like.[14]
- If you’re cooking your pizza on a stone or slab, set your pizza on it before adding your toppings.
- When it comes to pizza, the toppings are truly endless! Veggies like green peppers, olives, onions, and jalapeños add a great crunch, while meats like pepperoni, ham, and chicken pack lots of yummy flavor.
-
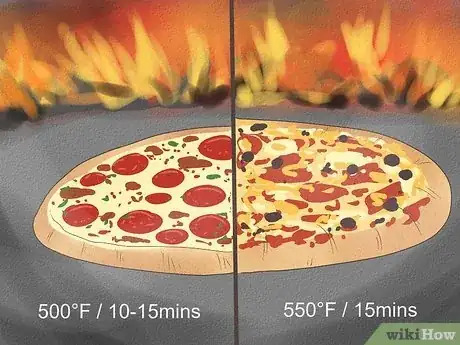
8Bake in the oven for 10 to 15 minutes at 500° F (260° C). Put your pizza into the oven and set a timer for 10 minutes. Take your pizza out once the cheese is bubbly and the crust is lightly brown on the bottom, which might take an additional 5 minutes.[15]
Making Pan Pizza
-
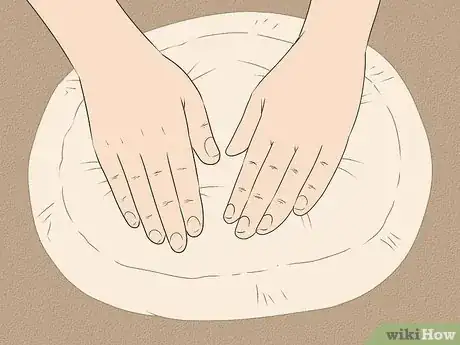
1Roll your dough out on a lightly floured surface. Add a thin layer of flour on top of your workplace. Place your homemade or store-bought dough on top of the flour. With a rolling pin, roll out the dough until it is about 12 inches (30 cm) across.[16]
-
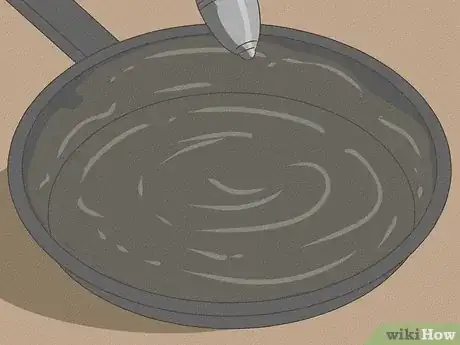
2Drizzle olive oil inside a 9x12 inch (22x30 cm) cake pan or skillet. Take out a cake pan or skillet, whatever you have on hand. Then, pour in a splash of olive oil to lightly coat the bottom and sides of the pan.[17]
-
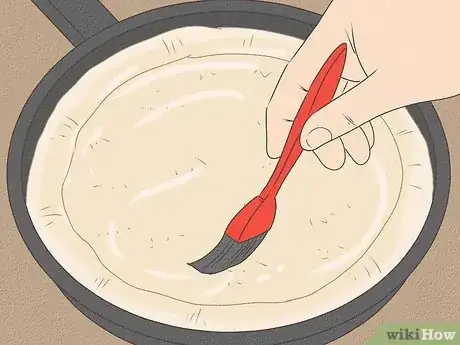
3Spread the dough inside the pan and brush with olive oil. Place your dough inside the pan, spreading it with your fingers so it fits tightly against each side and reaches the top of the pan. Then, brush the dough with olive oil. This helps the crust come out super tasty and crispy.[18]
-
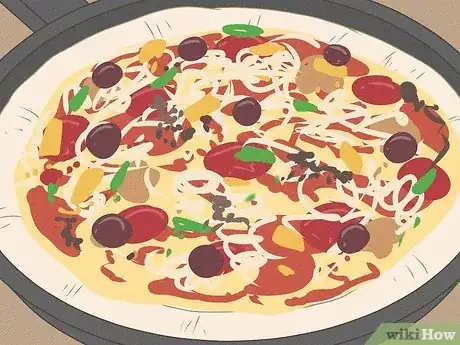
4Add on your toppings and finish with the sauce. With pan pizzas, you start with the cheese and toppings, then add the sauce last. Cover the top of the dough with mozzarella cheese. Then, add some tasty toppings like olives, mushrooms, green peppers, and pepperoni. To finish it off, pour your favorite pizza sauce on top.[19]
-
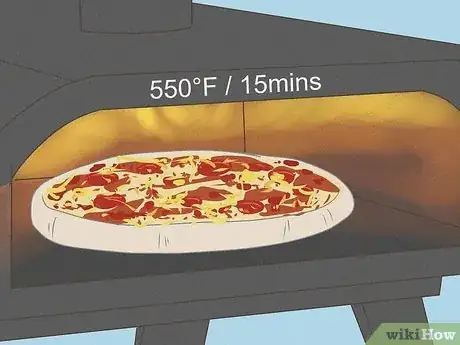
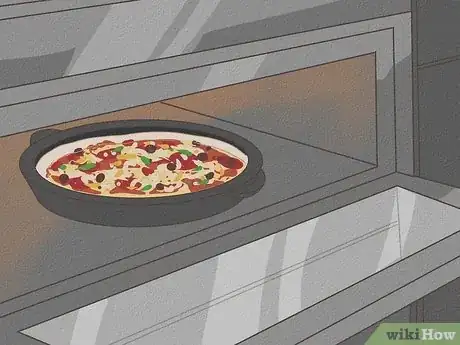
5Bake in the oven for 12 to 15 minutes at 550° F (287° C). Place your pizza in the oven and set your timer for 12 minutes. When the timer goes off, check the bottom of the crust. If it’s golden and crispy, take it out. If not, give it an additional 3 minutes.[20]
References
- ↑ https://www.fattycrab.com/pan-pizza-vs-hand-tossed-the-differences/
- ↑ https://pizzaware.com/pan-pizza/
- ↑ https://www.theartofpizzamaking.com/hand-tossed-pizza-and-pan-pizza/
- ↑ https://thegreatbake.com/pan-pizza-vs-hand-tossed-pizza/
- ↑ https://thegreatbake.com/pan-pizza-vs-hand-tossed-pizza/
- ↑ https://www.theartofpizzamaking.com/hand-tossed-pizza-and-pan-pizza/
- ↑ https://thegreatbake.com/pan-pizza-vs-hand-tossed-pizza/
- ↑ https://jahzkitchen.com/hand-tossed-pizza-dough/
- ↑ https://jahzkitchen.com/hand-tossed-pizza-dough/
- ↑ https://youtu.be/VIJlRXMfW50?t=90
- ↑ https://youtu.be/ZHq-gFDodxg?t=50
- ↑ https://youtu.be/ZHq-gFDodxg?t=54
- ↑ https://youtu.be/ZHq-gFDodxg?t=65
- ↑ https://www.myrecipes.com/recipe/tonys-hand-tossed-pizza
- ↑ https://www.myrecipes.com/recipe/tonys-hand-tossed-pizza
- ↑ https://sallysbakingaddiction.com/how-to-make-chicago-style-deep-dish-pizza/
- ↑ https://www.seriouseats.com/foolproof-pan-pizza-recipe
- ↑ https://sallysbakingaddiction.com/how-to-make-chicago-style-deep-dish-pizza/
- ↑ https://sallysbakingaddiction.com/how-to-make-chicago-style-deep-dish-pizza/
- ↑ https://www.seriouseats.com/foolproof-pan-pizza-recipe
