This article was co-authored by wikiHow Staff. Our trained team of editors and researchers validate articles for accuracy and comprehensiveness. wikiHow's Content Management Team carefully monitors the work from our editorial staff to ensure that each article is backed by trusted research and meets our high quality standards.
There are 13 references cited in this article, which can be found at the bottom of the page.
wikiHow marks an article as reader-approved once it receives enough positive feedback. In this case, 84% of readers who voted found the article helpful, earning it our reader-approved status.
This article has been viewed 302,113 times.
Learn more...
Hooking up a trailer to your car or truck is an easy way to increase the storage capacity of your vehicle. However, failing to attach your trailer correctly can lead to damage to your own car, the trailer, and other vehicles around you as you drive. By securing the coupler to the hitch ball on your vehicle, making sure that it’s locked in properly, and wiring up the lights, you can hook up a trailer safely and easily.
Steps
Lining up Your Vehicle
-
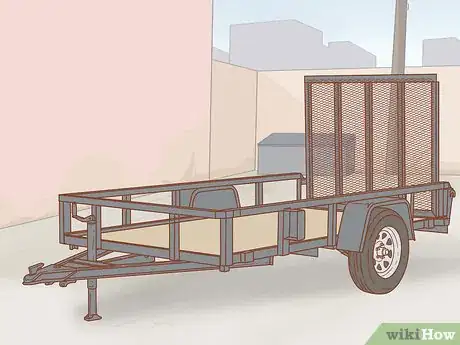
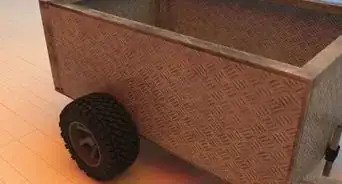
1Move the trailer to a long, easily accessible area. While it’s possible to reverse towards a trailer on an angle or around corners, it’s much easier to attach your trailer if you approach it in a straight line. If you can, wheel the trailer to a long stretch of a driveway or a parking lot where you’ll have plenty of room to work.[1]
- Most trailers will have an attached jack with a wheel on the end that can help keep the trailer level without it being attached to anything. Keep this out while moving the trailer by hand to reduce some of the heavy lifting.
- If your trailer is already full, it might be more difficult to move by hand. Rotate it on the spot as much as you can to make the reversing job easier, as trying to move it yourself may be difficult.
-
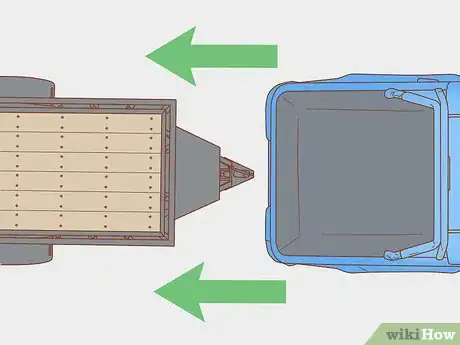
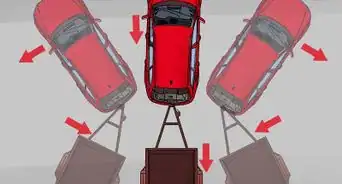
2Reverse your vehicle in a straight line with the trailer. Drive your vehicle forward so that it is directly in front of the trailer. Slowly reverse the car, turning the wheel slightly to keep it as directly in line with the trailer as you can. Stop when the back of the car is around 1 foot (0.30 m) away from the front of the trailer.[2]
- Reversing your car into the right position and space is much easier when you have a lot of room to work with.
- Keeping the trailer and vehicle lined up properly will make driving much easier, especially when you’re first getting onto the road.
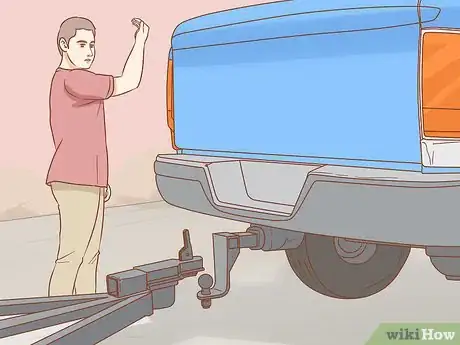
- It might help to get a friend or someone else to help you reverse the car. They can guide you on how far back to drive and help you correct the vehicle if it starts angling in one direction.
Advertisement -
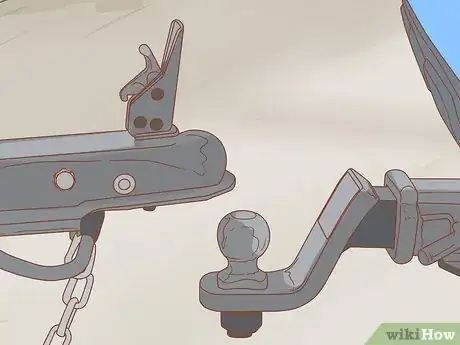
3Position the trailer coupler slightly above the hitch ball. The trailer coupler is the metal socket on the end of the trailer that will connect to the back of your car. Rotate the handle on the trailer jack to raise or lower the coupler so that it’s 2 to 3 inches (5.1 to 7.6 cm) above the hitch ball on the back of your car.[3]
- If your trailer doesn’t have an attached jack, you could use a regular car jack to hold the trailer at the right height.
- Attached trailer jacks will be slightly behind the coupler on the trailer.
- If the trailer is light enough and easy to move, you could simply lift the trailer coupler forward and place it over the hitch ball.
- The hitch ball is the metal ball on the back of your car that the trailer coupler will attach to.
-
4Back your vehicle up until the coupler is directly above the hitch ball. With the coupler raised a little above the hitch ball, get back into your vehicle and reverse backward a little further. Get a friend to help guide you to reverse your car so that the hitch ball and coupler are perfectly lined up.[4]
- It’s possible to reverse into position by yourself, but it will take a lot of trial and error. Reverse a little bit, put on the break, and get out to check how much further back you need to go. Repeat this process until everything is lined up.
- If you reverse too far back, you may hit the coupler and scratch or damage the back of your car.
Securing the Trailer
-
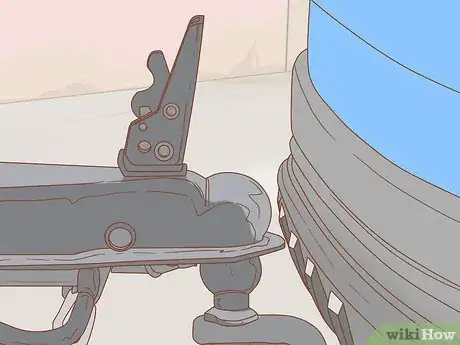
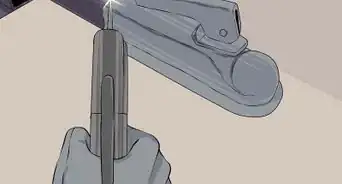
1Unlock the trailer coupler latch. The latch on top of the trailer coupler is the first mechanism that will keep your trailer locked onto the back of your car. Remove the latch pin from the trailer coupler and lift the latch upwards to unlock it. This will allow it to sit on the hitch ball on your vehicle.[5]
- Some trailers might have methods other than latch pins used to hold the latch in place. Try to raise the latch and see what’s holding it in place to find the right way to release it.
- The latch will likely be a metal handle on top of the trailer coupler.
- If the coupler is already unlocked, you can skip this step.
-
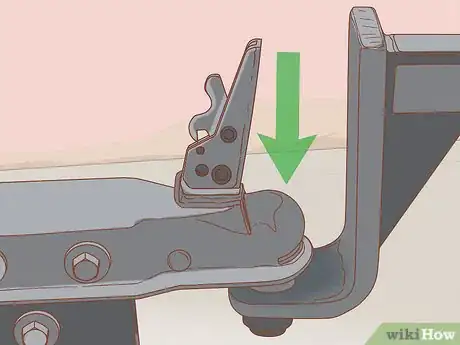
2Lower the coupler socket onto the vehicles hitch ball. Check the hitch ball on the back of your vehicle and remove any covers or protectors sitting on top of it. Use the handle attached to the trailer jack to lower the coupler socket onto the hitch ball, until the weight of the trailer is supported entirely by the ball.[6]
- If the latch has been lifted and everything is positioned properly, the socket should lower and sit perfectly on the hitch ball.
-
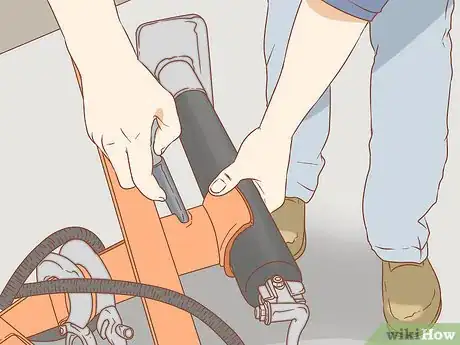
3Move the trailer jack out of the way. The trailer jack is great for positioning the trailer properly but will get easily damaged if you drive with it attached. Look for a latch or latch pin on the trailer jack to rotate it up into the trailer and hold it out of the way while you drive. Alternately, you may be able to detach the jack entirely and keep it in your vehicle until it’s needed.[7]
- The wheel on the trailer jack is not designed for use while driving. Do not drive with the trailer jack on or extended at risk of damaging the trailer, your vehicle, or other vehicles on the road.
-
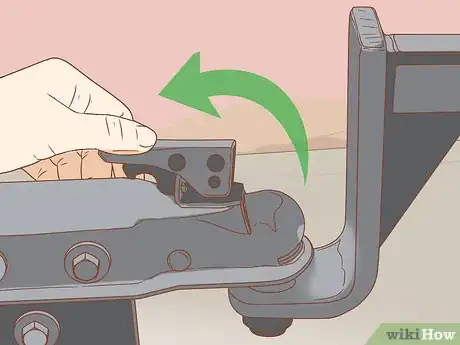
4Lock the coupler latch and insert the latch pin. With the coupler sitting securely on the hitch ball, reverse the process of unlocking the coupler latch to lock it in place. Push the handle on the coupler down so that it is parallel to the ground. Insert the latch pin to hold it in place and prevent the coupler from unlocking while you drive.[8]
- Different trailers and trailer couplers may have slightly different locking mechanisms. Always consult the owner’s manual for your own trailer to make sure you lock it into place properly.
-
5Attach the safety chains to the back of your vehicle in a cross pattern. Run one of the safety chains below the coupler and hitch ball and attach it to the opposite side of the hitch ball. Repeat with the other chain to create an overlapping cross underneath the coupler and hitch ball.[9]
- The safety chains will be the last safety mechanism in place if the coupler latch fails, so they are legally required in many places.
- If the coupler disconnects from the vehicle while you’re driving, it will fall and land on the crossed chains rather than hitting the road.
- The safety chains will be attached to your trailer, just below the coupler.
Connecting the Lights
-
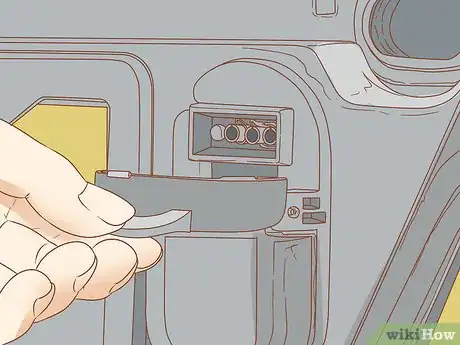
1Locate the wiring socket on the back of your vehicle. The wiring socket is a wide plug that will power the lights on your trailer. Look for a small panel on the back of your vehicle, inside the trunk, or even a loose wire close to the hitch ball. Make sure it isn’t damaged and is free from any corrosion that may prevent it from working properly.[10]
- If you cannot find the wiring socket on your car, check the manufacturer’s instructions for your car for further assistance.
- If your wiring socket is damaged, corroded, or frayed in any way, have it looked over by a mechanic before plugging the trailer wire into it.
-
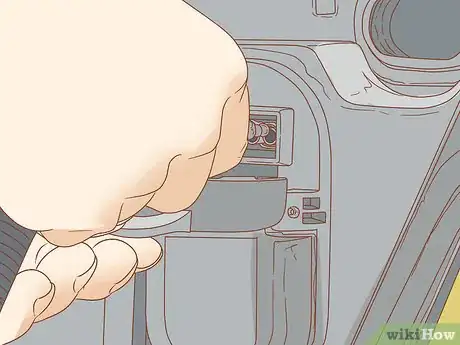
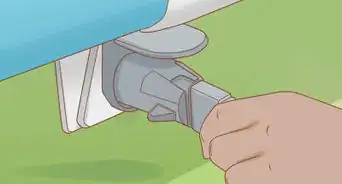
2Plug the trailer wire into your vehicle. There should be a loose wire with a plug on one end near the trailer coupler. Run the wire above the coupler and the hitch ball and plug it into the socket on the back of your vehicle. Press the plug securely into the socket and use any latches on the wire to hold them together.[11]
- Some trailers will have metal loops along the side of the coupler that the wire can be threaded through to keep it out of the way.
- Avoid running the wire underneath the coupler and hitch ball, as this will increase the chances of it getting damaged or becoming unplugged should the trailer detach from your vehicle.
-
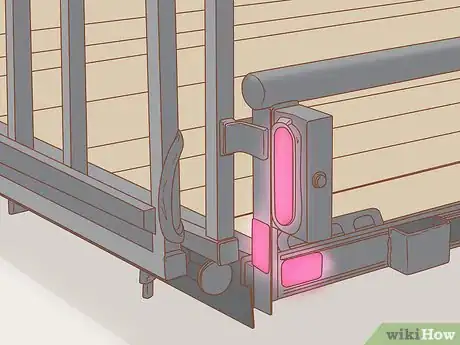
3Test the headlights, blinkers, and brake lights on the trailer. Before you start driving, you should always make sure the trailer lights are working. Start your vehicle, engage the handbrake, and turn on the headlights. Check the appropriate lights on the back of the trailer are on, before repeating the same process with each indicator and the brake lights.[12]
- If any of the lights aren’t working, you should not drive the trailer. This is the same as driving without the corresponding light on your car working. Call a mechanic to ask for assistance before driving your car with the trailer attached.
- Rather than moving back and forth from the driver's seat of your car to the rear end of your trailer, ask a friend to check the lights while you activate them.
Community Q&A
-
QuestionI want to place my Airstream in a place where the tow vehicle would be at a slight angle to the trailer when unhitching/hitching. Is it possible to approach for hookup at an angle, instead of truck and trailer being in a straight line?
 Community AnswerYes. A little more difficult to line up, but you can technically hook up while at a 90-degree angle to the trailer.
 -
QuestionCan I put the safety cable over the ball and then attach the coupler?
 Community AnswerNo, if the safety chains are too long, shorten them to the necessary length.
 -
QuestionHow do I wire a 7-blade trailer connector to a 2011 Ford transit?
 Community AnswerYour 2011 Transit is not capable of towing a trailer requiring 7 pins. Transit Vans are generally not able to tow any type of trailer, let alone one requiring electric brakes (7-pin). Ford does not recommend installing a trailer hitch on their transit vans for this reason. It may also void your warranty by installing a hitch on this van.
Warnings
- Always check to make sure that a child or pet has not wandered behind the vehicle before you start backing up.⧼thumbs_response⧽
- Always inspect the hitch connections, tires and running gear before you get ready to pull away after a rest or fuel stop.⧼thumbs_response⧽
- The safety chains should only be used as an extra measure of security, rather than being relied on to move your trailer.⧼thumbs_response⧽
- Make sure the ball hitch on your vehicle is the same size as the ball socket on your trailer. The size of each will be stamped near the ball or socket.[13]⧼thumbs_response⧽
- Never have a person stand between the vehicle and trailer while you move the trailer.⧼thumbs_response⧽
References
- ↑ https://youtu.be/pjGt1Hkm1y8?t=28
- ↑ https://youtu.be/pjGt1Hkm1y8?t=53
- ↑ https://youtu.be/GwxVB4xbA5k?t=41
- ↑ https://www.familyhandyman.com/automotive/how-to-hook-up-a-trailer/
- ↑ https://youtu.be/pjGt1Hkm1y8?t=76
- ↑ https://youtu.be/pjGt1Hkm1y8?t=74
- ↑ https://youtu.be/GwxVB4xbA5k?t=48
- ↑ https://youtu.be/pjGt1Hkm1y8?t=84
- ↑ https://www.popularmechanics.com/cars/how-to/a6791/the-right-way-to-tow-a-trailer/
About This Article
To hook up a trailer, move the trailer to an open stretch of driveway if you can, and position it so you can approach it in a straight line with your vehicle. Drive your vehicle forward so it’s directly in front of the trailer, and then slowly reverse as directly in line with the trailer as you can. Stop when the back of the car is around 1 foot away from the front of the trailer. Using the built-in trailer jack or a regular car jack, raise the metal socket, called the “coupler,” on the end of the trailer to about 2 to 3 inches above the hitch ball on the back of your car. Then, reverse your car slowly until the hitch ball is directly under the socket. If you can, have a friend help guide you and tell you when to stop reversing. Unlock the latch on the trailer coupler, and then adjust the jack to lower the coupler onto the hitch ball until the weight of the trailer is fully supported by your car. For more tips from our co-author, like how to connect the lights of your trailer to your car, keep reading!
