This article was co-authored by wikiHow staff writer, Christopher M. Osborne, PhD. Christopher Osborne has been a wikiHow Content Creator since 2015. He is also a historian who holds a PhD from The University of Notre Dame and has taught at universities in and around Pittsburgh, PA. His scholarly publications and presentations focus on his research interests in early American history, but Chris also enjoys the challenges and rewards of writing wikiHow articles on a wide range of subjects.
There are 8 references cited in this article, which can be found at the bottom of the page.
This article has been viewed 4,666 times.
Learn more...
Interchangeable choke tubes customize the shot spread of your shotgun, allowing you to switch from a wider spread (such as for skeet shooting) to a narrower spread (like for turkey hunting). Switching out interchangeable chokes is a straightforward process that you can definitely handle. Read on for a complete guide to changing out chokes, choosing chokes, and dealing with fixed-choke or no-choke shotguns.
Steps
Installing Interchangeable Choke Tubes
-
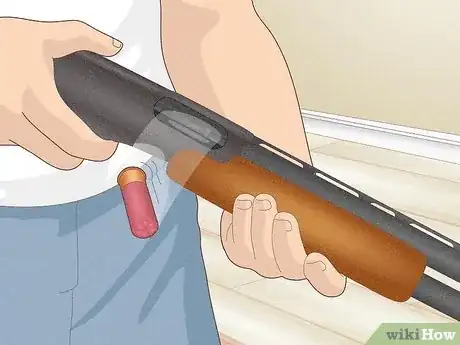
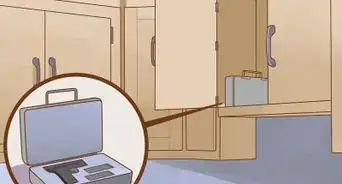
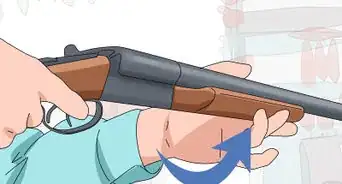
1Confirm that the gun is completely unloaded. Don’t just “think” the gun is unloaded—“know” the gun is unloaded. Visually and physically confirm that both the chamber and the magazine are empty. Do this anytime you clean or repair a shotgun in any way.[1]
- Pump-action shotgun: Press the shell latch behind the magazine and pull out all the shells as they emerge. After that, hold down the bolt release (near the trigger guard) and slide the pump back—a shell will eject each time you do this, until the chamber is empty. Visually inspect both the magazine and chamber.
- Auto-loading shotgun: Slide back and release the bolt grip to eject a shell, and keep repeating the process until no more shells eject. Visually confirm that the chamber and magazine are empty.
- Break-action shotgun: Open the hinge and pull out the shell(s) in the single or double barrels.
-
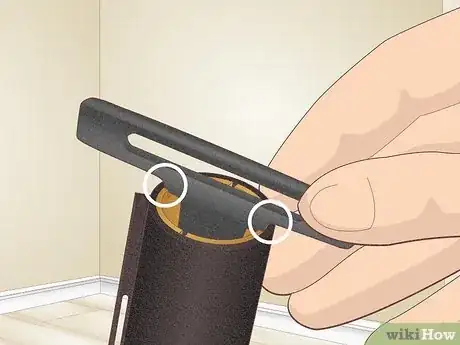
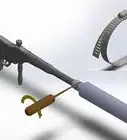
2Align the choke tool with the notches in the installed choke tube. Skip this step (and the next one) if your interchangeable-choke shotgun does not currently have a choke tube installed. Most if not all types of choke tubes have 4 notches that are clearly visible at the end of the shotgun muzzle. Simply line up the 4 flat blades of the choke tool and insert them into these notches.[2]
- For the best results, use the choke tool that came with your shotgun and its accompanying set of interchangeable choke tubes. Otherwise, contact the shotgun/choke tube manufacturer and order a replacement tool.
Advertisement -
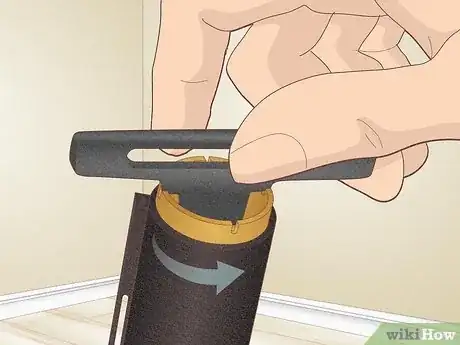
3Loosen the choke tube with the choke tool, then remove it by hand. Twist the choke tool counterclockwise to work the choke tube loose—it may take some effort if the tube wasn’t properly lubricated before insertion! Once you rotate the tube several times with the tool, switch to using your fingers to unscrew it completely from the muzzle.[3]
- If the choke tube is stuck in place and you can’t get it to budge, your best bet is to take it to a gunsmith—trying to force the tube loose yourself is likely to damage the barrel.
-
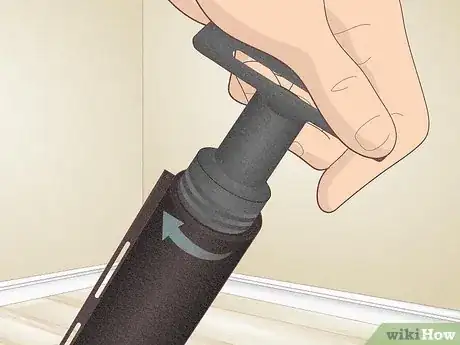
4Clean the threads inside the muzzle with the threaded side of the tool. Many choke tools have a threaded side opposite to the bladed side. Insert this threaded end into the muzzle, twist it clockwise several times, then unscrew and remove it. This helps clean the threads before you insert the new choke tube.[4]
- If your choke tool doesn’t have a threaded end, use the choke tube you’re about to install to accomplish the same task. Wipe down its threads thoroughly (if it’s not brand new), finger-tighten it in the muzzle several turns, unscrew it, and wipe down its threads once again.
-
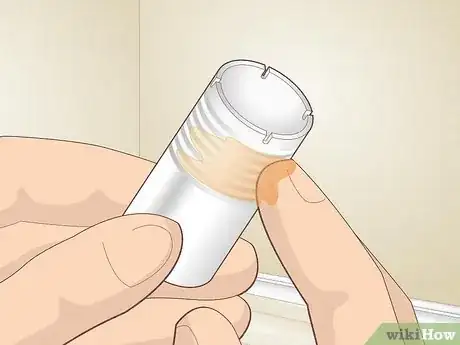
5Lubricate the choke tube’s threads with choke tube lube. Choke tube lube can have an oil, ointment, or paste-like consistency. In any case, use a clean rag or your finger to apply a light coating of the lube over the threads of the choke tube. Avoid gunking up the threads with lube—a thin coating is all you need![5]
- Don’t skip this small but important step. Lubricating the threads will make it much easier to install and uninstall the choke tube.
-
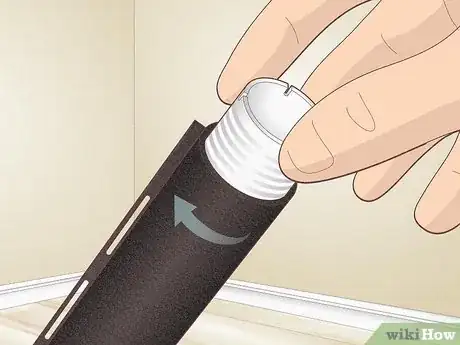
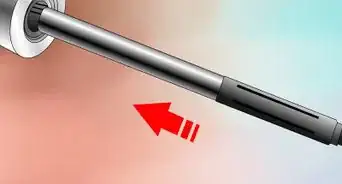
6Thread the new tube into the muzzle by hand until it’s finger-tight. Insert the new choke tube straight-on into the end of the muzzle and twist it clockwise lightly until you feel the threads catch. After that, spin it with your fingers until you feel firm resistance.[6]
- Starting out by hand (instead of using the choke tool) makes it easier to feel that the threads have taken hold. This will prevent you from mis-aligning the new choke tube and potentially damaging the threads.
-
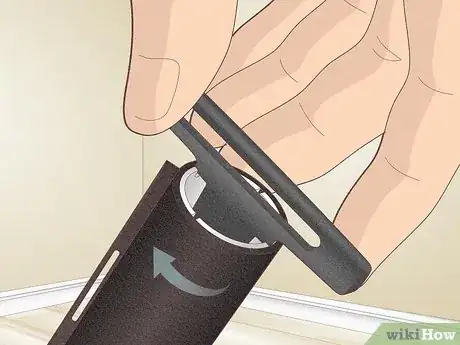
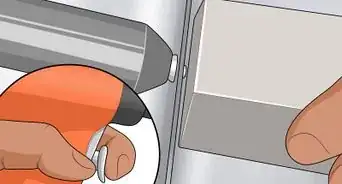
7Tighten the tube with the tool until it’s flush with the muzzle tip. Slip the blades of the choke tool into the choke tube’s 4 notches and start twisting clockwise. Keep screwing in the tube until both of the following are true: the end of the choke tube is flush (even) with the end of the muzzle; and you feel strong resistance when twisting the tool. Don’t over-tighten the tube by forcing it to screw in further, or it’ll become extremely difficult to remove later.[7]
- Some specialty choke tubes are designed to extend beyond the muzzle tip. In this case, just focus on fully tightening (but not over-tightening) the tube.
- Unscrew the tube and either try again or consult a gunsmith if one or both of the following happen:
- You can’t screw in the tube any further unless you use maximum force, but the tube isn’t yet flush with the muzzle tip.
- The tube is already flush with the muzzle tip but still feels like it can be tightened further.
Choosing the Right Choke for Your Needs
-
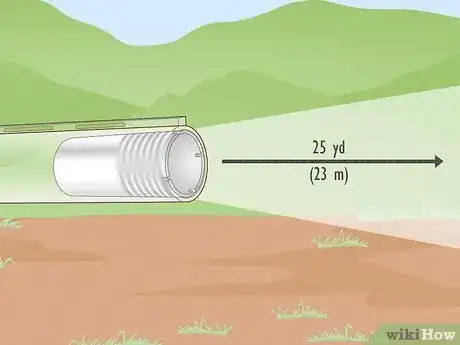
1Skeet: Instead of constricting and focusing the shot spread, this type of choke tube enhances (widens) the spread at short range. A skeet tube is ideal for skeet shooting at a range of within about 25 yd (23 m).[9]
- The choke tube names listed here—skeet, cylinder, etc.—aren’t universal, but are commonly used. In general terms, choose a choke tube that’s less constricted for greater shot spread, and more constricted (or full) for narrower shot spread.
-
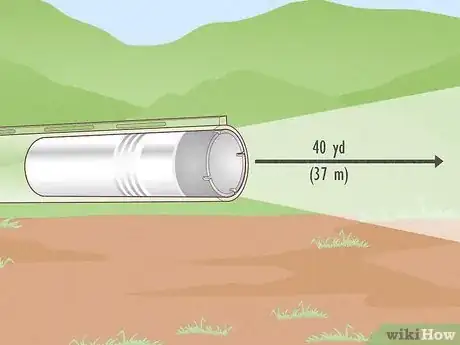
2Cylinder: This essentially functions as a no-choke shotgun and does not widen or narrow the shot pattern. Cylinder chokes are most commonly used by law enforcement, but you may find them useful for mid-range skeet shooting at around 40 yd (37 m).[10]
-
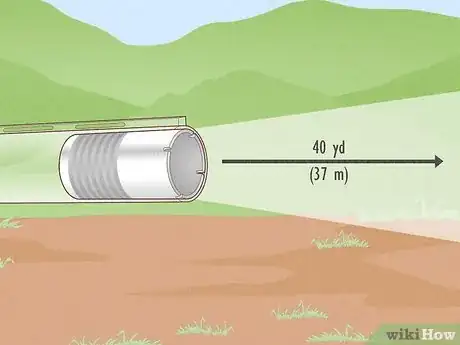
3Improved Cylinder: Unlike the basic cylinder, this choke tube slightly constricts and therefore slightly narrows the shot pattern. It’s often the choke tube of choice when hunting waterfowl at a fairly close range of up to 40 yd (37 m).[11]
-
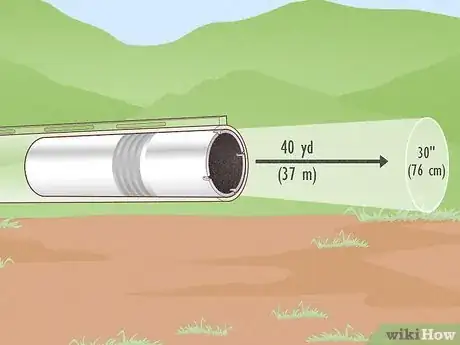
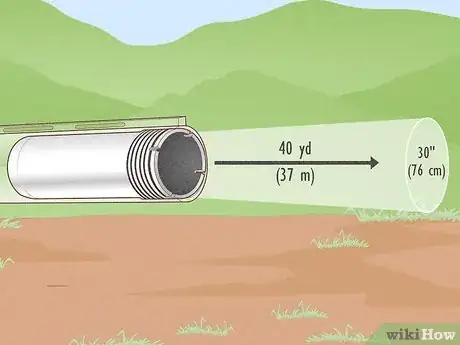
4Modified: The modified choke increases the constriction beyond the improved cylinder choke, making it well-suited to typical waterfowl hunting, small game hunting (like rabbits and pheasants), and trap shooting. The majority of its shot will fall within a 30 in (76 cm) diameter circle at a range of 40 yd (37 m).[12]
-
5Full: This choke tube delivers around 75% of the total shot within a 30 in (76 cm) diameter circle at 40 yd (37 m). Choose full choke for activities like trap shooting and turkey hunting.[13]
-
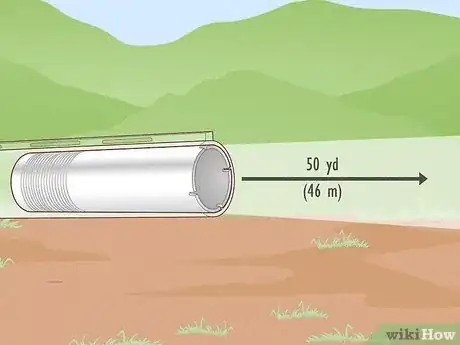
6Extra-Full: Also called super-full, this choke tube provides the most constricted, concentrated shot pattern. This gives you a greater effective range—around 50 yd (46 m)—but also requires greater accuracy. It’s often the choke tube of choice for experienced turkey hunters.[14]
References
- ↑ https://www.youtube.com/watch?v=vrBVZyRca1c
- ↑ https://youtu.be/6_S1f6iUHuk?t=52
- ↑ https://youtu.be/KngKMyaBskA?t=65
- ↑ https://youtu.be/6_S1f6iUHuk?t=59
- ↑ https://youtu.be/6_S1f6iUHuk?t=59
- ↑ https://youtu.be/KngKMyaBskA?t=154
- ↑ https://youtu.be/6_S1f6iUHuk?t=59
- ↑ https://waterfowlchoke.com/can-you-put-a-choke-tube-on-any-shotgun/
- ↑ https://www.arkansasonline.com/news/2017/oct/01/shotgun-shooters-guide-interchangeable-choke-tubes/
- ↑ https://www.arkansasonline.com/news/2017/oct/01/shotgun-shooters-guide-interchangeable-choke-tubes/
- ↑ https://www.thefield.co.uk/shooting/guide-shotgun-choke-22358
- ↑ https://www.arkansasonline.com/news/2017/oct/01/shotgun-shooters-guide-interchangeable-choke-tubes/
- ↑ https://www.thefield.co.uk/shooting/guide-shotgun-choke-22358
- ↑ https://www.arkansasonline.com/news/2017/oct/01/shotgun-shooters-guide-interchangeable-choke-tubes/
