X
wikiHow is a “wiki,” similar to Wikipedia, which means that many of our articles are co-written by multiple authors. To create this article, 9 people, some anonymous, worked to edit and improve it over time.
This article has been viewed 56,217 times.
Learn more...
Chimney liners are a necessity if you own a home with a wood- or gas- or pellet- or corn- burning fireplace. A thick, tarry smoke rises from every fire you burn, and without a liner, it will stick to the walls of your chimney and create a fire hazard. Chimney maintenance can be very costly, but with a little hard work you can learn how to install a chimney liner yourself.
Steps
-
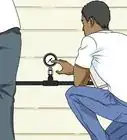
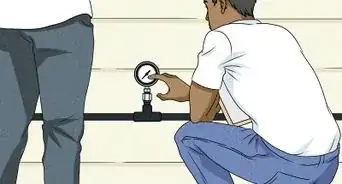
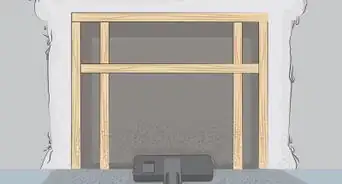
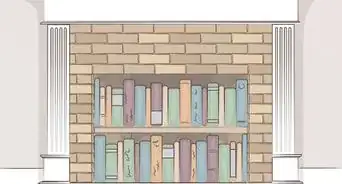
1Inspect the chimney. Use a light source on a string (or an inspection camera if you have one)to look for bends, or restrictions that could interfere with pulling the liner through.
-
2Determine the correct diameter of the liner. If for a wood stove/insert, consult the owners manual for proper sizing. For an open fireplace, look for a chart or calculator online.Advertisement
-
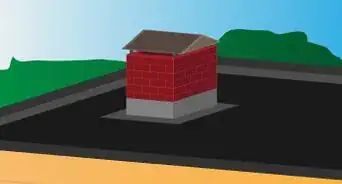
3Measure the length from the top of the chimney crown to the area where the bottom termination should stop. To ensure you have enough liner, add an additional 12 inches (30.5 cm).
-
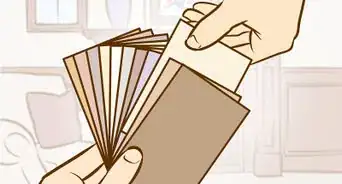
4Purchase a stainless steel flexible chimney liner from your local hardware supplier. The liner should come with a kit that contains all the pieces needed.
-
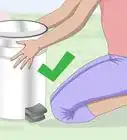
5Remove the liner from the packaging, and straighten it on a flat surface. Hook up the bottom connector to the bottom of the liner. Fasten a hose clamp to the connection with a wrench. Don't fasten it too tightly.
-
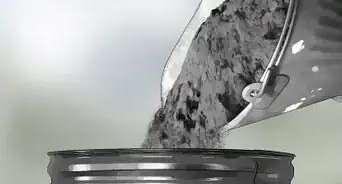
6Determine whether to use an insulation blanket or a pour-in insulation. If there is more than 2" clearance between the liner and chimney wall on all sides, the blanket liner is best.
-
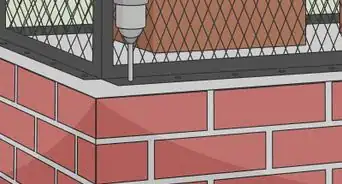
7If using the blanket liner, measure the circumference of the bottom termination connector, and multiply the number by 3.14. Add 1 inch (2.5 cm) to be sure you have enough. The overlap can be trimmed later if necessary.
-
8Cut the blanket insulation from your chimney liner installation kit to the calculated measurement.
-
9Lay the cut insulation flat on the ground with the foil-side down. Center the liner on top, and wrap it with the installation. As you pull the chimney liner insulation closed, leave a minimum of 1 inch (2.5 cm) overlap so that you can secure it with tape.
-
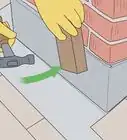
10Glue the wrap to the liner with adhesive spray as you go. In 12 inch (30.5 cm) increments, seal the seam with foil tape. Repeat this process until you have completely covered the liner with insulation.
-
11Secure the seam with 1 long, unbroken piece of foil tape to complete the insulating layer.
-
12Unroll the wire mesh from the installation kit, and cover the entire insulated liner, including the bottom connector.
-
13Attach hose clamps to 1 end of the liner to hold the mesh in place. From the other end, pull the mesh taut over the liner. Fasten the remaining host clamps on that end, and make sure to keep the wire meshing tight. Use your tin snips to remove any mesh that overhangs the liner.
-
14Check the instructions on the liner kit. Specific instructions on how to pull the liner through the chimney may vary slightly from the guidance here. When in doubt, always follow the manufacturer's instructions. The most difficult point is typically the damper in the top of the fireplace.
-
15Attach the rope found in your installation kit to the pulling cone or directly to the bottom connector, whichever applies to your specific kit.
-
16Climb to the roof, and position yourself near the chimney. Have a second person feed you the liner from ground level, and return to the bottom of the chimney to assist you in the installation process.
-
17Throw the pulling rope down the chimney for the second person to guide down the liner.
-
18Position the bottom connector at the rooftop opening of the chimney, and make sure it is centered to prevent damage to either the chimney or liner. Slowly guide the liner downward. The second person should aid in this process by gently pulling the rope to help the liner's descent.
-
19Complete the installation when the bottom connector has reached the appropriate position for your chimney height. If necessary, cut the top of the liner with your tin snips to equal 4 inches (10.2 cm) higher than the chimney crown.
-
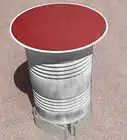
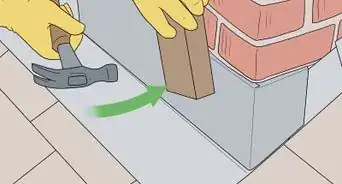
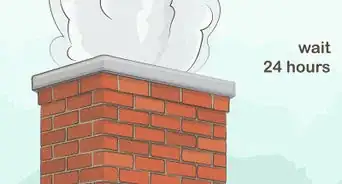
20Instruct the second person to hold the bottom connector into place. Seal the chimney crown with silicone caulking. Place the chimney's top plate over the installed liner, and press it firmly into the caulk to seal it.
-
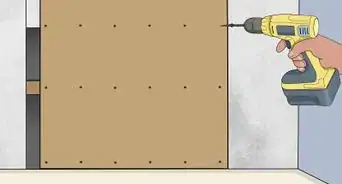
21Secure the quick connect clamp tightly around the liner. Use the pre-drilled holes on the top plate to screw the connection together with 4 tap con screws.
-
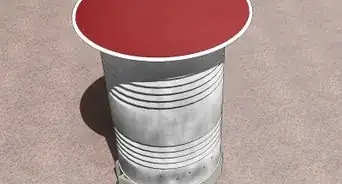
22Fit the cap onto the collar of the top plate, and use your monkey wrench to tighten the hose clamp band on to the top plate collar. Make sure the connection is secure to complete the top termination.
-
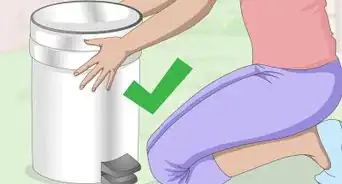
23Climb down from the roof, and return to the fireplace entrance or chimney bottom.
-
24Attach the appliance connector to the liner and the bottom termination point.
-
25Locate the tee snout on the liner bottom. Use your tin snips to cut a hole in the insulation and meshing where the tee snout will connect to the tee body.
-
26Fasten together the tee snout and tee body using the pre-attached metal, and wrap it around the backside of the tee body. Cover the connection with the leftover liner insulation.
-
27Connect the tee snout to your heating appliance. Complete the connection by attaching it to the heating appliance.


Advertisement
Expert Q&A
-
QuestionDo you need a special knife to cut insulation?
 Ryaan TuttleRyaan Tuttle is a Home Improvement Specialist and the CEO of Best Handyman, Inc. in Boston, Massachusetts. With over 17 years of experience, he specializes in building home service businesses, focusing on creating scalable and efficient brands. With the help of his global team, the companies have achieved over 10+ million in sales and received recognition through magazine features, and enjoy partnerships with wikiHow and Jobber field service software. Boston Magazine and LocalBest.com have named Best Handyman Boston the Best Handyman in Boston. Ryaan holds Construction Supervisor and Home Improvement Contractor Licenses.
Home Improvement SpecialistNot necessarily! You can use a special fiberglass insulation knife to cut it, but you can also use a utility knife. To use a utility knife, mark out the line on the insulation (on the paper side), put a board down on that line, push down, and use the utility knife to cut the material. -
QuestionCan the old broken flue be taken out before a new liner is put down the chimney cavity?
 Community AnswerYes, you can use a drill and beater tool with extensions to run down the chimney and break out the old liner.
Advertisement
Warnings
- Stainless steel liners, especially when cut, can be sharp. To prevent potential injuries, make sure to wear protective gloves throughout the preparation and installation steps.⧼thumbs_response⧽
- Remember to clean out the creosote in the tee cap or fireplace, depending in your venting application.⧼thumbs_response⧽
Advertisement
Things You'll Need
- Stainless steel chimney liner
- Chimney liner installation kit
- Protective gloves
- Monkey wrench
- Measuring tape
- Tin snips
- Adhesive spray
- Silicone caulk
- 4 tap con screws


About This Article
Advertisement