This article was co-authored by wikiHow Staff. Our trained team of editors and researchers validate articles for accuracy and comprehensiveness. wikiHow's Content Management Team carefully monitors the work from our editorial staff to ensure that each article is backed by trusted research and meets our high quality standards.
This article has been viewed 18,502 times.
Learn more...
Sash windows, or double-hung windows, can give your home an attractive, classic look, and may be required for some historical renovations. Wood or vinyl window inserts can be used on any type of window jamb, and are ideal for window jambs that have warped or shifted slightly with age. Sash window replacement kits can be used to replace existing sash windows. If you have the right tools and take accurate measurements, either product should take less than a few hours to install.
Steps
Measuring Your Window Jamb
-
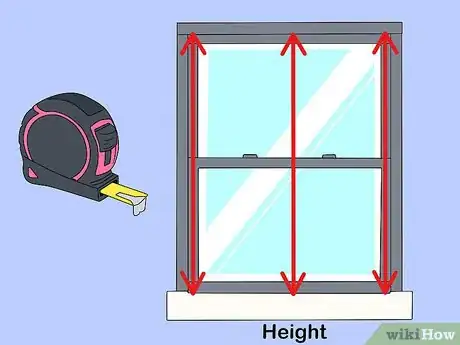
1Measure the height of your window jamb. Use a tape measure to find the height of your window jamb on the left side, right side, and center. If these three measurements are not the same, use the smallest measurement. Make sure you are measuring the full height of the jamb, not between the interior stops, which are thin pieces usually made of wood that hold the window in place.[1]
-
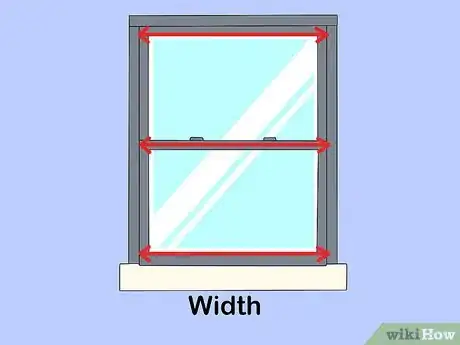
2Find the width of your window jamb. This measurement should be taken at the bottom, top, and middle of the jamb. Use the smallest of these three measurements. Make sure you are measuring from one side of the jamb to the other, not between the interior stops or parting stops.Advertisement
-
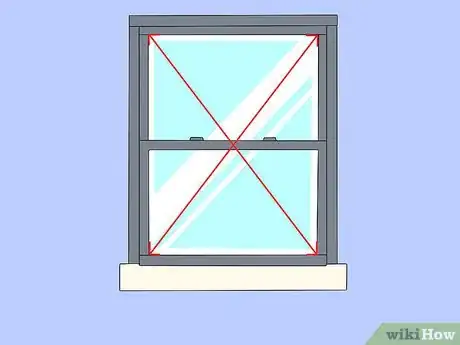
3Check to see if the diagonal measurements of your jamb match. Measure the jamb from the top left corner to the bottom right corner, and from the top right corner to the bottom left corner. If these measurements differ by more than 0.5 inches (1.3 cm), you should use an insert rather than a replacement kit.[2]
-
4Measure the depth of your window jamb. This is an important measurement which is often neglected. Measure the full depth of your window jamb, making sure to measure only where the window itself will sit, and not any protruding frame pieces.
-
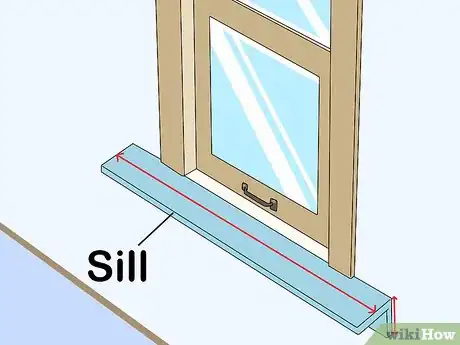
5Measure the angle of the outside sill if you are using a kit. Some windows have outer sills with a slight downward angle, and this can be important information when selecting a replacement kit. Measure the angle by holding a thick piece of paper flush against the outside of the window and folding the bottom of the paper so that it lines up with the sill. You can then measure the angle you just folded into the paper with a protractor.[3]
Removing the Old Window
-
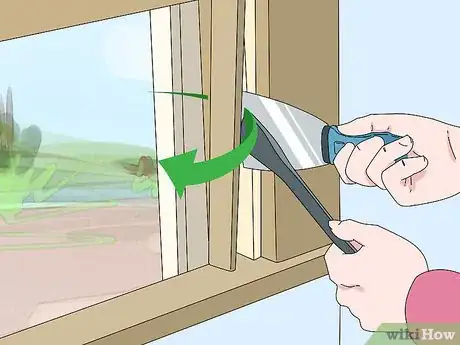
1Pry the interior stops off the window jamb. The interior stops are thin, flat pieces attached to the inside of the window jamb. They are typically made of wood, and are meant to hold the window in place from the inside. Use a crowbar or pliers to remove them, and do your best to keep them intact for re-use.[4]
-
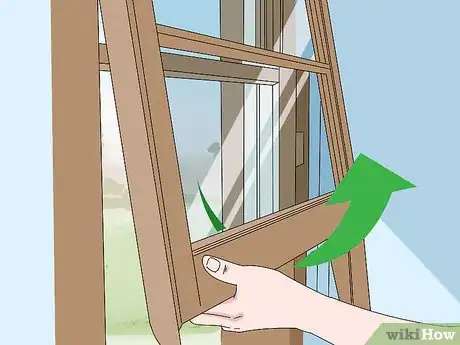
2Take the old window carefully out of the jamb. If you are removing an older sash window, the bottom sash may be attached to two sash cords, which are attached to the sash weights. Cut the sash cords and pull the bottom sash out, then the top sash.[5]
-
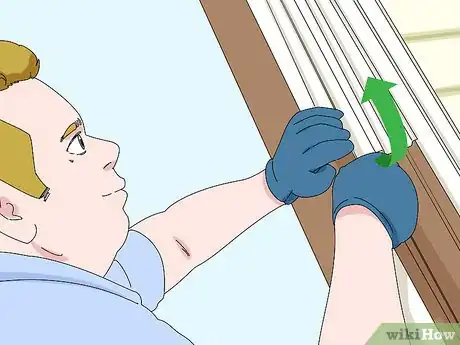
3Pry off the parting stop if there is one. On sash windows, there will be another thin piece of wood in the middle of the jamb that divides the upper and lower sashes’ tracks. Pry this off with a crowbar or pliers. You do not need to save these piece.[6]
-
4Take the sash weights and pulleys out if removing a sash window. Use the sash cords to pull the weights gently out of the weight well, and remove the weight pulleys. Be careful, as the weights will be heavy and can damage glass if swung carelessly.[7]
- Newer sash windows may have springs instead of weights and pulleys, which should also be removed.
-
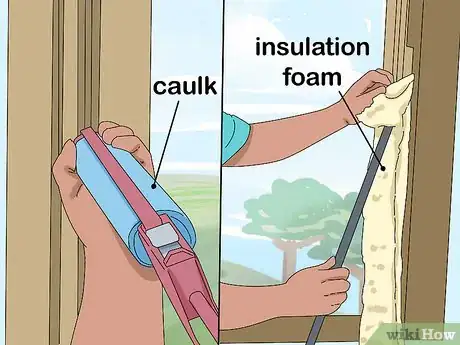
5Insulate any open spaces with caulk or insulation foam. If you are removing a sash window, stuff the empty weight wells with insulation foam, or fill them caulk. This will keep your new window from leaking cold air into the house.[8]
Installing a Sash Window Replacement Kit
-
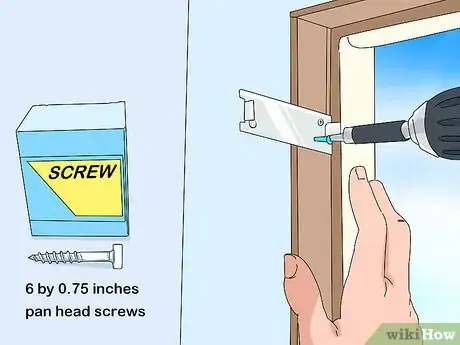
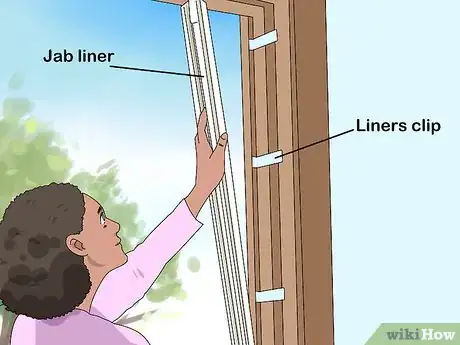
1Screw liner clips into the jamb. Your kit should include liner clips, which you can attach to your jamb using 6 by 0.75 inches (15.2 cm × 1.9 cm) pan head screws unless otherwise specified. Place one about 4 inches from the top and one 4 inches from the bottom on each side, and space the rest evenly between top and bottom.[9]
- You will also want to leave 1/16 of an inch (about 0.16 cm) between the clips and the blind stop, which is the piece of wood holding the window in place from the outside.
-
2Snap your new sash liners into place using the liner clips. The liners that come with your kit should snap easily into the liner clips. The outside edge should fit between the liner clips and the blind stop.[10]
-
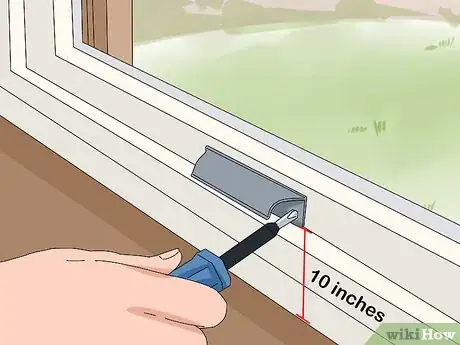
3Move the sash lifts to 10 inches (25 cm) above the sill. There should be two sets of sash lifts in your liners, one for the upper sash and one for the lower sash. Use a flat-head screwdriver to twist the screws on the sash lifts so they are horizontal. This will allow you to move the sash lifts up and down in their tracks. Move them to about 10 inches (25 cm) and twist the screws back into a vertical position, which will secure them in place.[11]
-
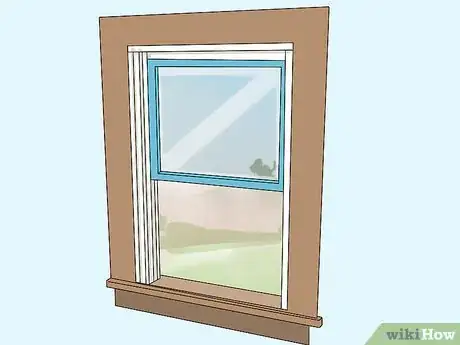
4Install the upper sash. Tilt the sash so that the bottom of it enters the jamb first and the exterior side faces up slightly. There should be metal pivots on each side of the sash that will connect with slots in the jamb liner above the sash lifts. Once those have connected, tilt the top of the sash up into the jamb and gently push it until it snaps into place between the jamb liners. Once it is secure inside the jamb, slide it down until you feel the cams connect with the sash lifts. You should then be able to slide it up to the top of the jamb.[12]
-
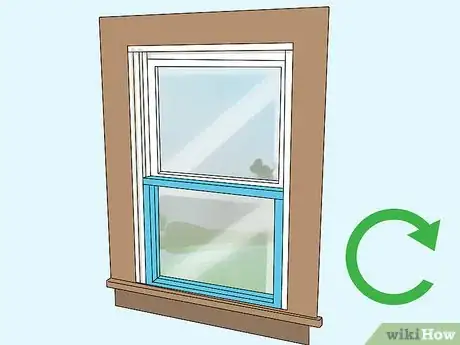
5Repeat this process for installing the lower sash. Tilting the bottom of the lower sash forward like you did with the upper sash, insert it in the jamb so that the metal pivots line up with the slots in the inner track of the jamb. You should then be able to slide it down so it connects with the sash lifts. Slide it all the way up and down a few times to check that it moves freely.[13]
-
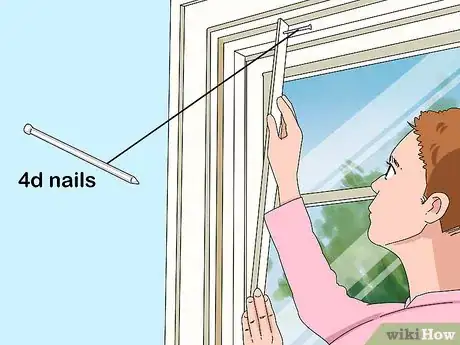
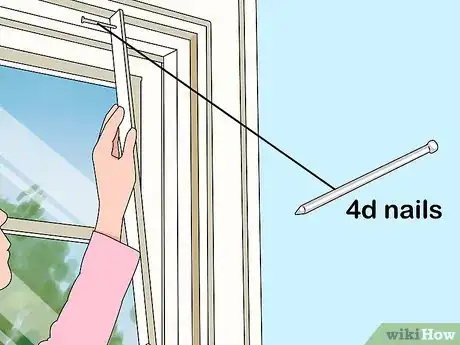
6Replace the interior stops using 4d finish nails. Take the original interior stops that you set aside and re-attach them to the frame. If the instructions in your kit don’t specify how to fasten the interior stops, use 4d finish nails. Insert each nail at least 1 inch away from the original nail holes.[14]
Using a Sash Window Insert Instead
-
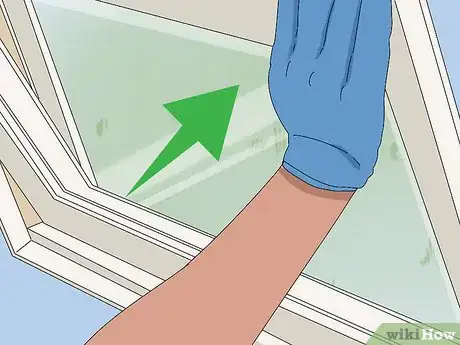
1Test the insert to make sure it fits. Place the insert inside the window jamb and check for any major cracks or spaces. It should fit snugly with no visible openings between the insert and the jamb. If it does not fit properly, measure your window again and order a different insert.
-
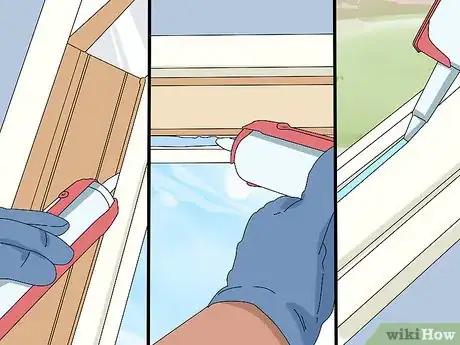
2Apply a thin line of polyurethane caulk along the inside of the blind stop. The blind stop is the part of the frame that holds the window in place from the outside. Using a caulk gun, apply a thin bead along the entire inside of the blind stop.This will help seal the insert in place.[15]
-
3Place the insert in the window jamb and press it against the blind stop. Carefully set the bottom of the insert in the jamb and tilt the top up. Press it tightly against the blind stop, making sure to apply pressure all around the outside of the insert.[16]
-
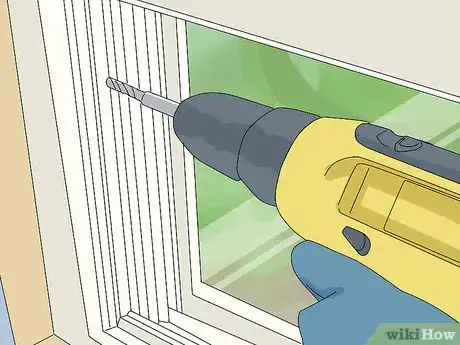
4Put screws halfway through the holes in the lower left and upper right corners. Check your insert’s instructions to find out what size of screw to use. Fasten the insert in place temporarily by loosely screwing in the lower left and upper right corners.[17]
-
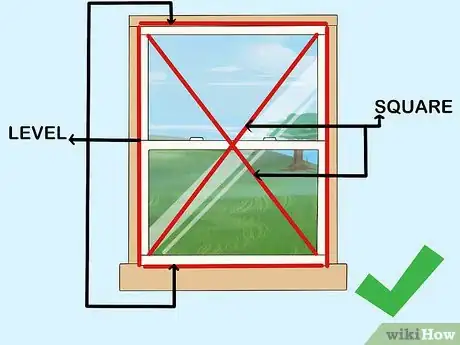
5Make sure the window is level and square. Use a level to make sure the window is straight both vertically and horizontally. Measure the insert diagonally from both sides. If the measurements are not the same, the insert is not square.[18]
-
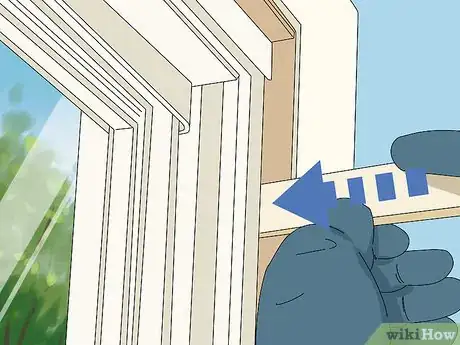
6Use wood shims to straighten the insert if it is not square. If the insert does not fit perfectly in the window frame, you can use wood shims to fill in the spaces where it doesn’t meet the frame. Use a level to determine when the insert is straight, then use a box cutter or knife to cut off the protruding ends of the shims.
-
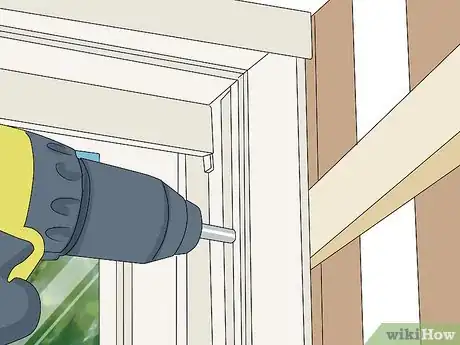
7Drive screws all the way in through each fastener hole. Once you’ve confirmed that the insert is square, you can fully attach it by driving screws through each pre-made hole. Alternate diagonally so that the screws don’t drag the jamb to one side as you go.[19]
-
8Replace the interior stops using 4d finish nails. Unless the instructions for your insert say otherwise, use 4d finish nails to fasten the original interior stops back in place. Make sure you are not inserting the nails in their original holes, which may be loose.[20]
Things You’ll Need
- Tape measure
- Protractor
- Thick piece of paper
- Crowbar or pliers
- Caulk or insulation foam
-
For sash replacement kit:
- 6 by 0.75 inches (15.2 cm × 1.9 cm) pan head screws (unless otherwise specified in kit instructions)
- Flat-head screwdriver
- 8-12 4d finish nails
-
For window insert:
- Polyurethane caulk
- Level
- Wood shims
- Screws (check insert instructions for size and number)
- 8-12 4d finish nails
References
- ↑ https://www.familyhandyman.com/windows/how-to-install-replacement-windows/view-all/
- ↑ https://www.familyhandyman.com/windows/how-to-install-replacement-windows/view-all/
- ↑ https://www.familyhandyman.com/windows/how-to-install-replacement-windows/view-all/
- ↑ https://youtu.be/fe5ddlJBI8c
- ↑ https://www.homebuilding.co.uk/sash-windows-guide/
- ↑ https://www.familyhandyman.com/windows/how-to-install-vinyl-replacement-windows/view-all/
- ↑ https://youtu.be/s8Rlfs7gZOo
- ↑ https://youtu.be/s8Rlfs7gZOo
- ↑ https://www.familyhandyman.com/windows/how-to-install-replacement-windows/view-all/
- ↑ https://www.familyhandyman.com/windows/how-to-install-replacement-windows/view-all/
- ↑ https://www.familyhandyman.com/windows/how-to-install-replacement-windows/view-all/
- ↑ https://www.familyhandyman.com/windows/how-to-install-replacement-windows/view-all/
- ↑ https://www.familyhandyman.com/windows/how-to-install-replacement-windows/view-all/
- ↑ https://www.familyhandyman.com/windows/how-to-install-replacement-windows/view-all/
- ↑ https://www.familyhandyman.com/windows/how-to-install-replacement-windows/view-all/
- ↑ https://youtu.be/s8Rlfs7gZOo
- ↑ https://www.familyhandyman.com/windows/how-to-install-replacement-windows/view-all/
- ↑ https://www.familyhandyman.com/windows/how-to-install-replacement-windows/view-all/
- ↑ https://youtu.be/fe5ddlJBI8c
- ↑ https://www.familyhandyman.com/windows/how-to-install-replacement-windows/view-all/
