wikiHow is a “wiki,” similar to Wikipedia, which means that many of our articles are co-written by multiple authors. To create this article, volunteer authors worked to edit and improve it over time.
There are 7 references cited in this article, which can be found at the bottom of the page.
This article has been viewed 63,976 times.
Learn more...
Alcohol is produced when sugar and yeast combine to make alcohol and carbon dioxide. You can create your own alcohol from fruit, fruit juice, grains, and other organic materials that have high sugar content. However, it is important to remember that home-based alcohol distillation and production is heavily controlled in many countries. Learn some simple ways to make wine, beer, and spirits.
Steps
Making Wine
-
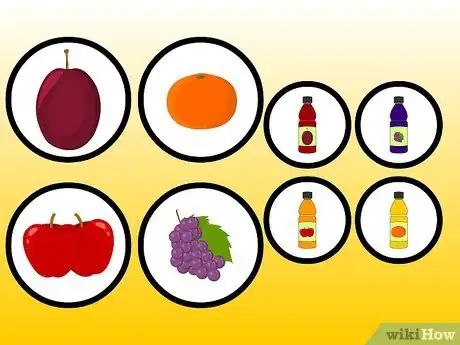
1Decide what fruit you’d like to use to make wine. You can use grapes, strawberries, cherries, or even apples (cider) with this process. You will need between 12 and 18 pounds (5.4 and 8.2 kg) of ripe fruit.
- Most people suggest that you go the extra step to find organic and/or locally produced fruit. Insecticides and fertilizers can impart an unpleasant taste to homemade alcohol.
- If you don’t have fresh fruit, purchase some 100% fruit juice. It should have a sugar content of 20% percent or more. Buy 1 gallon (3.8 L) of juice.
-
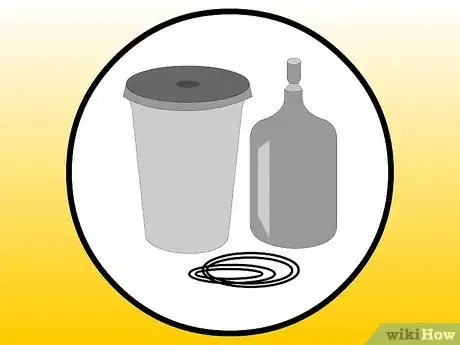
2Visit a homebrew store to purchase wine yeast. You will also need 2 glass 1 US gal (3.8 L) containers, a hydrometer, equipment sanitizer, corks, a corker, a sanitized food pail, airlocks, and tubing.
- If you want to make apple cider, inquire about renting a cider press. Some presses are available for rent and are necessary for getting the fresh apple juice out of the apples.
- Purchase champagne yeast if you are going to make cider or wine from fruit juice.
Advertisement -
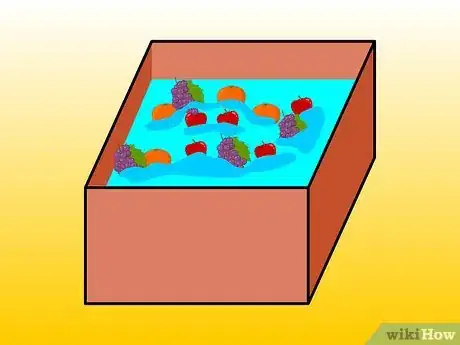
3Wash everything thoroughly. Fill your sink with professional sanitizer and wash all the equipment according to the package directions just before you use it. Consider buying a special produce wash to ensure the fruit is very clean before it is used.
-
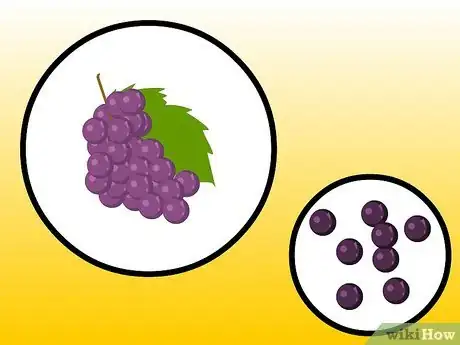
4Remove any rotten fruit. Examine your fruit carefully. Remove any pieces of fruit that are mushy, moldy, or obviously spoiled.
- Pick off any stems. Leaving them in the mix will create bitter wine.
-
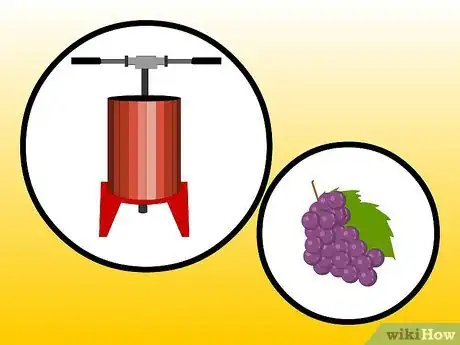
5Set up a fruit press. If you don’t have access to one, you can hand crush your grapes or other soft fruit. Try using a sanitized metal ricer or masher to press the juice out of the pulp.[1]
- Press the fruit into a 2–4 US gal (7.6–15.1 L) food grade pail. This is where your initial fermentation will take place.
- The act of pressing the fruit releases juice, referred to as “must” in winemaking.
-
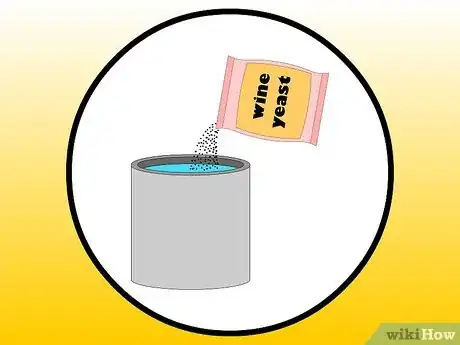
6Add a packet of wine yeast that is dissolved in water. Mix the yeast and juice well. If you are using fruit juice, you can pour out some juice and add the packet of yeast straight into the 1 US gal (3.8 L) fruit juice bottle.
-
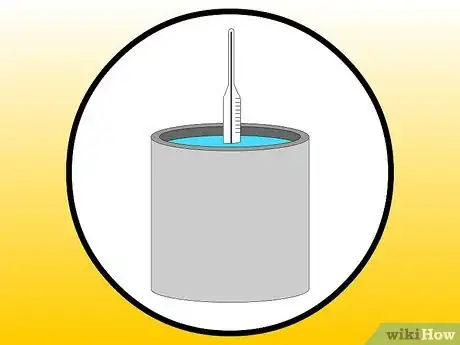
7Insert your hydrometer into the mixture. You will need a reading of 1.010 (22 degrees Brix) or higher to make the wine. If it is lower than that, make sugar syrup and mix it in until the hydrometer registers an adequate amount of sugar content.
- Make the syrup by dissolving granulated sugar in distilled water on the stove. Let it cool slightly, then add it in increments of 1 tablespoon (15 mL) until your reading is high enough.
- If you are using juice with high sugar content, you will not need to use a hydrometer or add extra sugar.
- If your sugar content is too high, you can dilute it with distilled water.
-
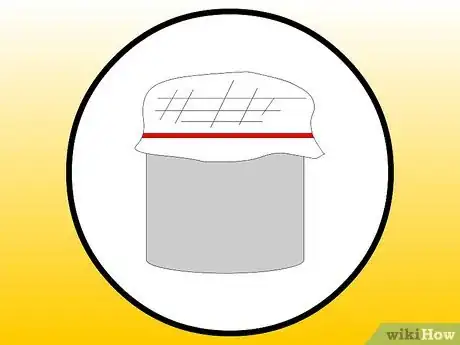
8Cover the pail with cheesecloth and let it sit for about a week. This will allow the CO2 to leave during the fermentation process. Leave it for 7 to 10 days in a dark place. You’ll also need to control the temperature of the space, but the required temperature depends on the type of wine you’re making.
- Your mixture will need a temperature of approximately 70 to 75 °F (21 to 24 °C) to ferment. If your initial fermentation mixture is too cool, wrap an electric blanket around the pail to heat it up gently.
- To cool the temperature of the mixture, wrap ice packs around the pail for a little while.
- White wines require approximately 55 to 65 °F (13 to 18 °C).
-
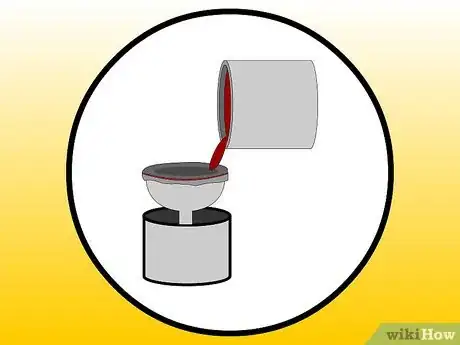
9Strain the liquid through a funnel wrapped in cheesecloth to remove the sediment. Pour the contents of the pail into a sanitized glass 1 US gal (3.8 L) bucket. Fill it to the very top.
-
10Insert an airlock at the top of the container. Let the jug sit for 2 weeks. Then, siphon the wine every few weeks to remove further sediment.
- Siphoning, or “racking,” wine requires you to place an empty bottle lower than the current fermentation bottle. Use plastic tubing to create a siphon and allow it to pour into the clean bottle. Make sure the tubing sits above the sediment, so that you are purifying your wine.[2]
- If you are making wine from store-bought juice, you will pour in the yeast and insert the airlock. Wait 3 days to 2 weeks to produce alcohol you can bottle.
-
11Bottle the wine after 2 to 3 months. 1 gallon (3.8 L) of wine will make almost 5 bottles. Leave 1⁄2 inch (1.3 cm) of space at the top. Insert your corks with a corker.
- Store the wine bottles upright for 3 days. Then, store them on their side.
- At 55 °F (13 °C), red wine can be stored for up to 1 year and white wine can be stored for up to 6 months.[3]
Making Beer
-
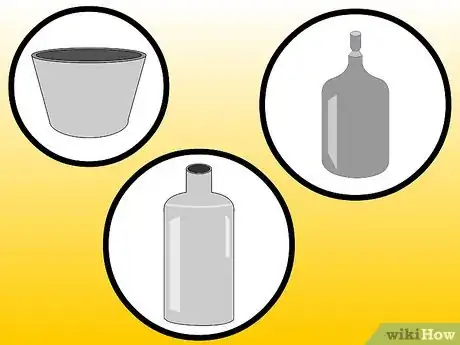
1Purchase a beer brewing starter kit. They are available at home brew stores and online. It will provide you with tubing, a clamp, a fermenting bucket or carboy, a thermometer, an airlock and stopper, and several ingredients, such as malt extract, hops, and yeast.
- In addition, you should purchase sanitizing solution, bottle caps, a bottle capper, and a bottle brush.
-
2Buy a large pot that fits 3 gallons (11 L). This is how you will cook the brew. Larger pots may be necessary if you are making a larger batch of beer.
-
3Sterilize everything right before you use it. You can purchase a no-rinse sterilizing liquid from the homebrew store. Make sure to do this before each step of the process.
-
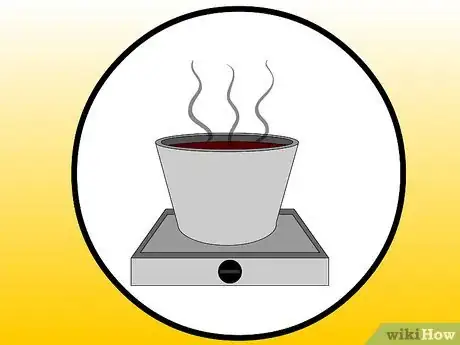
4Pour 2 US quarts (1.9 L) of water and 6 ounces (170 g) of dry malt extract into your pot. Mix the malt extract into the water. Bring it to a boil for 10 minutes to create your “wort.”
- More experienced brewers will want to use steeped grains and hops and boil it together for an hour to brew the wort.[4]
- Making the beer from grains and hops requires a more sterilized environment and several additional steps to steep the grains and boil the hops.
-
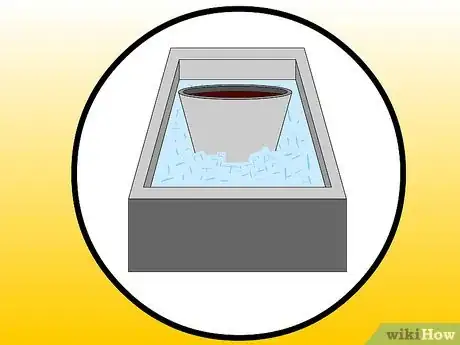
5Make an ice bath in your sink. Place the pot inside the bath until it cools to 60 °F (16 °C).
-
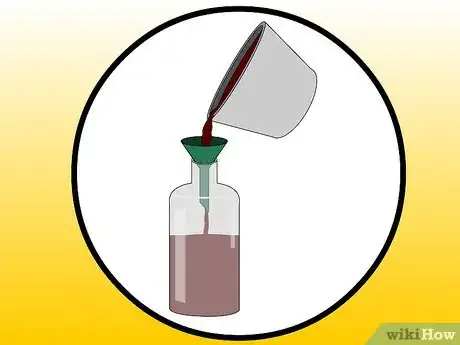
6Pour the wort and yeast into a sanitized 1 US gal (3.8 L) bottle. When the starter wort reaches room temperature, transfer it into your 1 US gal (3.8 L) using a funnel. Add 1 package of liquid yeast. This is called “pitching the yeast.”
-
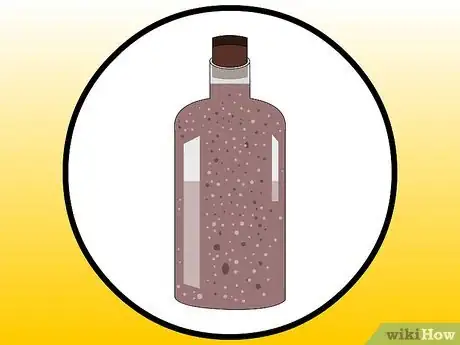
7Insert an airlock and let the beer ferment for 2 weeks. You can also use a lock with tubing and submerge the other end in water. This will allow carbon dioxide to escape during the 2 weeks that it is stored.
-
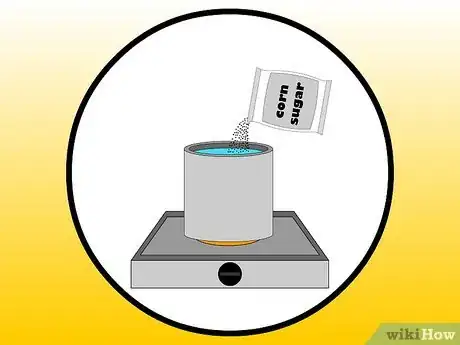
8Boil 1 ounce (28 g) of corn sugar in 1 US pint (0.47 L) of water for 15 minutes. This is what makes the beer bubbly as it comes out of the bottle. It is called “priming sugar.”
-
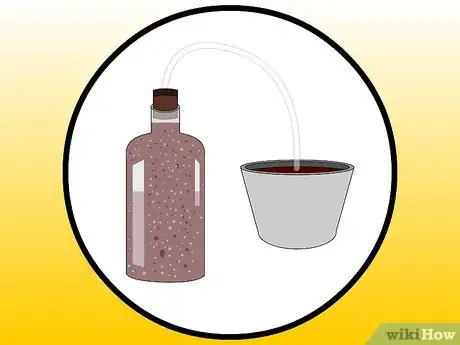
9Siphon the beer from the sediment into a bottling bucket. You will need to place your bucket below the level of the 1 US gal (3.8 L) bottle and run tubing between the 2 containers. Add your corn sugar solution to the bucket.
-
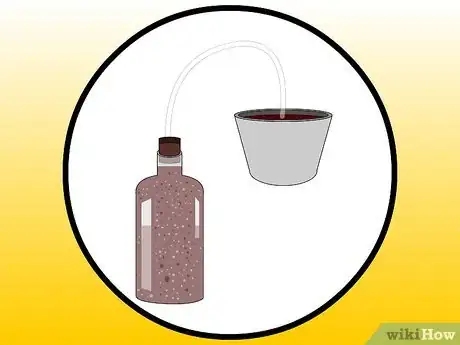
10Siphon the beer from the bucket into sanitized bottles. Cap them securely. Wait 6 weeks to 2 months to open and drink your beer.[5]
Making Spirits
-
1Check with your county or state guidelines to see if it is legal to distill alcohol in your area. Do a search using terms like “home distilling laws Illinois.” Depending on where you live, you might need to apply for a permit to own a still or make your own spirits.
-
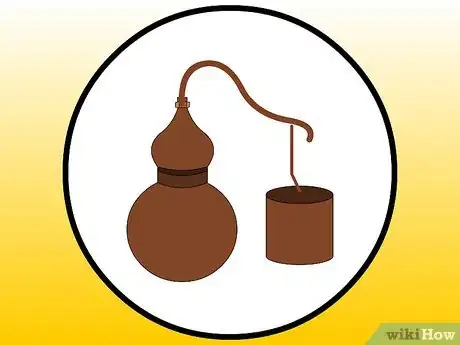
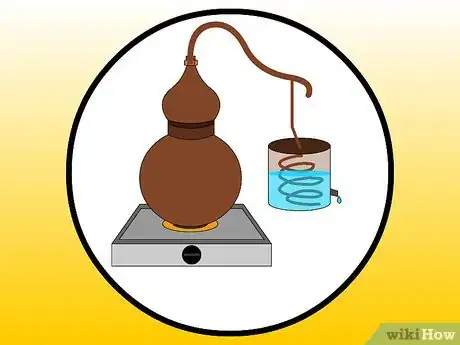
2Order a 1⁄2 gallon (1.9 L) copper alembic pot still. If you want to brew larger batches, you can purchase stills up to 5 gallons (19 L). Larger stills tend to be more expensive.
-
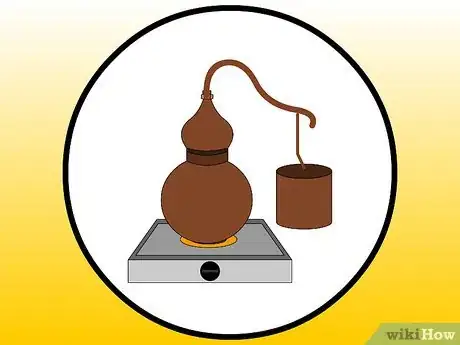
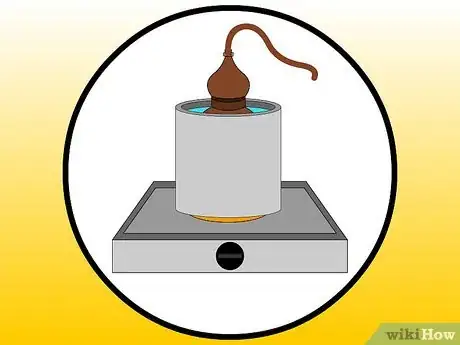
3Create a slow, steady heat source. Natural gas and propane are often used as heat sources. Ensure that your heat source is up to fire code and is in an area cleared of other objects or materials.
- You can also place a water bath on the heat source to improve the quality of your distillate.
-
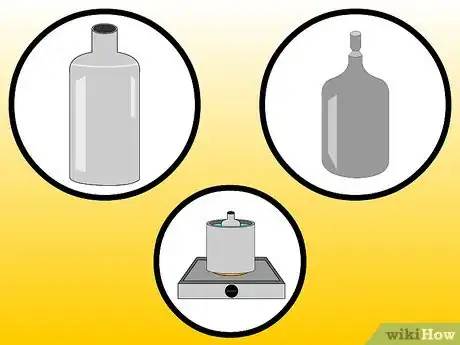
4Sterilize your glasses and jars before you use them. You can clean your still by warming it slightly and pouring 1⁄4 cup (59 mL) of vinegar into the still. Add 1 tbsp (17 g) of salt and insert a sponge to clean the interior of the still.
- Rinse it well with distilled water before using the still.
- Unused copper will oxidize, so copper pots should be cleaned regularly.
-
5Set your still on the heat source or in the water bath on the heat source. It should be three-fourths submerged.
-
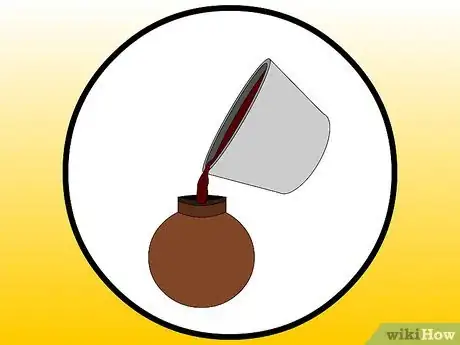
6Fill the distillate with the wine you want to distill into spirits. It should fill the still approximately three-fourths full.
-
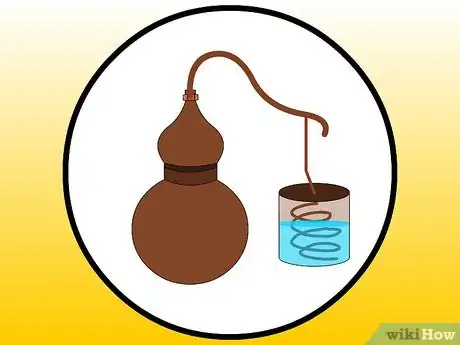
7Put the lid on the distillation pot. Run a tube from the lid to the condenser coil. Place cold water in the condenser.
-
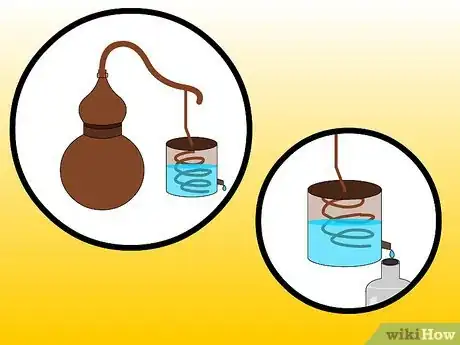
8Place a sterilized glass below the spout. Screw all the fittings on tight when your still is assembled. You can seal the connections with a paste made of flour and water if they don’t fit tightly.
- Cover the water bath, such as a Dutch oven, with aluminum foil to minimize evaporation.
-
9Turn on your heat source. Your water bath should heat to a full boil. Aim for the spout to drip once per second once it begins the distillation process.
- Adjust your heat until the alcohol flows at this speed.
-
10Practice by learning the smell of the fore shots, heads, hearts, and tails. It is best to learn by example from an experienced distiller. The following are good guidelines, made safe through practice:
- “The fore shots” are the alcohol that comes out first. They are high in acetone and methyl alcohol (a toxic type of alcohol otherwise known as methanol) and are considered poisonous. They have a bad smell and you should discard them and the glass they are in. Combined with the heads, they are usually the first 50-100 mL of spirit to come out of the still.
- “The heads” is a mix of unusable alcohol. It can be saved to distill 2 or 3 times to make it usable.
- “The hearts” are the next glass. They are composed of ethanol. Aim to collect it at 1 drop every 1 to 2 seconds. Remove it in shot glass quantities to use. The hearts should smell pure.
- “The tails” are the ethanol diluted with water. They smell less pure and pleasant. You can save them to distill like you did the heads.[6]
-
11Leave the hearts in a glass for a few days, covered in cheesecloth. The extra acetone and methyl alcohol will evaporate.
-
12Age the alcohol in sanitized jars until you are ready to drink it. Redistillation can make a purer alcohol, but it is less safe, since the alcohol is highly flammable.
Warnings
- Drink responsibly and don't drive or operate machinery while drunk.⧼thumbs_response⧽
- When distilling spirits, always use appropriate materials that are designed for the job. Work with an experienced distiller who can help you recognize which portions of the still are safe to drink. Drinking alcoholic beverages made with improperly prepared spirits can sometimes cause fatal poisoning.[7]⧼thumbs_response⧽
Things You'll Need
Making Wine
- Ripe fruit/fruit juice
- Distilled water
- Fruit press
- Food-grade fermenting pail
- Sugar syrup
- Hydrometer
- 1 US gal (3.8 L) bottles
- Airlock
- Wine/champagne yeast
- Wine bottles
- Corker
- Sterilized corks
- Siphoning tubing
- Funnel
- Sanitizing solution
- Cheesecloth
Making Beer
- Brewing starter kit
- Large pot
- Bottle caps/capper
- Corn sugar
- Ice bath
- Beer bottles
Making Spirits
- Copper pot still
- Wine
- Constant heat source
- Glasses and jars
- Vinegar
- Salt
- Water bath
References
- ↑ http://www.bonappetit.com/test-kitchen/how-to/slideshow/how-to-make-apple-cider-at-home/?slide=3
- ↑ http://winemakermag.com/your-first-wine-from-fresh-grapes
- ↑ http://allrecipes.com/howto/how-to-make-wine-at-home/
- ↑ http://www.popularmechanics.com/home/how-to-plans/4324487#slide-2
- ↑ http://beersmith.com/blog/2009/01/10/how-to-brew-beer-5-steps-for-making-beer-at-home-part-1/
- ↑ http://www.motherearthnews.com/diy/home-distilling-zw0z1212zmat.aspx?PageId=2#ArticleContent
- ↑ https://abcnews.go.com/blogs/health/2013/03/14/can-homemade-booze-kill-you
About This Article
To make wine, you will need between 12 and 18 pounds of ripe fruit, such as grapes, strawberries, cherries, or apples. You’ll also need wine yeast, two glass gallon containers, a hydrometer, equipment sanitizer, corks, a corker, a sanitized food pail, airlocks and tubing. Once you’ve sanitized your equipment and washed your fruit, use a fruit press or your hands to press the juice from the fruit into a 2 to 4 gallon food grade pail. Add a packet of wine yeast dissolved in water to the juice to start the fermentation process. Cover the pail with a layer of cheesecloth and leave it for 7 to 10 days. When the time has passed, strain the liquid through the cheesecloth into a sanitized glass gallon bucket and seal it with an airlock. You can bottle the wine after 2 to 3 months. To find out how to make beer and spirits at home, keep reading!
