This article was co-authored by wikiHow Staff. Our trained team of editors and researchers validate articles for accuracy and comprehensiveness. wikiHow's Content Management Team carefully monitors the work from our editorial staff to ensure that each article is backed by trusted research and meets our high quality standards.
There are 11 references cited in this article, which can be found at the bottom of the page.
This article has been viewed 21,901 times.
Learn more...
Chutney is a chunky, tangy preserve that can be made from a wide variety of fruits, vegetables, and spices. While there are many different types of chutney, you can follow the same basic procedure for any recipe. Choose your ingredients, chop the vegetables, and mix everything together. Next, bring it to a boil to thicken everything up. Once the mixture is thick enough, can the chutney and allow it to mature for two to three months.
Ingredients
Makes about 2 to 3 US quarts (2,000 to 3,000 ml) (2 to 3 L) of chutney
- 6-1/2 lb (3 kg) fresh produce, such as apples, carrots, mangoes, or squashes
- 4 cups (1 L) vinegar, 5% acidity or more
- 17.6 oz (500 g) sugar
- Seasonings such as garlic, ginger, and spices
Steps
Gathering Your Ingredients and Supplies
-
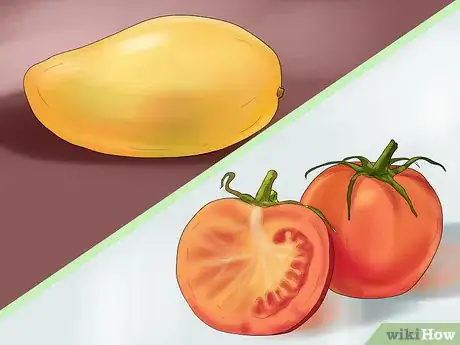
1Choose your base produce. Use only fresh, ripe vegetables and fruits. If you’re not following a recipe, you will have to choose your own base produce. The base produce of your chutney will be the featured fruit or vegetable. For example, if you’re making mango chutney, your base product will be mango. Other popular choices include:
- Tomatoes
- Onions
- Carrots
- Raisins
-
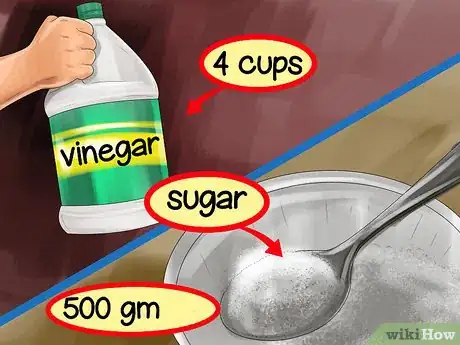
2Purchase preservatives. You use both sugar and vinegar to preserve your chutney. For every 3 kilograms (6.5 pounds) of veggies, you will need 1 liter (0.26 US gal) (4 cups) of vinegar and 500 grams (17.5 ounces) of sugar.[1] The vinegar must have at least 5% acidity, but you can use any sugar you choose.
- Appropriate kinds of vinegar include malt vinegar, distilled malt (white) vinegar, and wine vinegar.[2]
- Brown sugar will make your chutney appear darker. White sugar will not affect the color.
Advertisement -
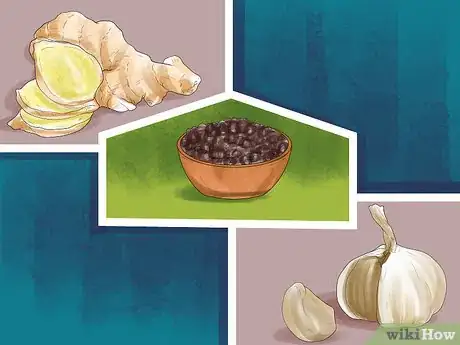
3Choose your seasonings. Select seasonings that pair well with your produce. Seasonings include salt, pepper, spices, and aromatic roots such as garlic and ginger. When choosing seasonings, consider how well it will pair with your base produce. Popular chutney combinations include:
- Mango chutney seasoned with 1/4 cup (2 oz) ginger, 1 garlic clove, a teaspoon of mustard seeds, and ½ teaspoon red chili pepper flakes.[3]
- Carrot chutney seasoned with 1 inch (2.5 cm) peeled and minced ginger root, 5 cloves of garlic, 1 teaspoon turmeric powder, a few coriander leaves, and 2 tablespoons tamarind pulp.[4]
- Simple tomato chutney seasoned with two cloves of garlic, 1/2 teaspoon of salt, a dash of pepper, and a teaspoon of curry powder.
-
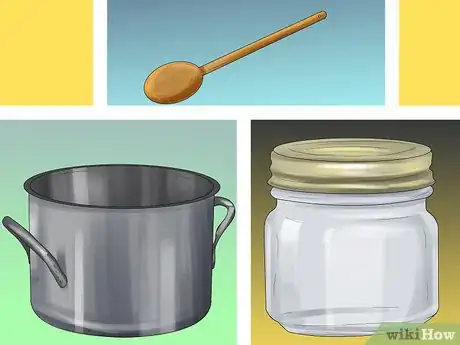
4Gather your cooking supplies. Find a large, stainless steel stock pot and a non-reactive mixing spoon. Non-reactive materials include plastic, wood, and stainless steel. Next, set aside some clean canning jars for storing the chutney. These jars will be sterilized just before filling them with your chutney mixture.
- Purchase canning jars from gourmet grocery stores or online.
Making the Chutney
-
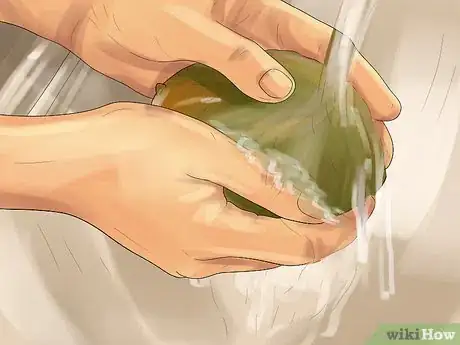
1Wash your produce. Thoroughly wash any fruits or vegetables you will use to remove dirt and debris. First, rinse the produce in cold water for a few seconds. Next, scrub any hardy produce with a vegetable brush to remove stubborn dirt.
- Hardy produce includes potatoes, carrots, and ginger.
- The FDA does not recommend the use of detergents, soap, or commercial produce washes when cleaning vegetables.
-
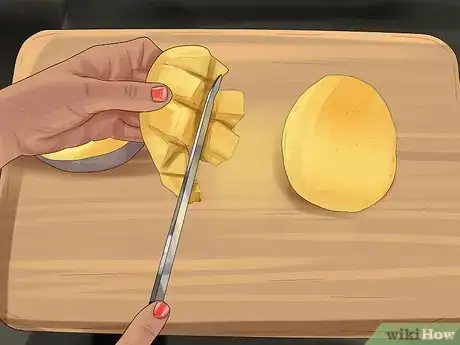
2Cut the vegetables into chunks. Consider what size would be best for your chutney. For example, if you’re planning on pureeing your chutney, the size of the vegetable isn’t important. Alternatively, if you’re not going to puree it, consider cutting the vegetables into easy-to-eat, uniform cubes.[5]
- Some fruits and vegetables have a thick, inedible skin. If this is the case, peel the skin and dispose of it. For example, mangoes need to be peeled, while tomatoes do not.
- Remove and discard any bruised and inedible parts of the produce.
-
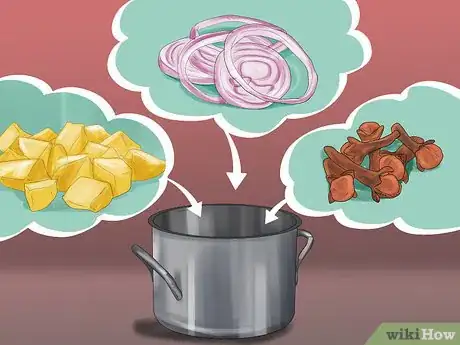
3Place the ingredients into the stock pot. Combine the vinegar, sugar, base produce, and seasonings into your stock pot. Gently stir the mixture to incorporate the ingredients. Next, place your stock pot on the stove.
- If you want to add any inedible seasonings such as whole cloves, wrap them in cheese cloth and secure them with cooking string. The bundle will be easy to remove after the cooking is finished.
- Cheesecloth and cooking string can be purchased at most gourmet grocery stores, cheese making suppliers, and online.
-
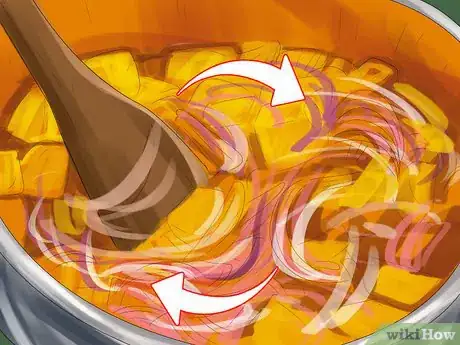
4Bring the mixture to a boil. Continue to heat the mixture for ten to fifteen minutes over medium-high heat. Bring the mixture to a boil, stirring continuously. After the mixture begins boiling, the sugar will dissolve into the vinegar.
-
5Simmer until the mixture becomes thick. After the sugar dissolves, reduce the heat to medium low. Allow the mixture to simmer for 45 minutes to an hour.[6] Test the thickness of the mixture before removing it from the heat. You should be able to remove a spoonful of the chutney to create a small crater without any liquid filling it in.[7]
- A mixture is simmering when there are small active bubbles forming around the pot. If the mixture is too active, reduce the heat. If there are no bubbles forming at all, raise the heat slightly.
-
6Turn off the heat. Allow the chutney to cool for ten to fifteen minutes, stirring occasionally. If desired, use a stick blender to safely puree the chutney. If you decide to use a blender, puree the food in small batches and cover the blender in a towel. Otherwise, the blender will spray hot chutney everywhere.
- Remember to pick out any inedible whole seasonings such as bay leaves or cloves.[8]
Fermenting the Chutney
-
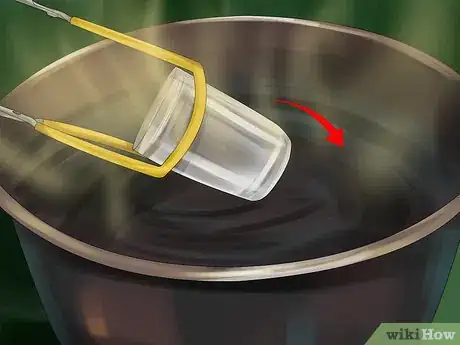
1Sterilize your canning jars. Some canning jars come with specific instructions for sterilization. If not, simply submerge the cans in boiling water for ten minutes. Take the lids off the jars before submerging them and add them to the boiling water. Use tongs to safely remove the jars and lids from the water.[9]
- Let the jars cool on a clean kitchen towel before filling them.
- Always handle the jars with clean hands to prevent contamination.
-
2Transfer the chutney to the canning jars. Carefully spoon your chutney into the jars, leaving about ½ inch of space at the top. Next, place the lid on the jar and seal it tightly. The lid will protect the food from bacteria and other debris.[10]
- Use a clean, damp towel to wipe away any chutney that gets on the jar or around the lid.
-
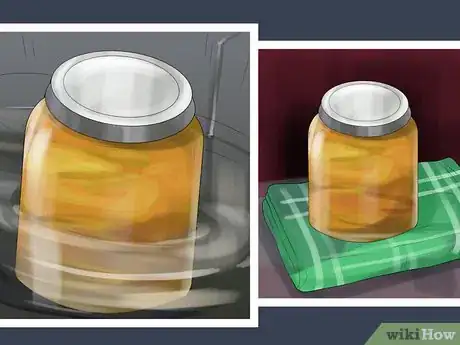
3Seal the jars. You can use a boiling water bath canner or a clean stock pot. If you use a boiling water bath canner, follow the manufacturer instructions. Otherwise, choose a large deep stock pot and place a small baking rack on the bottom. Set the filled jars in the pot on top of the baking rack and completely submerge them in water.[11] Bring the water to a boil and heat the jars for ten minutes.
- If you live at 1,000-3,000 feet above sea level, increase your heating time by five minutes.
- If you live at 3,001-6,000 feet above sea level, increase your heating time by ten minutes.
- If you live at 6,001-8,000 feet above sea level, increase your heating time by fifteen minutes.
- If you live 8,001-10,000 feet above sea level, increase your heating time by twenty minutes.[12]
-
4Let the jars cool. First, lay a clean dish towel on your counter or tabletop. After the jars are done heating, remove them from the hot water bath with tongs and place them on the towel. Allow the jars to sit undisturbed for twelve to twenty four hours.
- Set the jars in a low-traffic area to avoid any breakage.
- If any of the jars crack while they cool, dispose of the entire jar, including the chutney. Otherwise, you risk eating spoiled food or ingesting glass.
-
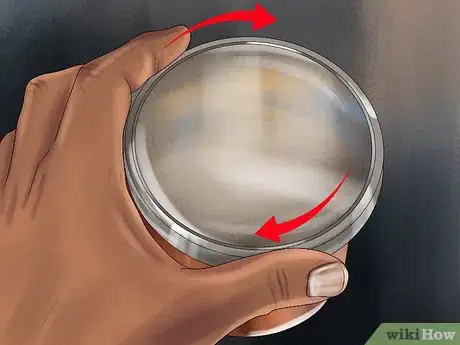
5Check the seal. Once the jars cool, test the seal on the jars. To do so, press down on the lid. The lid shouldn’t flex or bulge. Next, try lifting the lid away with your fingertips. If the lid doesn’t budge, your jar is properly sealed.[13]
- If your jar isn’t properly sealed, immediately process it in the hot water bath again to try and reseal it. Otherwise, refrigerate the mixture and eat it within a week.
-
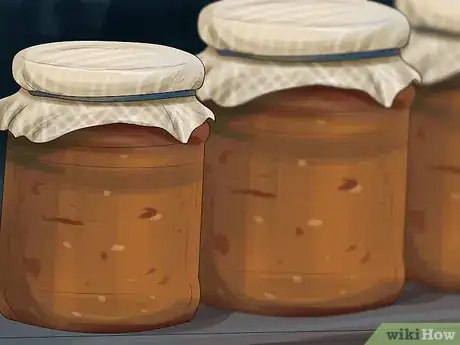
6Mature the chutney. Place your chutney in a dark, room-temperature place, such as a pantry or under your sink. Next, allow your chutney to ferment for two to three months. Don’t open the jar until you’re ready to eat it. The longer you let it sit, the better it will taste.
- Chutney can be stored unopened for up to a year.[14]
-
7Open the jar and check for spoilage. Once your chutney is done maturing, open the jar to check for spoilage. If you consume spoiled canned goods, you can contract Botulism, a potentially fatal illness. If you notice any warning signs, throw your chutney away. Warning signs include:
- A bulging or leaking container
- A damaged container
- Foam that squirts out when the jar is opened
- Moldy or smelly chutney[15]
-
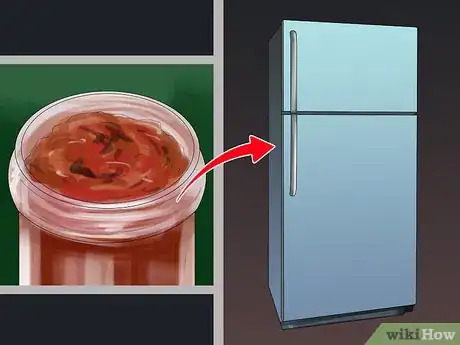
8Store opened jars in the refrigerator. You can keep your opened chutney in the refrigerator for up to four weeks.[16] After four weeks have passed, discard any uneaten chutney.
Warnings
- If you suspect that you or a friend have contracted Botulism, go to your nearest emergency room. Botulism is fatal if left untreated.⧼thumbs_response⧽
- Signs of Botulism include drooping, unresponsive eyelids and disorientation.⧼thumbs_response⧽
References
- ↑ https://www.theguardian.com/lifeandstyle/2015/mar/27/how-to-make-chutney-back-to-basics-henry-dimbleby
- ↑ http://www.allotment-garden.org/recipe/how-to-make-chutney/
- ↑ http://www.simplyrecipes.com/recipes/homemade_mango_chutney/
- ↑ http://www.yummytummyaarthi.com/2014/01/mixed-vegetable-chutney-veg-chutney.html
- ↑ https://www.theguardian.com/lifeandstyle/2015/mar/27/how-to-make-chutney-back-to-basics-henry-dimbleby
- ↑ http://www.simplyrecipes.com/recipes/homemade_mango_chutney/
- ↑ http://www.deliaonline.com/how-to-cook/preserves/how-to-make-chutneys-and-pickles
- ↑ http://www.yummytummyaarthi.com/2014/01/mixed-vegetable-chutney-veg-chutney.html
- ↑ http://www.countryliving.com/food-drinks/a5204/new-canning-guidelines/
- ↑ http://www.bbc.co.uk/food/chutney
- ↑ http://www.freshpreserving.com/waterbath-canning.html
- ↑ http://demandware.edgesuite.net/abbp_prd/on/demandware.static/-/Sites-BALL-Library/default/dw586c0012/assets/canning/pdf/AltitudeCharts.pdf
- ↑ http://www.freshpreserving.com/waterbath-canning.html
- ↑ http://www.bbc.co.uk/food/chutney
- ↑ https://www.cdc.gov/foodsafety/communication/home-canning-and-botulism.html
- ↑ http://www.bbc.co.uk/blogs/food/2011/10/making-homemade-preserves.shtml
About This Article
Before you start making chutney, choose a base ingredient, like mango or tomato, along with additional ingredients, like garlic or ginger. Once you have your ingredients picked out, cut them into chunks and add them to a pot with vinegar, sugar, and seasonings. Bring everything to a boil, and then reduce it to a simmer until it reaches a thick consistency. Then, transfer the chutney to a canning jar and let it ferment in a dark place, like a pantry, for 2 to 3 months before eating. For more tips for making chutney, including easy recipe ideas, read on!
