This article was co-authored by Lorena Barcal. Lorena Barcal is a Clinical Herbalist, Clean Beauty Specialist, and Writer for IslandBeauty.co, a blog dedicated to sharing the benefits of using all-natural beauty products and recipes created by herbalists. Lorena specializes in studying and developing natural alternatives for beauty products. After finishing her herbal studies, Lorena managed an herbal lab in Barcelona developing natural beauty products. As a writer for IslandBeauty.co, she shares knowledge and insights to promote the natural beauty industry.
This article has been viewed 48,089 times.
Hand lotions are wonderful; they smell great and leave your skin feeling silky-smooth. If you have sensitive skin, however, store-bought lotions can make your skin feel worse. Organic lotions can be hard to get, and if you do happen to find them, they can be very expensive. Luckily, it is easy to whip up your own lotion. Best of all, you can customize it with your choice of essential oils to create your own fragrance!
Steps
Making a Water-Based Hand Lotion
-
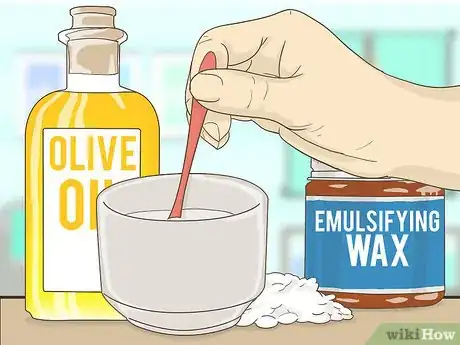
1Stir together ¼ cup (60 milliliters) of olive oil and ¼ cup (28 grams) of emulsifying wax. Pour the oil into a glass measuring cup, then add the wax. Stir the two ingredients together until just combined.
-
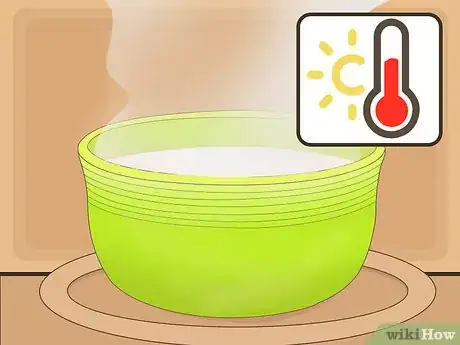
2Heat the oil mixture until the wax melts. You can do this in a pot filled with water over medium heat. You can also heat the mixture in the microwave for about 1 minute.[1]Advertisement
-
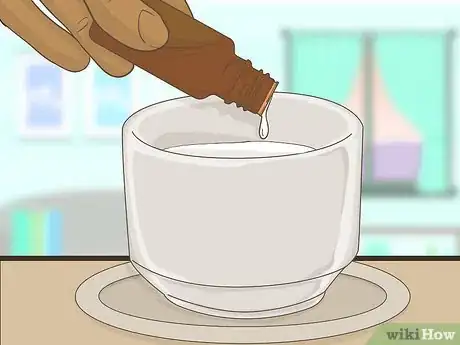
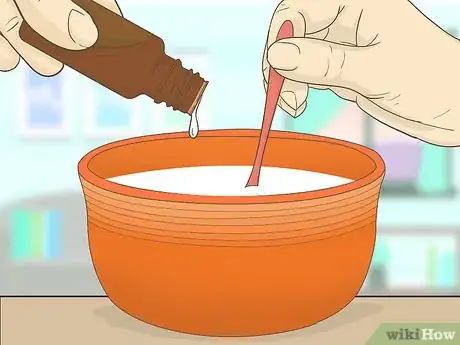
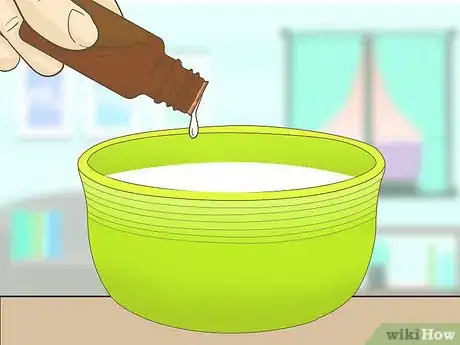
3Stir 24 to 36 drops of essential oil into the oil mixture, if desired.[2] You can use any scent you like; rose and lavender are especially popular in hand lotions. You can even use a combination of scents, such as rosemary-lavender or eucalyptus-mint.
- If you wish to have unscented hand lotion, you can skip this step.
- Some essential oils are good for the skin. For example, rosemary and tea tree oil are anti-inflammatory.
- Pomegranate seed oil has anti-aging qualities. Cedarwood reduces irritation, and ylang-ylang is an effective cleanser.
- The best herbs for lotions are calendula and chamomile. They are good for dry skin.
-
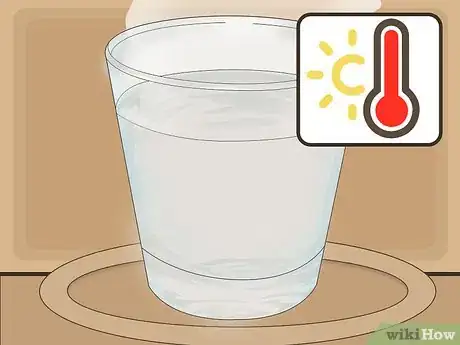
4
-
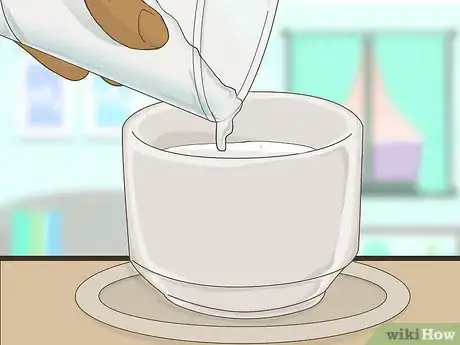
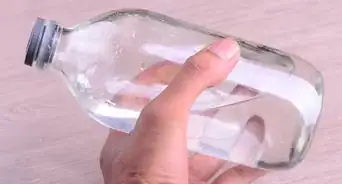
5Pour the water into the oil mixture. The mixture will be milky-white and liquid-y. Don't worry, however, it will thicken up once it starts to cool down.[5] You should not have to stir the mixture, but if the ingredients aren't coming together, give the mixture a quick stir.
-
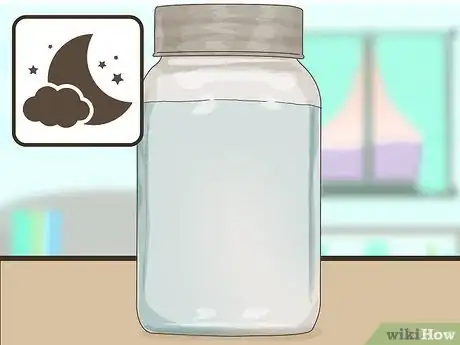
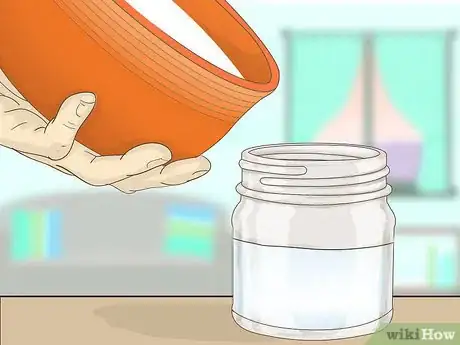
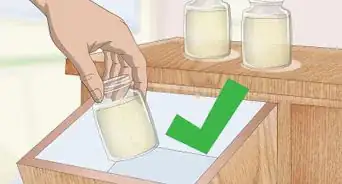
6Pour the mixture into a mason jar, cover it tightly with a lid, and let it sit overnight. To make the lotion easier to use, consider pouring it into smaller mason jars instead. A great size to work with is 4 ounces (120 milliliters). You can also pour it into a glass soap dispenser so that you can pump it out instead.
-
7
Making an Oil-Based Hand Lotion
-
1Set up a double boiler. Fill a saucepan with 2 inches (5.08 centimeters) of water, and place a heat-safe bowl on top. Make sure that the bottom of the bowl does not touch the water. If it does, pour some of the water out.
-
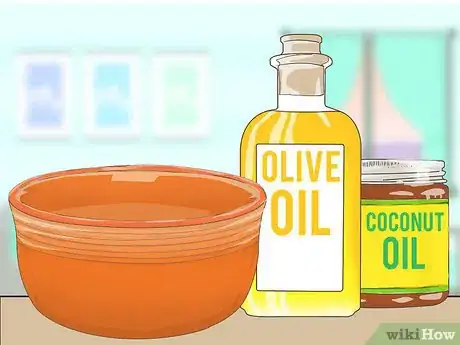
2Fill the bowl with ½ cup (120 milliliters) of olive oil and ½ cup (120 milliliters) of coconut oil. This will great the base for your hand lotion. If you do not like olive oil, don't own any, or simply want something more special, try almond oil, grapeseed oil, or jojoba oil instead.[8]
-
3
-
4
-
5Melt the ingredients together over medium heat. Stir them occasionally with a spoon as they melt; this helps them melt more evenly. It may take up to 20 minutes for the ingredients to melt.[13]
-
6Take the bowl off the saucepan, let the lotion cool for a few minutes, then stir in some essential oil, if desired. Start with 10 drops, then add more as desired. Plan on using between 10 and 20 drops of essential oil. You can use one fragrance, such as lavender, or you can use a combination of 2 to 3 fragrances, such as lemon-mint-eucalyptus.[14]
- If you want a natural-scented lotion (coconut oil and shea butter), you can skip this step.
-
7Pour the lotion into small mason jars. A great size to work with is 4 ounces (120 milliliters). This will make the lotion easier to scoop out. Alternatively, you can pour the lotion into a glass soap dispenser instead.
-
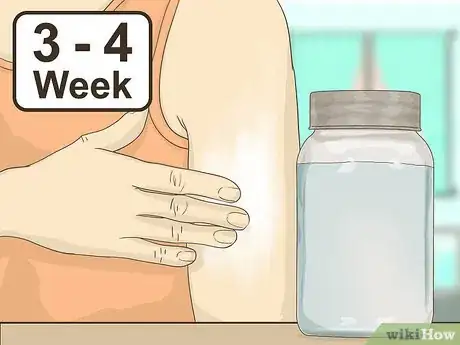
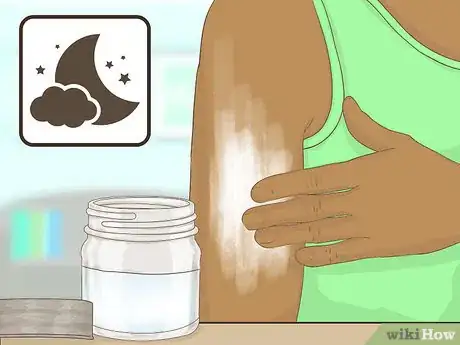
8Let the lotion set overnight, then use it. Because the lotion does not contain water, it should last about 6 months.[15] It does not need to be refrigerated, but if it is very hot in your home, you might want to store it in the fridge.
Making a Whipped Hand Lotion
-
1Assemble a double boiler. Fill a saucepan with 2 inches (5.08 centimeters) of water, and place a heat-safe bowl on top. Make sure that the bottom of the bowl is not touching the surface of the water. If it is, pour some of the water out.
-
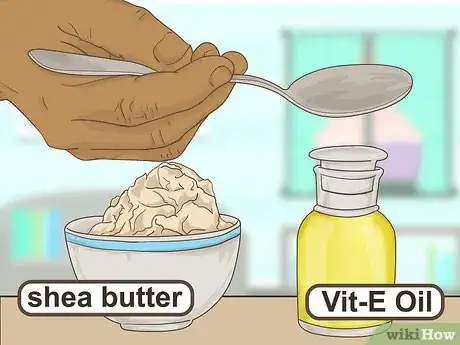
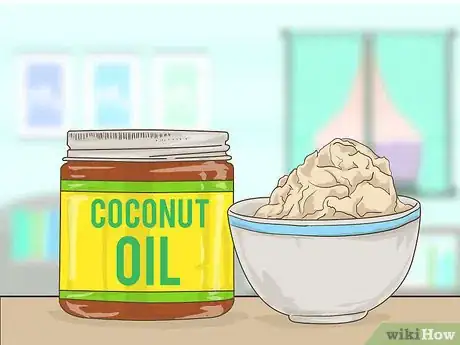
2Put ½ cup (120 milliliters) of coconut oil and ½ cup (115 grams) of shea butter into the bowl.[16] This will create the base for your lotion. Both coconut oil and shea butter are wonderful for the skin because of how moisturizing and nourishing they are.
-
3Add 3 tablespoons (67.5 grams) of honey.[17] Don't add the essential oils just yet; you'll add those in at the very end. Honey is a natural humectant, so it will help attract moisture to your skin. It is also non-perishable, so you don't have to worry about your lotion going bad.
-
4Melt the ingredients together over medium heat. Stir the ingredients together from time to time to help them melt. It may take 10 to 20 minutes for everything to melt completely.
-
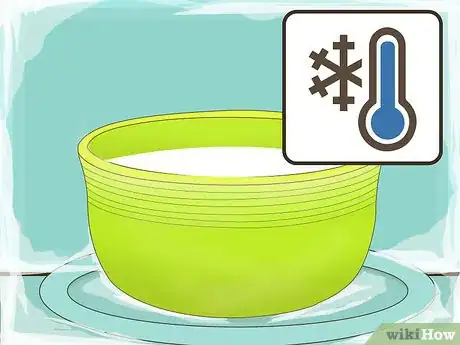
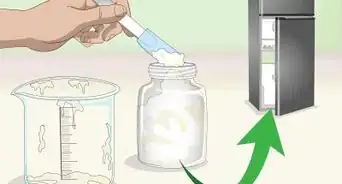
5Take the bowl off the heat and let it cool for 1 to 2 hours in the fridge. The mixture will turn solid as it cools. Don't worry if it looks too thick, however; you will be beating the mixture to give it a light, fluffy texture.
-
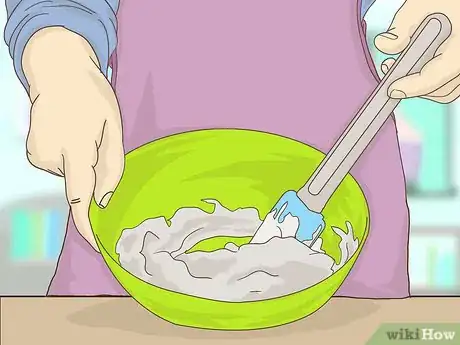
6Scrape the mixture from the sides of the bowl using a rubber spatula. Keep the mixture in the bowl. You are simply doing this to make it easier to mix later on.[18]
-
7Add 20 to 30 drops of essential oil, if desired.[19] Start with just 20 drops, then add more as needed. You can use any type of essential oil you like. It can be one fragrance, such as chamomile or lavender, or a combination of fragrances, such as lavender-rose.
-
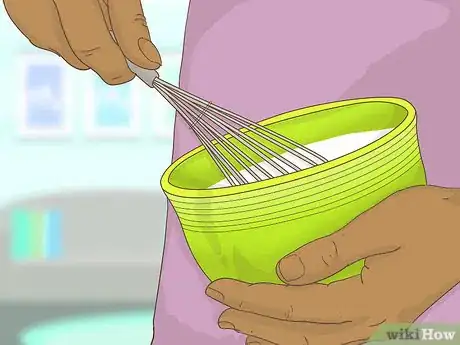
8Beat the mixture together using a hand-held beater. If you don't have one, you can use an electric mixer or even a food processor. Keep beating the mixture until it turns light and fluffy.[20]
-
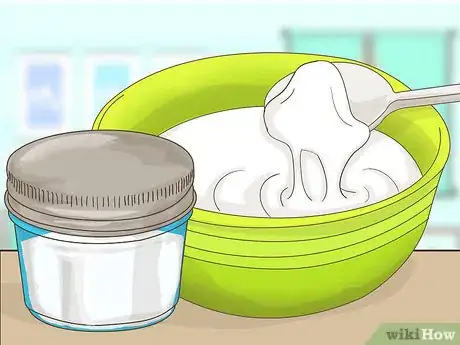
9Scoop the mixture into a glass jar. If you'd like, you can scoop it into 4-ounce (120-milliliter) mason jars; this will make it easier to scoop out. Because of its light and fluffy texture, this lotion is not recommended for dispenser-type bottles.
-
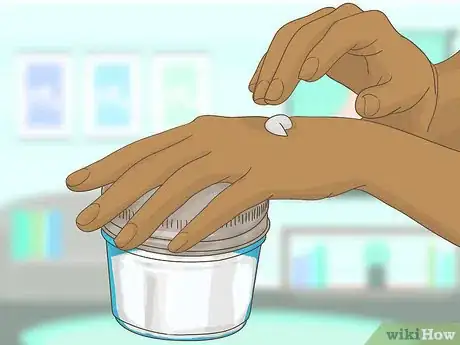
10Use the hand lotion. Because it does not contain any water, it is non-perishable. Nonetheless, try to use it within 6 months. If it gets too soft or starts to melt, store it in the fridge.
Community Q&A
-
QuestionCan I use petroleum jelly instead of emulsifying wax?
 Community AnswerYes, petroleum jelly would work just as well as emulsifying wax. They have pretty much the same consistency and petroleum jelly is very good for the skin.
 -
QuestionCan I add food coloring to add some color to my hand cream?
 Community AnswerI wouldn't, the food coloring might trigger an allergic reaction or cause a rash.
 -
QuestionCan I use plastic containers rather than the mason jars?
 Community AnswerYes, you can.
Warnings
- Keep an eye on your lotion. Water-based lotions are perishable, while oil-based ones typically are not. Regardless of what your lotion is made out of, if it starts to look or smell strange, throw it out.⧼thumbs_response⧽
- Make sure that all of your jars, bowls, and utensils are clean. This will prevent your lotions from getting contaminated.⧼thumbs_response⧽
Things You'll Need
Making a Water-Based Hand Lotion
- 1¼ to 1½ cups (300 to 350 milliliters) hot water
- ¼ cup (28 grams) emulsifying wax (not beeswax)
- ¼ cup (60 milliliters) olive oil
- 24 to 36 drops essential oil
- Glass measuring cup
- Small mason jars
Making an Oil-Based Hand Lotion
- ½ cup (120 milliliters) olive oil (or almond, grapeseed, or jojoba oil)
- ½ cup (120 milliliters) coconut oil
- ¼ cup (36 grams) beeswax pellets
- 1 teaspoon vitamin E oil
- 1 to 2 tablespoons (15 to 30 grams) shea butter
- 10 to 20 drops essential oil
- Saucepan
- Heat-safe bowl
- Spoon
- Small mason jars
Making a Whipped Hand Lotion
- ½ cup (120 milliliters) coconut Oil
- ½ cup (115 grams) shea butter
- 3 tablespoons (67.5 grams) honey
- 20 to 30 drops essential oil
- Saucepan
- Glass bowl
- Hand mixer, electric mixer, or food processor
References
- ↑ http://asonomagarden.wordpress.com/2009/02/26/how-to-make-handmade-handlotion-w-label-download/
- ↑ http://asonomagarden.wordpress.com/2009/02/26/how-to-make-handmade-handlotion-w-label-download/
- ↑ http://asonomagarden.wordpress.com/2009/02/26/how-to-make-handmade-handlotion-w-label-download/
- ↑ http://www.designsponge.com/2010/04/made-with-love-rose-body-lotion.html
- ↑ http://www.designsponge.com/2010/04/made-with-love-rose-body-lotion.html
- ↑ http://asonomagarden.wordpress.com/2009/02/26/how-to-make-handmade-handlotion-w-label-download/
- ↑ http://www.designsponge.com/2010/04/made-with-love-rose-body-lotion.html
- ↑ http://benandme.com/2016/03/homemade-nourishing-hand-lotion-with-essential-oils.html
- ↑ http://benandme.com/2016/03/homemade-nourishing-hand-lotion-with-essential-oils.html
- ↑ https://www.annmariegianni.com/beeswax-the-natural-protectant-that-soothes/
- ↑ http://adelightfulhome.com/how-to-make-hand-lotion/
- ↑ http://benandme.com/2016/03/homemade-nourishing-hand-lotion-with-essential-oils.html
- ↑ http://adelightfulhome.com/how-to-make-hand-lotion/
- ↑ http://benandme.com/2016/03/homemade-nourishing-hand-lotion-with-essential-oils.html
- ↑ http://adelightfulhome.com/how-to-make-hand-lotion/
- ↑ http://imperfectlyhappy.com/diy-hand-cream/
- ↑ http://imperfectlyhappy.com/diy-hand-cream/
- ↑ http://imperfectlyhappy.com/diy-hand-cream/
- ↑ http://imperfectlyhappy.com/diy-hand-cream/
- ↑ http://imperfectlyhappy.com/diy-hand-cream/
