X
wikiHow is a “wiki,” similar to Wikipedia, which means that many of our articles are co-written by multiple authors. To create this article, volunteer authors worked to edit and improve it over time.
The wikiHow Video Team also followed the article's instructions and verified that they work.
This article has been viewed 21,248 times.
Learn more...
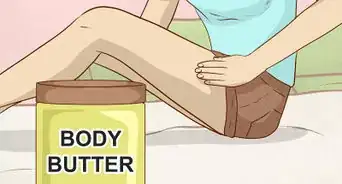
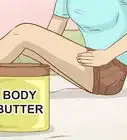
Shea butter is rich and nourishing. It contains many nutrients that are beneficial for the skin.[1] Applying whipped shea butter is just one of the ways you can use shea butter on your skin. There are several methods you can choose from to make whipped shea butter.
Steps
Method 1
Method 1 of 3:
Whipping Shea Butter By Itself
-
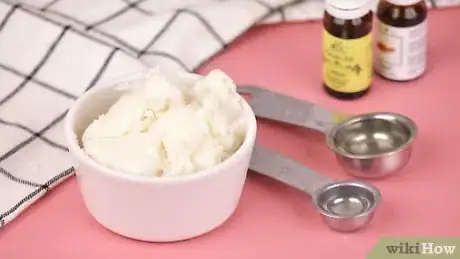
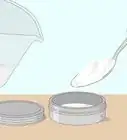
1Gather your ingredients. While shea butter works great in many DIY recipes, you can easily use it on its own. Refined shea butter doesn’t have any scent while unrefined shea smells nutty and earthy. All you need to make whipped shea butter with this method is 1 cup shea butter (refined or unrefined).
-
2Prepare a water bath. Place 1 inch (2.5 cm) of water in a wide pan on low heat.Advertisement
-
3Measure shea butter and place it into a heat-resistant cup. Let the shea melt. Stir occasionally.
-
4Remove it from heat and place the cup into the fridge for 15 minutes. You’ll see a layer solid shea on top. Take it from the fridge and whip it with a hand mixer for 3 minutes.
-
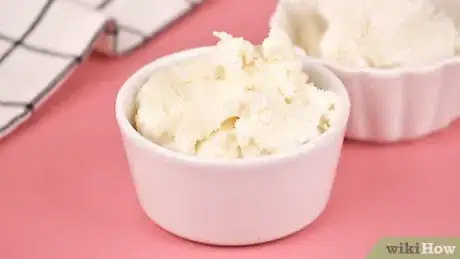
5Place it back into the fridge for 3 minutes. Then whip it again for another 3 minutes. The butter should resemble creamy frosting of fluffy consistency.
-
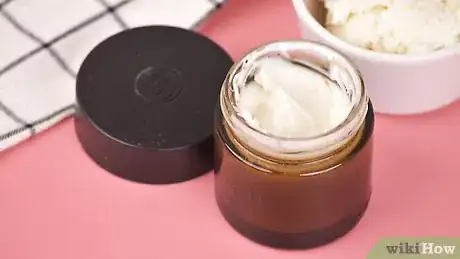
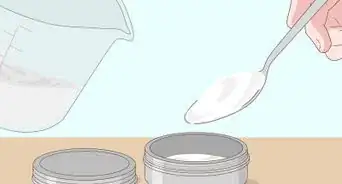
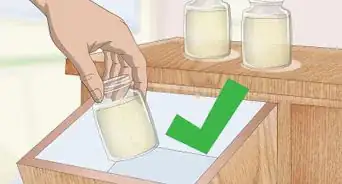
6Store the whipped butter in a clean dry container with a lid. It doesn’t need to be refrigerated, but it should be stored in a cool and dark place.
Advertisement
Method 2
Method 2 of 3:
Making Non-Greasy Whipped Shea Butter
-
1Gather your ingredients. Mango butter is a great alternative to shea as it’s not as greasy and it soaks into the skin quickly. Other carrier oils help to nourish the skin even more, balancing the greasiness of both butters. You’ll need the following ingredients to make whipped butter with shea:[2]
- 45g shea butter (refined or unrefined)
- 25g mango butter
- 15g grapeseed oil
- 5g safflower oil
- 10 drops cinnamon bark essential oil
- 10 drops cedarwood essential oil
- 5 drops cardamom essential oil
- 5g tapioca starch
- 4 drops vitamin E oil
-
2Prepare a water bath. Place 1 inch (2.5 cm) of water in a wide pan on low heat.
-
3Add the mango and shea butter to a heat-resistant cup. Place the cup in the water and let the butters melt. Stir occasionally.
-
4Remove the cup from the heat. Let it cool to room temperature before adding the rest of the ingredients.
-
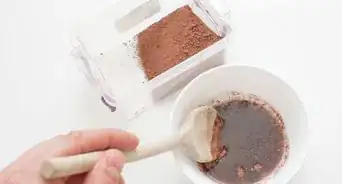
5Add the essential oils and other ingredients. Stir in grapeseed and safflower oil. Add mica powder and stir with your spatula until it’s evenly distributed. Lastly, add the tapioca starch and stir it in. Place the mixture into the fridge for 10 minutes.
-
6Whip the butter with a hand mixer for 3 minutes. Place it into the fridge for another 3 minutes. Take it out and whip it again. The butter will look like a creamy bronze frosting with a fluffy consistency.
-
7Store the whipped butter in a clean dry container with a lid. It doesn’t need to be refrigerated, but it should be stored in a cool and dark place.
Advertisement
Method 3
Method 3 of 3:
Making Cold-Process Whipped Shea Butter
-
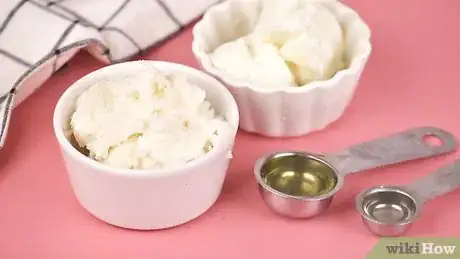
1Gather your ingredients. This recipe requires no heat. It’s all made with a hand mixer and a few additional ingredients. For this method, you’ll need: [3]
- 32.25g refined shea butter
- 5g isopropyl myristate
- 11.8g safflower oil
- 0.2g lemon essential oil
- 0.25g orange essential oil
- 0.25g grapefruit essential oil
- 0.25g vitamin E oil
-
2Put the shea in a deep bowl. Whip it with a hand mixer until it’s light and fluffy.
-
3Add isopropyl myristate. This reduces the greasy feeling and makes the butter lighter.
-
4Beat the mixture until it’s well combined and fluffy.
-
5Add the essential oils and vitamin E oil.
-
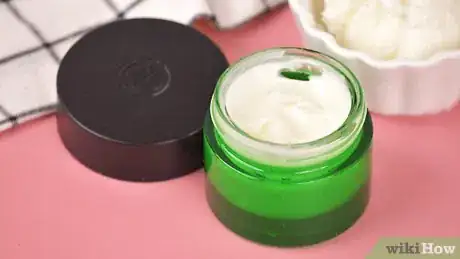
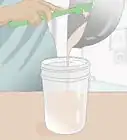
6Whip the mixture again. Transfer it into a clean dry jar (50g).
Advertisement
Things You'll Need
- Heat-resistant cup
- Wide pan
- Water
- Hand mixer
- Clean dry jar
References
About This Article
Advertisement
