This article was co-authored by Claire Donovan-Blackwood and by wikiHow staff writer, Dan Hickey. Claire Donovan-Blackwood is an Arts & Crafts Specialist and CEO of Heart Handmade UK, a site dedicated to helping people live a happy, creative life. With over 13 years of experience, Claire uses art as a form of therapy and focuses on mindfulness in the making of art. She makes crafting easy and accessible for those she works with. Claire received her B.A. in Photography & Visual Imagery from The University of Huddersfield.
This article has been viewed 82,764 times.
Book safes are a fun and creative way to hide secret belongings, but how do you make one yourself? Making a hideaway book is a pretty simple process that beginning crafters can accomplish with confidence. We’ve put together a step-by-step guide to carving out your own secret book box to protect your favorite treasures. Keep scrolling if you’re ready to hide your valuables in plain sight!
Steps
Community Q&A
-
QuestionCan I use a book safe to hide a journal?
 Community AnswerSure! You will need to make sure the book for the book safe is large enough to hide the journal though.
 -
QuestionWhat should I do if I don't have a hardcover book?
 Community AnswerLook up indoor flea markets, thrift shops and antique malls in your area. They always have an assortment of attractive hard cover books for less than a dollar.
 -
QuestionI don't understand. Do I glue each page together?
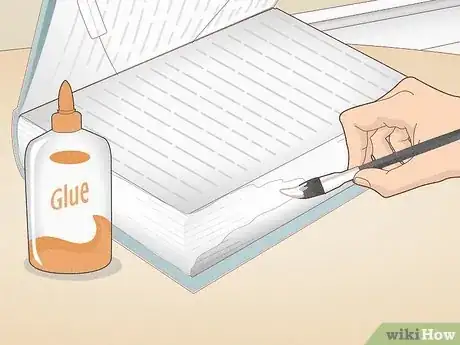
 MollysteffensCommunity AnswerYou can, but it's simpler to just paint the glue on the edges of the pages.
Things You’ll Need
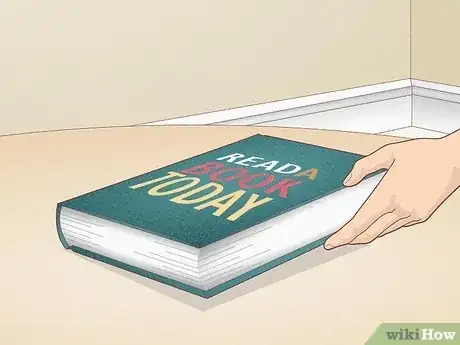
- Old hardcover book
- Plastic wrap or plastic bags
- Clamps or large clips
- Craft glue or Mod Podge
- Paintbrush
- Pencil
- Straightedge
- Utility knife
- Drill with a medium bit (optional)
- Semi-circular oscillating saw or jigsaw (optional)
- Decorative fabric (optional)
References
- ↑ https://www.youtube.com/watch?v=a8WmL5WNLpU
- ↑ https://diyjoy.com/diy-hollow-booksafe/
- ↑ https://themakermom.com/2014/09/diy-book-safe.html
- ↑ https://diyjoy.com/diy-hollow-booksafe/
- ↑ https://www.kurarukacrafts.com/guidance-to-make-a-diy-book-safe/
- ↑ https://abutterflyhouse.com/thin-thickened-wood-glue/
- ↑ https://themakermom.com/2014/09/diy-book-safe.html
- ↑ https://www.youtube.com/watch?v=a8WmL5WNLpU
- ↑ https://www.youtube.com/watch?v=a8WmL5WNLpU
- ↑ https://www.youtube.com/watch?v=a8WmL5WNLpU
- ↑ https://modpodgerocksblog.com/diy-book-safe/
- ↑ https://www.kurarukacrafts.com/guidance-to-make-a-diy-book-safe/
- ↑ https://modpodgerocksblog.com/diy-book-safe/
- ↑ https://themakermom.com/2014/09/diy-book-safe.html
- ↑ https://modpodgerocksblog.com/diy-book-safe/
- ↑ https://diyjoy.com/diy-hollow-booksafe/
- ↑ https://diyjoy.com/diy-hollow-booksafe/
- ↑ https://modpodgerocksblog.com/diy-book-safe/
- ↑ https://themakermom.com/2014/09/diy-book-safe.html
- ↑ https://www.kurarukacrafts.com/guidance-to-make-a-diy-book-safe/
About This Article
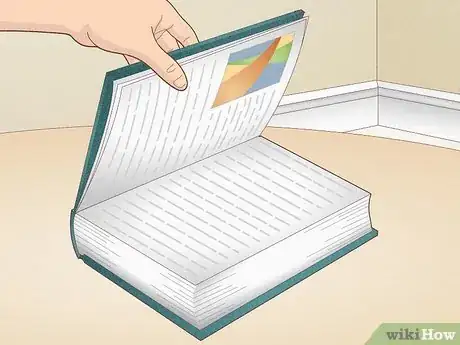
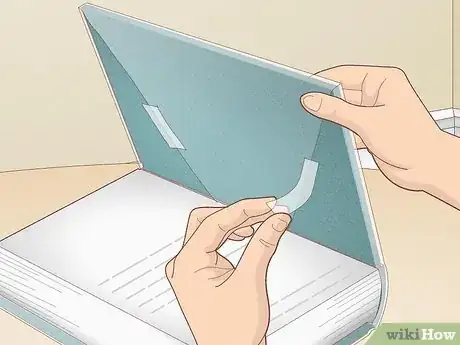
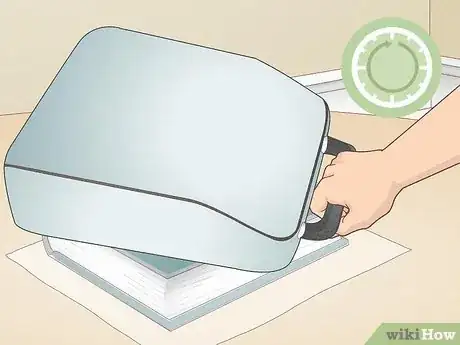
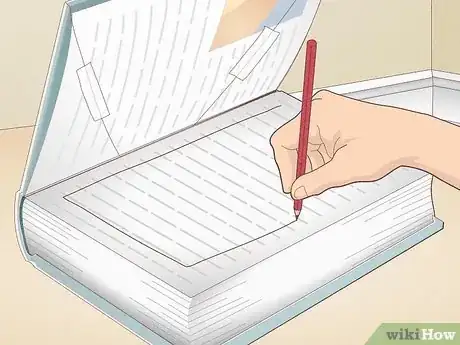
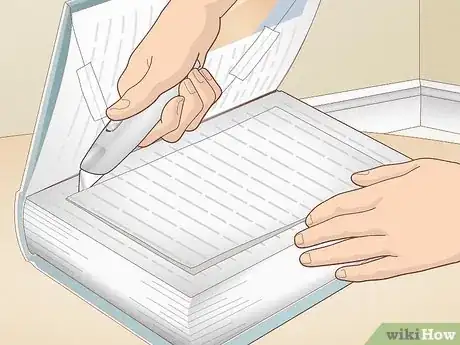
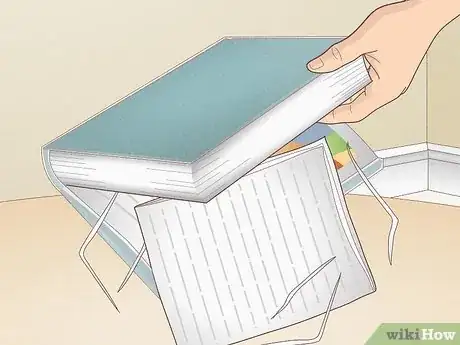
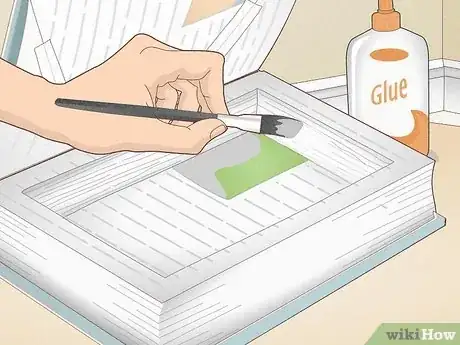
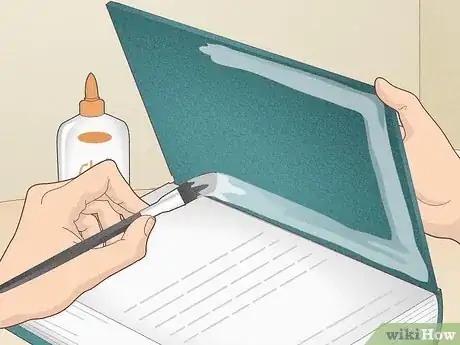
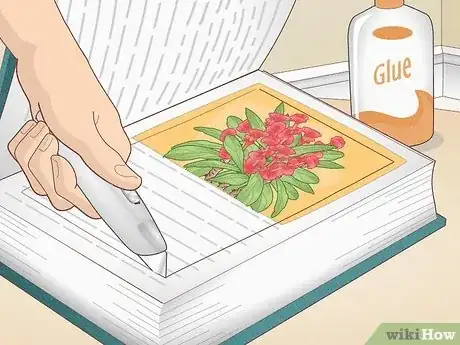
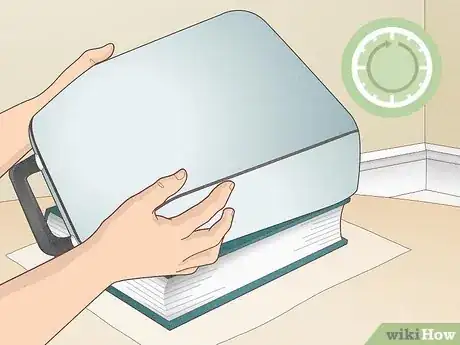
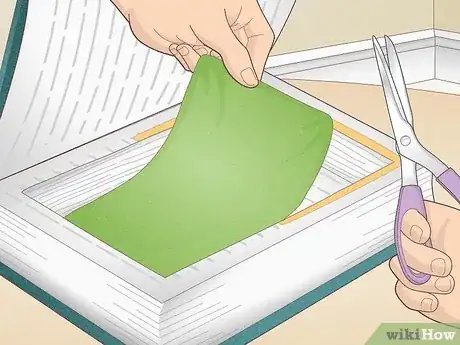
To make a book safe, start by mixing 4 parts glue to 1 part water, which will create a glue sticky enough to close the book but not too sticky that it's hard to spread across the pages. Before you begin, you'll also want to wrap the book's cover and first few pages in plastic so your book isn't glued completely shut after your glue dries. When you've securely wrapped those pages, use an old paintbrush to "paint" the sides of your book with glue until they're completely covered. Then, weigh down the book and leave it to dry for at least 24 hours. Once the glue is dry, open the pages you didn't glue shut, and use a pen to mark how big you want your secret compartment to be. Finish by carving that compartment out with a sharp utility knife. For tips on how to carve an intricate design on the cover, keep reading!
