wikiHow is a “wiki,” similar to Wikipedia, which means that many of our articles are co-written by multiple authors. To create this article, 26 people, some anonymous, worked to edit and improve it over time.
There are 15 references cited in this article, which can be found at the bottom of the page.
This article has been viewed 204,632 times.
Learn more...
The world was first introduced to the Dark Lord of the Sith, otherwise known as Darth Vader, in 1977.[1] Since then, this super galactic villain (and father of Luke and Leia) has become a pop-culture icon.[2] [3] Whether it's for a costume party, Halloween, or to impress your friends, Darth Vader costumes are always a hit. You can save money, and create a one-of-a-kind design, by making a Darth Vader costume and accessories at home.
Steps
Getting Started
-
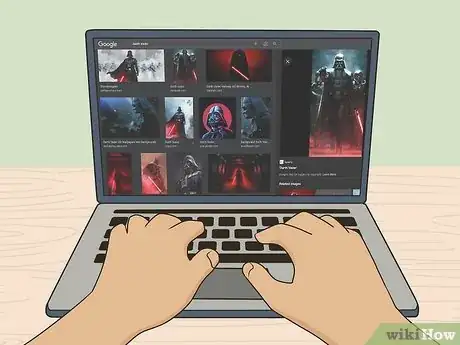
1Search the internet for pictures of Darth Vader to use as guides. Use a search engine such as Google or Bing for pictures of Darth Vader that show his entire body, as well as close-ups of different parts of his costume (e.g. mask, cape, suit). Use these as a guide when purchasing or finding supplies.
-
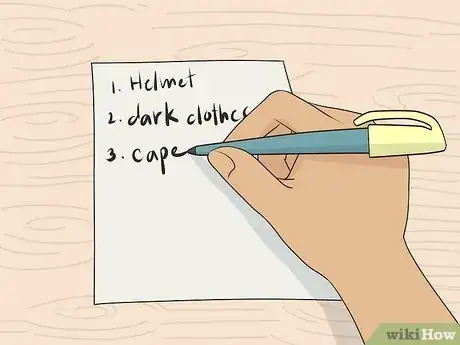
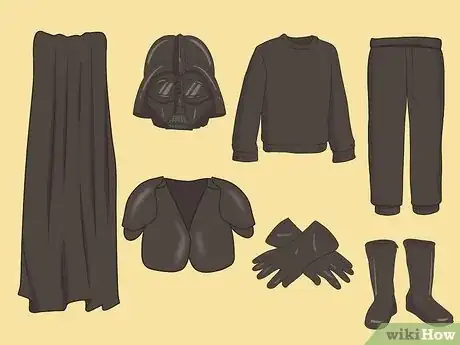
2Make a list of everything you will need. You want to make sure you are prepared and acquire any necessary materials or supplies you might not have at home. Divide the costume into 6 sections: helmet, dark clothes, dark boots, dark gloves, cape, and accessories.
- Decide what type of costume you want - something that is 100% accurate, something that is comfortable, or something that is quick and easy to make.
- Decide what parts of the costume you can make at home, and what you need to buy from a toy or costume store.
Advertisement -
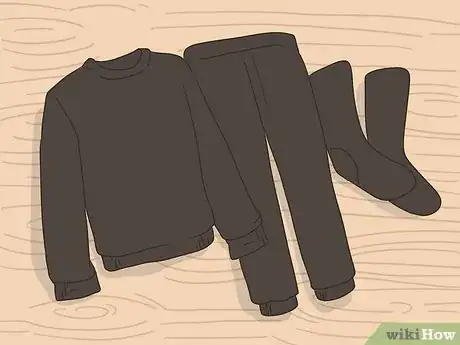
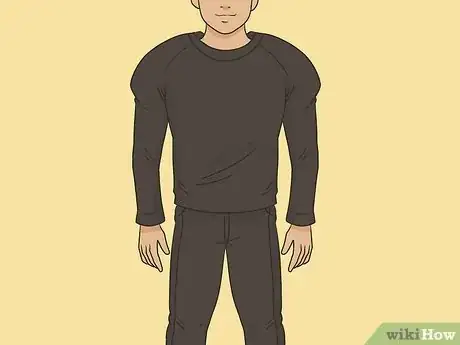
3Purchase inexpensive black clothing. Black is Darth Vader's signature color, and black clothing is a key element of the costume. You can save money by buying black clothing from a thrift store. You will need a long-sleeve shirt or sweatshirt, sweatpants or cargo pants, and socks.
- Think about where you will be wearing the costume when selecting clothing items. Purchase heavy, bulkier clothes if you plan on wearing it outside as a Halloween costume. For a costume party, look for cotton items that are thin and loose to help keep you comfortable indoors.
- If you are planning on adding armor or padding (e.g. football pads) underneath your clothes to give you a muscular look, consider buying things in a size or two larger than you normally wear.
-
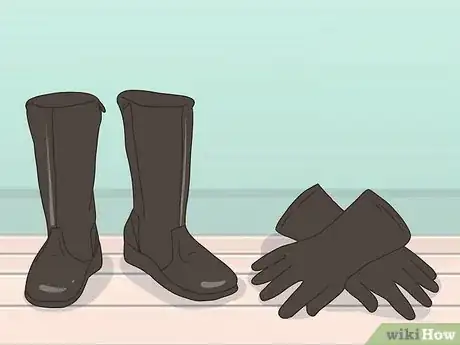
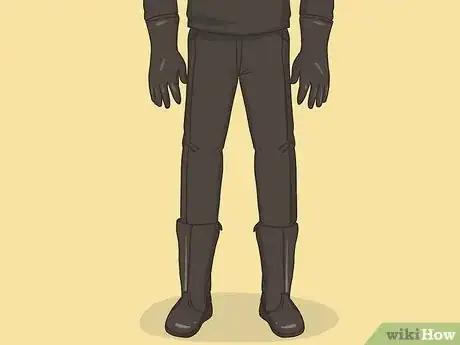
4Make or buy boots and gloves. You will need thick black gloves and boots. As a result of his deformities, Darth Vader kept his body covered-up at all times, including his hands and feet.[4] Motorcycle gloves and boots work very well because they are big, thick, and typically black. Large leather or pleather gloves, and/or cheap black snow boots work as well. You can also make your own "boot" covers to wear over your shoes. Here are the directions:
- You can sew your own boot covers using pleather material, 1⁄4 inch (0.6 cm) elastic, and a sewing machine.[5] Make a pattern by tracing your shoe and pants from the bottom of the sole to your knee. Do this for your right and left leg.
- Trace the pattern onto your fabric, making sure to include the width of the shoe at the toes and heels, and adding fabric as needed. Leave a 1⁄2 inch (1.3 cm) of fabric along one side for a seam. Do this twice for each side and then cut-out your tracings.
- Sew the two halves together for each boot, only sewing along the sides and keeping the top and bottom open.
- Cut four pieces of elastic that are the same length as the bottom of your boot. Place one end of the elastic near the right seam and the opposite end next to the left seam. Secure with flat pins and machine stitch elastic to the bottom of your boot. Put the boots on by pulling them over your shoes and pants.
Making a Darth Vader Helmet
-
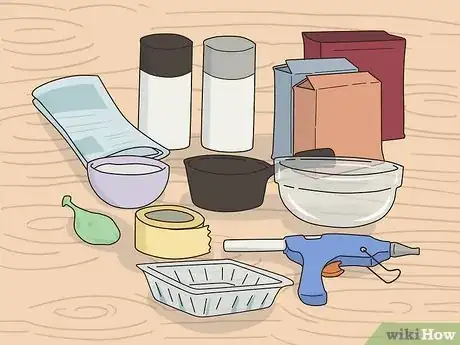
1Find or purchase supplies for a paper mache helmet. Paper mache is a great for making a helmet that is 3-dimensional, hollow, durable and light-weight.[6] While you can always buy a Darth Vader helmet from a toy store or costume store, making one from paper mache is easy and fun. You will need:
- Newspaper
- Paper mache mix (1 part flour to 5 parts water)
- Saucepan
- Mixing bowl
- Balloon
- 3-4 empty cereal boxes
- Masking tape
- Recycled plastic container
- Hot glue and glue gun
- Black spray paint
- High gloss spray varnish
-
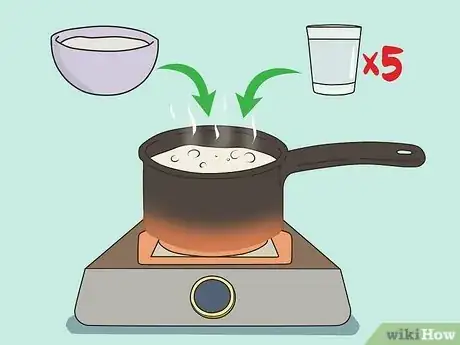
2Make the paper mache paste. Mix together 1 part flour to 5 cups water in a Saucepan. Boil for three minutes and let cool. This method produces an even, smooth paste.[7]
- You can also add equal parts water and flour, and then stir together in a mixing bowl.
- Do not add salt to the mixture as it makes the paper mache difficult to mold.
-
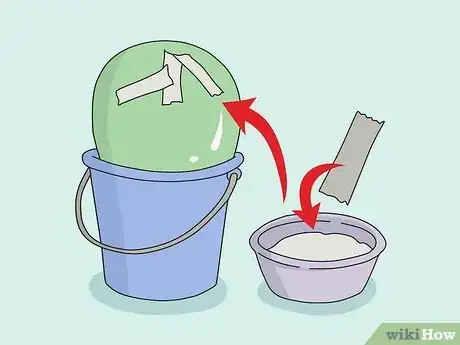
3Create a foundation for your paper mache helmet. You will use the balloon to create the base of your paper mache sculpture/helmet. Inflate the balloon and place it in a plastic bucket to prevent it from moving around. Add a single layer of paper mache to the balloon by dipping strips of newspaper into the paste and sticking them directly onto the balloon. Let everything dry before starting the next step.
- Paper mache can get messy. Use a flat working surface, such as a table or kitchen floor, and spread newspaper over the entire area before you begin.
-
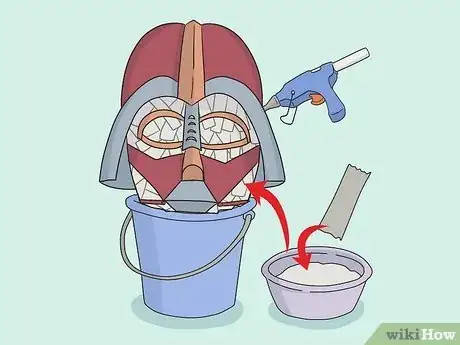
4Cut out cardboard shapes from the cereal boxes to make Darth Vader's face. Build-up the face by cutting-out geometric shapes (squares, rectangles, triangles, and circles) and attaching them to the paper mache base using masking tape or hot glue. Once you are finished modeling Darth Vader's features with cardboard, add another layer of paper mache and let dry.
- Don't forget to create a visor that sticks-out over the eyes and juts out from the side of the face.
- Darth Vader breathes through a triangle-shaped respirator that projects out from his face and covers his nose and mouth.
-
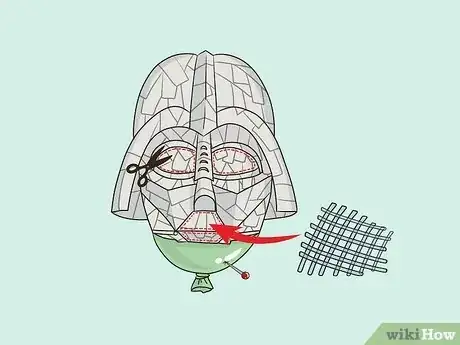
5Deflate the balloon and cut out holes for the eyes and mouth. Carefully remove the bottom and back of the mask and use a pin to pop the balloon. Add additional paper mache to smooth out any rough edges or fill any gaps. Let dry before cutting-out two wide pie-shaped holes for the eyes, and a triangular hole in the respirator for the mouth.
- Cut-out plastic strips from a recycled container and glue over the mouth to create the vented slats of the mouthpiece.
-
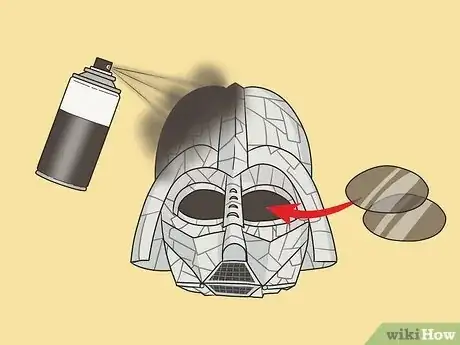
6Spray paint the helmet and add the final details. Spray the entire helmet with black pray paint followed by a high gloss varnish. Poke a hole on either side of the helmet in the back string a piece of elastic through them to hold the mask in place.
- After you are finished painting, use hot glue to attach lenses from old sunglasses over the eyes.
Making a Darth Vader Cape
-
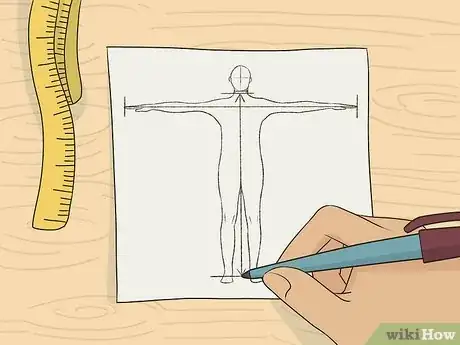
1Take a few basic measurements. Measure yourself in three places: while wearing shoes or boots, measure the distance from the nape or your neck to the floor; stretch your arms to the side and measure the distance between your finger tips; and measure the circumference of your neck at its base. Bring them with you when you go to the fabric store, and ask someone to help you determine how much fabric you need to purchase.
- Allow yourself extra fabric, about 2.5–3 inches (6.3–7.6 cm) on two sides, for hemming.
- Fabric is usually sold by the yard.
-
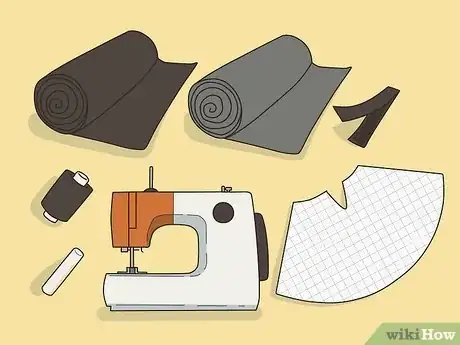
2Select a pattern and purchase supplies. You can find patterns for a basic super hero cape online or at a fabric store.[8] If you don't know how to use a sewing machine, there are a variety of cape designs available for different skill levels. Additionally, Darth Vader's cape is different from a standard super hero cape in that it doesn't "swoosh". You want to use heavy fabric to weigh the cape down. For a basic cape design, you will need:
- At least 1 yard (0.91 m) heavy black fabric (this is to make a child's costume, adults will need more based on height and weight)
- At least 1 yard (0.91 m) additional fabric if you decide to include a lining.
- Pattern paper
- All-purpose black thread
- 2-3 inches of velcro
- Erasable fabric marking pen or chalk
- Sewing machine
-
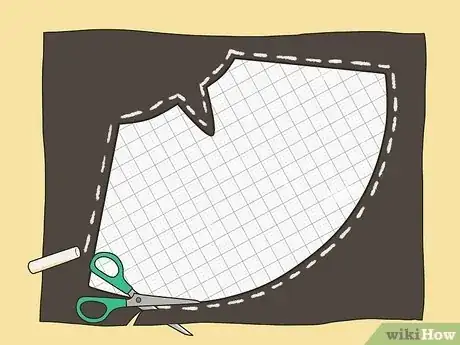
3Draw the pattern onto the cape and then cut it out. Using chalk or an erasable fabric marking pen, transfer the pattern from the paper onto the fabric. Adjust the pattern to accommodate your measurements (height from nape of neck to floor, and width of outstretched arms). Measure the width at the base of your neck to determine the collar size, adding several extra inches for comfort. When finished, cut-out the fabric.
- Repeat this step if you want to add a lining to your cape.
- Alternatively, you can draw, cut-out, and then sew two semi-circles together.[9] Fold the fabric in half and pin together. Double your neck-to-floor measurement and mark it on the fabric, leaving about 2 inches (5 cm) from the base of the semi-circle to the edge of the material. Use a piece of chalk attached to a string to draw a perfect arch. Cut the material out. In the center, draw and cut-out a smaller semi-circle for your neck. Use a sewing machine to stitch the two halves together.
-
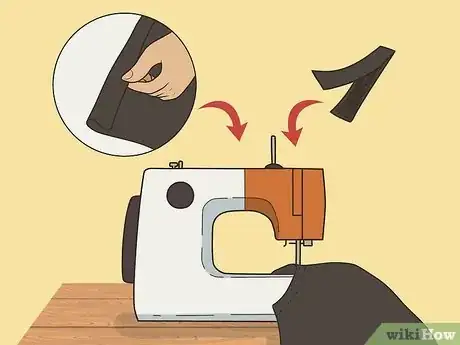
4Hem the collar and bottom of the cape and add velcro. Use a sewing machine to hem the collar and bottom of the cape using a simple double-fold hem. Fold the fabric over about 1⁄2 inch (1.3 cm), and then fold it again another 1⁄2 inch (1.3 cm). Secure with straight pins. Sew the hem about 1⁄8 inch (0.3 cm) from the second folded edge. When done, flatten the hem with an iron.
- When taking initial measurements for your cape, you want to add several extra inches for a hem. Hemming your cape will make it more durable and prevent the edges from fraying.
- Secure the collar together by sewing or gluing a 2–3 inch (5.1–7.6 cm) piece of velcro on each side. If your cape is heavy, you might need a slightly larger piece of velcro.
Putting the Costume Together
-
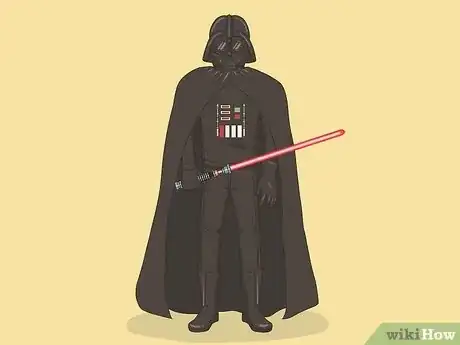
1Give yourself 10 to 15 minutes to get into the costume. Try everything on separately first to make sure it fits. Make any necessary adjustments before putting your costume on. Make sure you have everything you need to become Darth Vader. This includes: padding (optional), helmet, black long-sleeve shirt and pants, black cape, black gloves, and black boots.
-
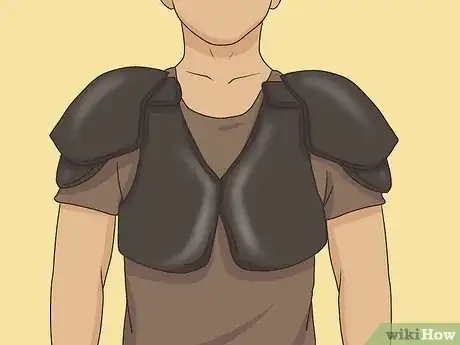
2Put padding on first (optional). While padding is not necessary, it adds bulk and gives the impression of muscles. You can use old football or hockey gear, such as shoulder and chest pads, shin guards, and/or an athletic girdle. To avoid chafing, you should wear a t-shirt and briefs under the pads.[10] If wearing one, put the athletic girdle or shapewear on first.[11] Next, position the shoulder pads so they are comfortable and have someone help you secure them in the front and back.[12] Finally, tie or strap-on knee of shin guards.
- Pads can be bulky and make it difficult or uncomfortable to move around in. If you are not used to them, practice wearing them around the house for a few hours over several days.
- Use duct tape (attached to clothing - not skin) to help secure pads that feel loose or shift too much.
- Sports equipment is expensive. If you do not have pads of your own, ask to borrow them from a friend or check a second-hand store or consignment shop for clean used items.
-
3Put on the black pants and long-sleeve shirt. You pants and long-sleeve shirt or sweatshirt should fit snugly but not be too tight. If you decide not to wear pads, but still want to create a bulky look, consider wearing a thick sweatshirt or layer several shirts. You can do the same for pants - wear two pairs of sweatpants, or pull black sweatpants over a regular pair of jeans.
- Layering clothing is also a good idea if you will be wearing the costume outside in cold weather.
-
4Tuck your pants into the boots and put on your gloves. Pull your boots up over your pants or tuck your pants into your boots. If necessary, lace-up and tie your boots before putting on your gloves. If you made boot covers, you can simply pull them over your sneakers. Try walking around. Stamp your feet when you walk so you look more intimidating.
-
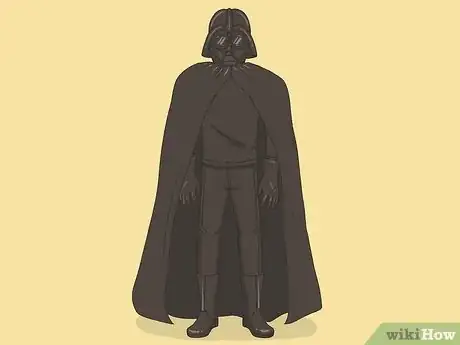
5Add the cape and helmet. Tie or Velcro your cape around your neck. Adjust it so it is comfortable and not too tight. For the final touch, put on your helmet. Make sure your helmet fits properly and you can comfortably see and breathe. Try walking around your house to get a feel for the costume before going out.
-
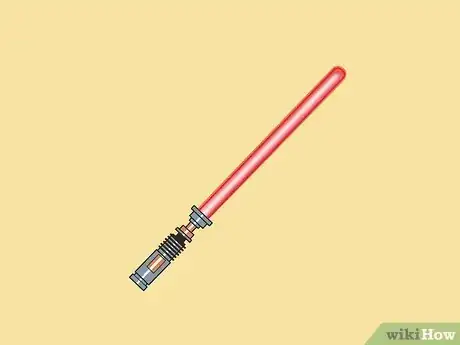
6Add a lightsaber or make your own. If you have a lightsaber, carry it around by tucking it into a belt. You can also make your own lightsaber using a foam pool noodle.[13] Use a knife to cut the pool noodle in half. Wrap silver duct tape about a quarter of the way around one of the ends. Finally, use black electrical tape to wrap three horizontal rings around the top of the silver tape, and two vertical strips between the horizontal rings and bottom of the silver tape.
-
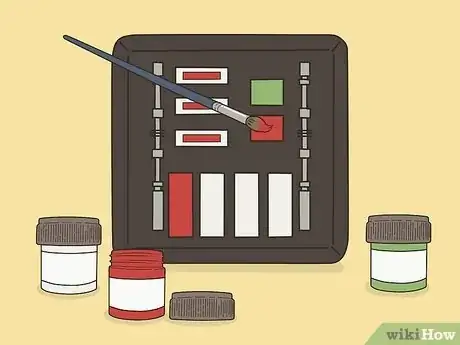
7Make your own control panel. Darth Vader wore a control panel on his chest that monitored his vital signs and bodily functions.[14] You can complete your costume by painting or spray-painting a cardboard box black. Next, create buttons and switches by either drawing them on with different colored metallic paint pens, or gluing buttons, beads, game pieces, or toothpaste caps to the front of the box. Use black duct tape to attach the control panel to your shirt, or tie black yarn or rope to each side and wear around your neck .
-
8Breathe deeply and make rasping noises. Darth Vader was equipped with mechanical lungs and a ventilator following his near-fatal battle with Obi-Wan Kenobi. As a result, his breathes are very loud and raspy. In Episodes IV, V, and VI, Darth Vader was voiced by the actor James Earl Jones. Despite his heavy breathing, his voice is deep and commanding.[15] Prepare yourself by watching the movies in which Darth Vader appears. These include: Star Wars Episodes III, IV, V, and VI.[16] Record yourself talking like Darth Vader. When in full costume, practice walking, talking and moving like him in front of a mirror.
Community Q&A
-
QuestionWhat should I use to make the control panel?
 Lily WolfeTop AnswererYou can use colored pieces of cardboard, foam, styrofoam, paper, or rubber.
 -
QuestionHow much does this cost to make?
 Community AnswerIt depends on where you buy the materials, but you could make one for less than $100.
 -
QuestionI dont have any black long sleeve shirts so any other colour instead of that?
 AshCommunity AnswerIf you don't have any black long sleeve shirts, you could also use other dark colors such as dark grey or brown.
Warnings
- Stay hydrated. Unless you have some sort of ventilation system, your suit will start to get very hot very fast. Be sure you drink lots of water, and if you start feeling dizzy, take-off the helmet and cool down.⧼thumbs_response⧽
- The helmet you wear may impair your vision. Make sure you know where you're walking, and please, don't drive while wearing it.⧼thumbs_response⧽
- If you carry a lightsaber with you, do not use it to hit other people or damage property. This is not only annoying, but can also be dangerous.⧼thumbs_response⧽
- Be aware that you may be frightening to small children. If around kids, try not to act as serious or doing something funny such as singing or dancing.⧼thumbs_response⧽
References
- ↑ http://www.newyorker.com/books/page-turner/crazy-history-star-wars
- ↑ http://www.npr.org/templates/story/story.php?storyId=19141349
- ↑ http://www.designer-daily.com/the-darkest-lord-25-spine-chilling-darth-vader-fan-art-23096
- ↑ http://www.theforce.net/swtc/injuries.html#head
- ↑ http://www.christinetrevino.com/2012/10/22/diy-super-hero-boots/
- ↑ http://www.dltk-kids.com/type/how_to_paper_mache.htm
- ↑ http://www.dltk-kids.com/type/how_to_paper_mache.htm
- ↑ http://members.optusnet.com.au/dewar_s/Vader/OuterCape.htm
- ↑ http://members.optusnet.com.au/dewar_s/Vader/OuterCape.htm
- ↑ http://www.brattleborohockey.org/Page.asp?n=90253&org=brattleborohockey.org
- ↑ http://www.washingtonpost.com/wp-dyn/content/article/2010/08/18/AR2010081804365.html?sid=ST2010081805708
- ↑ http://www.riddell.com/riddell/wp-content/uploads/2013/09/Shoulder-Pad-Fitting_01.pdf
- ↑ http://family.disney.com/crafts/how-to-make-a-star-wars-inspired-lightsaber-from-pool-noodles
- ↑ http://articles.latimes.com/2005/may/22/entertainment/ca-vadergraphic22
- ↑ http://www.huffingtonpost.com/2014/10/09/james-earl-jones-star-wars-rebels_n_5962798.html
- ↑ http://www.starwars.com/databank/darth-vader
- ↑ http://www.macstories.net/iphone/voices-for-iphone-available-finally-i-can-use-that-darth-vader-mask-again/
About This Article
To make a Darth Vader costume, start by putting on black pants and a long-sleeved shirt. Next, get into a pair of black boots and black gloves. Additionally, attach a cape around your neck with velcro and put on a Darth Vader helmet, which you can buy from a costume store. Then, tuck a light saber into your belt. For the finishing touch, make a control panel by painting a cardboard box black, and stick it to your chest with duct tape. Finally, glue or tape toothpaste caps or beads to the box to make the control panel's buttons. For tips on how to make your own cape, helmet, or light saber, read on!
