X
This article was co-authored by wikiHow Staff. Our trained team of editors and researchers validate articles for accuracy and comprehensiveness. wikiHow's Content Management Team carefully monitors the work from our editorial staff to ensure that each article is backed by trusted research and meets our high quality standards.
This article has been viewed 28,252 times.
Learn more...
Headboards can be expensive and take up a lot of space. If you are looking for a stylish, cost-effective way to accentuate your bed, then a light up curtain headboard may be the perfect choice. You can create a light up headboard in under an hour with just a few items from a department store.
Steps
Part 1
Part 1 of 3:
Hanging the Curtain Rod and Hooks
-
1Gather your materials. Making your own light up headboard is simple, as long as you have the right materials. Before you get started, you will need:[1]
- a curtain rod
- two 300 light boxes of white mini lights
- a package of 18 small command hooks
- two long sheer white curtain panels
- a sturdy chair or ladder
-
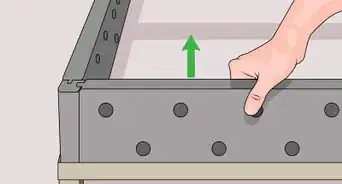
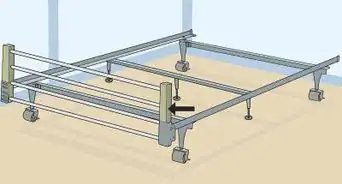
2Use a sturdy chair or ladder. Standing on your bed might not give you the height or the stability that you will need to create your headboard, so use a sturdy chair or ladder instead. Push your bed away from the wall and place your chair or ladder next to the wall.
- You may want to have someone spot you and hold your chair or ladder steady while you hang everything.
Advertisement -
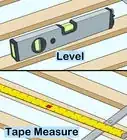
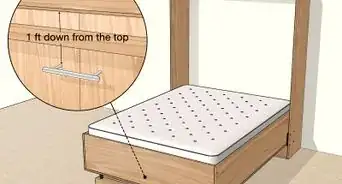
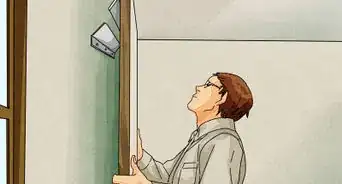
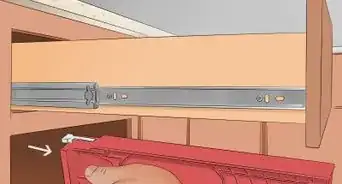
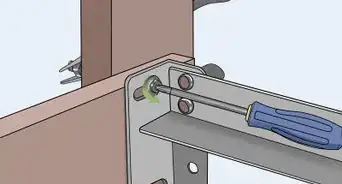
3Hang the curtain rod. Measure the width of your bed and extend the curtain rod to this length. Hold the curtain rod up against the wall to get an idea of how high you want to place it. You can place the curtain rod an inch or two away from the ceiling or a foot or two below the ceiling. Just make sure that the placement will allow the curtains to hang down past the top of your mattress.[2]
- After you have decided on where to hang your curtain, use a pencil to mark the places you will need to drill and then drill the curtain rod in place. This will help to ensure that the curtain rod will be level and placed exactly where you want it to go.[3]
-
4Place the Command hooks under the curtain rod. After your curtain rod is in place, you will need to secure the Command hooks. You will need the Command hooks to hang the mini lights. Place your Command hooks about an inch under the curtain rod.[4]
- To secure the Command hooks, take an adhesive strip and then remove the protective covering from the “wall” side. Press the wall side of the adhesive firmly against the wall. Then, remove the other protective cover and press the “Command hook against it for about 30 seconds. Repeat this process with all of the hooks.
- Make sure that you keep the hooks on an even level and that you space them out evenly as well.

Advertisement
Part 2
Part 2 of 3:
Assembling the Headboard
-
1Hang mini lights from the command hooks. Take your mini lights out of their boxes and stretch them out. You may need to detangle the cords a bit. Then, hang part of each string of lights on one of the hooks. Connect the ends so that you have one continuous chain of lights.[5]
- Make sure that you leave a plug available to connect to the wall. If an outlet is not within the area of your headboard, then you can either leave some excess cord to plug in the lights or use an extension cord to turn them on.
-
2Add curtains to the curtain rod. Next, take your curtain panels out of their packages and fan them out. Then, thread the curtain rod through the openings at the top of the curtain panels. When you are done, hang the curtain rod back up.[6]
- Make sure that you hang the curtains so that the backs of the panels hang towards the wall. The back of the curtains should have a visible hem and sometimes a tag as well.
-
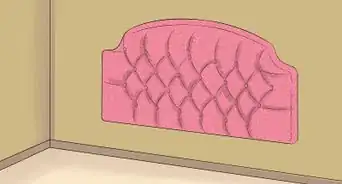
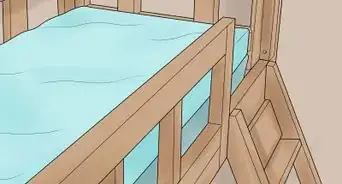
3Arrange the curtains. To ensure that your headboard will look just how you want it to, take some time to arrange the curtains. You can fan them out or bunch them together in different ways to change the texture of your headboard.[7]
- As you arrange your curtains, make sure that the mini lights stay hanging straight down against the wall.
-
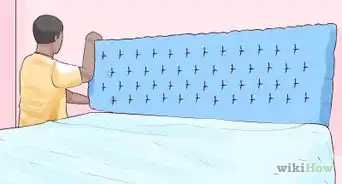
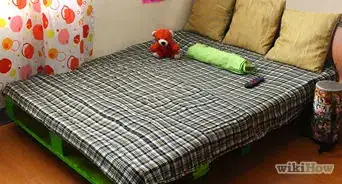
4Put your bed back in place. After you are finished arranging the mini lights, your light up headboard is finished! Return your bed to its usual space, but leave a little space for the curtain to hang. Then, just plug in the lights and enjoy![8]
Advertisement
Part 3
Part 3 of 3:
Customizing Your Headboard
-
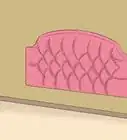
1Use different colors. If you want to go with white on white, it creates a really pretty headboard. However, you can also experiment with different color combinations to match your room décor. Choose something that matches your style or rotate the curtains and light colors now and then for a different look.
- For example, you could use sheer pink curtains with purple mini lights, sheer blue curtains with blue mini lights, or even try some multicolor lights behind a sheer black curtain.
-
2Space the lights out more or less. You can also vary the look of your headboard by spacing out the lights or bunching them up a bit more. Using fewer lights will give your headboard a softer look, while using more lights will make your headboard bright and bold.[9]
- Try using just one string of lights for a softer look, or, try using three boxes of lights for a brighter look.
-
3Add embellishments. Another way to customize your headboard is to add some embellishments to the curtain rod. You can choose something that works with your room décor to create a customized headboard look. Some options include:
- a garland of faux flowers or leaves
- some strings of beads
- feather boas
- a colorful scarf or some long thin strips of colorful fabric


Advertisement


References
- ↑ https://www.youtube.com/watch?v=l7MHb1xnBz0
- ↑ https://www.youtube.com/watch?v=l7MHb1xnBz0
- ↑ http://www.bobvila.com/articles/how-to-install-curtain-rods/#.VxEw3KQrLIU
- ↑ https://www.youtube.com/watch?v=l7MHb1xnBz0
- ↑ https://www.youtube.com/watch?v=l7MHb1xnBz0
- ↑ https://www.youtube.com/watch?v=l7MHb1xnBz0
- ↑ https://www.youtube.com/watch?v=l7MHb1xnBz0
- ↑ https://www.youtube.com/watch?v=l7MHb1xnBz0
- ↑ https://simplyyourcreations.wordpress.com/2013/02/09/diy-curtain-headboard/
- Videos provided by LagunaBeachLove10
About This Article

wikiHow Staff
wikiHow Staff Writer
This article was co-authored by wikiHow Staff. Our trained team of editors and researchers validate articles for accuracy and comprehensiveness. wikiHow's Content Management Team carefully monitors the work from our editorial staff to ensure that each article is backed by trusted research and meets our high quality standards. This article has been viewed 28,252 times.
Co-authors: 5
Updated: March 31, 2020
Views: 28,252
Categories: Building Bedroom Furniture
Advertisement