X
wikiHow is a “wiki,” similar to Wikipedia, which means that many of our articles are co-written by multiple authors. To create this article, 21 people, some anonymous, worked to edit and improve it over time.
This article has been viewed 301,512 times.
Learn more...
Blacksmiths have heated metal to hammer into shapes for centuries, using fuels like wood, charcoal, or bituminous coal to heat their metal. For a modern day hobbyist, a simple fire pit and bellows will give sufficient fire temperatures to allow for small forging projects.
Steps
-
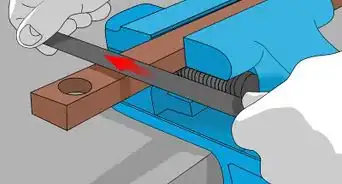
1Determine the working range of the metal you are going to forge or weld.[1] Iron is forged in the range 1200 F to 2550 F (650 C - 1400 C), brass or bronze at somewhat cooler temperatures.
-
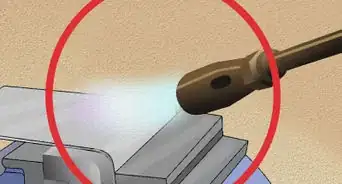
2Choose a fuel for your forge. Natural gas, propane, or liquefied propane gas are readily available in most locations, but for an authentic, old fashioned forge, coal/coke or charcoal fires would be the first choice.[2]Advertisement
-
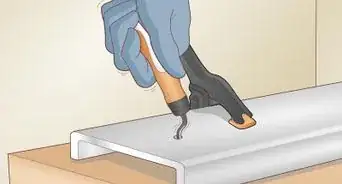
3Design the hearth and fire pit to a size suitable for the project you are going to use it for. For craft and hobby work, a small pit will be sufficient. If you have ambitions for forging swords or other long weapons, you may find you need a "deeper", or larger fire area. For very large heavy forgings, a forging oven with an overhead hoist may be more suitable, but for this discussion, we will look at smaller, hearth-type furnace forges to heat the steel.
-
4Choose the location where you will set up your forge. If you are going to use it for long term work at frequent intervals, you may want to enclose it in a woodshed or building, but this will require ducting the excessive heat out of the work space, so we will look more along the lines of hobby work, and assembling it in an outdoor area.
-
5Form up a concrete foundation for your forge. A fairly useful size and configuration might be about 19X29 inches. Install reinforcement bars, and place concrete in the form. Float the concrete flat and fairly smooth.
-
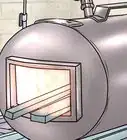
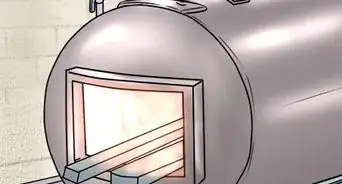
6Lay up about 24 inches (61.0 cm) of brick on this foundation, leaving the interior hollow, like a box. Leave an opening in the back "wall" of this box for removing ash from the fire pit, about 12X12 inches. You may decide later to have a metal door built for this, but that really doesn't matter.[3]
-
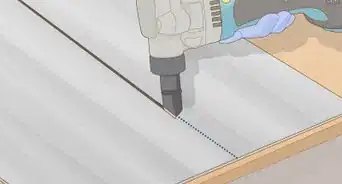
7Leave an opening for the forced air supply piping either in the side or front of this box, as well.[4] You may choose to fashion a bellows assembly or buy an electric blower for this purpose, but for this project, a 4 inch (10.2 cm) cast iron pipe should work for your air duct, regardless of what you use to supply the air.
-
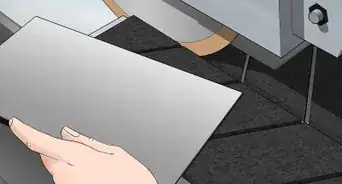
8Fashion a metal pan or fire pit liner to fit over the walls of the brick box you have laid up. This should have a depression of about 3 or 4 inches (7.6 or 10.2 cm) in the center,[5] and can be formed out of 12 or 16 gauge stainless steel, or 1/4 inch (10.2 cm) cold rolled steel plate. It must be strong enough to support the fire brick liner or packed clay which is the base for the fire. You will need a hole near the center of the depressed area of the pit liner for the fresh air supply pipe described earlier.
-
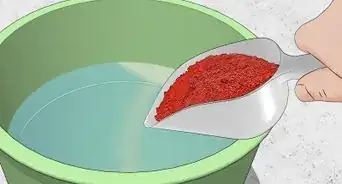
9Lay your fire pit floor using fire brick or soapstone brick and mortar mixed with fire clay to withstand the high temperatures of your forge. You will want one layer of brick to line the fire pit "floor" so that the metal pit form does not burn out from the high temperatures. The sides should be laid up with fire brick and mortar to form a ledge to support the work pieces or tongs with which you will hold your workpiece. The working height of this ledge depends on how tall the forge-worker, or smith, is. Waist high is a good average height.
-
10Lay up regular clay brick for your sides in a hearth type configuration if you like, to draft the smoke and heat away from the work ledge and fire pit. This is not absolutely necessary, but helps keep the temperature more comfortable at the front of the forge.
-
11Allow all of the masonry work to "cure" for a reasonable length of time. Depending on climate, this is usually 28 days. If you are anxious to begin using the forge sooner, build a small "curing" fire in the fire pit to temper the masonry before getting it really hot.


Advertisement
Community Q&A
-
QuestionCould I use wood as fuel?
 Metalworker13Community AnswerYes, but you need to have something to blow air into your forge to ensure that the forge gets hot enough. You will also need a lot of wood since wood at this temperature will burn up quickly. If you can, it would be better to use charcoal.
 -
QuestionWhat's the best fuel for a blacksmith forge?
 Community AnswerMany modern metal workers use propane, natural gas or liquefied propane, but using coal or charcoal works very well as long as you can supply the coal/charcoal with enough oxygen. If you decide to use coal, blacksmithing coal is the best option.
 -
QuestionWhere can I find blacksmithing coal in northern Georgia?
 Community AnswerGo to a town where a lot of people use coal for heat, and check hardware stores in that area.
Advertisement
Warnings
- Firing the forge before the masonry is cured can cause the mortar to expand and break apart.⧼thumbs_response⧽
- Use care working with concrete and masonry cement. Wear gloves, stout boots, and safety glasses.⧼thumbs_response⧽
Advertisement
Things You'll Need
- Regular clay brick.
- Mortar
- Concrete
- Fire clay
- Fire brick
- metal pipe
- sheet steel or stainless steel sheet metal


References
- ↑ https://www.thomasnet.com/articles/custom-manufacturing-fabricating/hot-forging-cold-forging
- ↑ https://metalfabrication.knoji.com/blacksmithing-differences-between-coal-charcoal-and-coke-as-fuel/
- ↑ https://www.popsci.com/diy/article/2009-11/build-your-own-propane-forge/
- ↑ https://www.popsci.com/diy/article/2009-11/build-your-own-propane-forge/
- ↑ http://www.beautifuliron.com/forge_blowrFireH.htm
- http://www.beautifuliron.com/smithforge.htm
About This Article
Advertisement