This article was co-authored by Lois Wade and by wikiHow staff writer, Aly Rusciano. Lois Wade has 45 years of experience in crafts including sewing, crochet, needlepoint, cross-stitch, drawing, and paper crafts. She has been contributing to craft articles on wikiHow since 2007.
There are 14 references cited in this article, which can be found at the bottom of the page.
This article has been viewed 141,317 times.
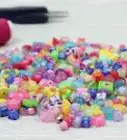
Pony bead bracelets are the perfect way to add a bit of color, sparkle, and personality to just about any look. These plastic beads come in every color of the rainbow, have fun designs and letters, and some even glow in the dark. So, how do you make a pony bead bracelet? In this guide, we’ll walk you through the process from start to finish so you can create a one-of-a-kind bracelet of your very own.
Steps


Community Q&A
-
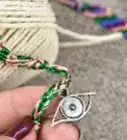
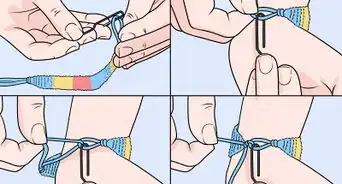
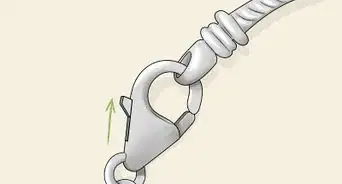
QuestionHow can I tie the string to a lobster clasp?
 Read4everCommunity AnswerTie a knot on the string, put it through the hole, and then tie another secure knot. Alternatively, if the string is too thick, you can use another piece of thinner string to attach the clasp to your string.
Things You’ll Need
- Pony beads
- Letter beads (optional)
- Elastic stretch cord
- Measuring tape or ruler
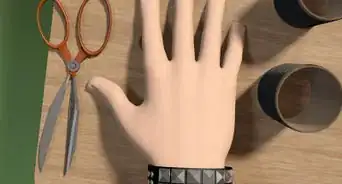
- Scissors
- Jewelry glue or super glue (optional)
References
- ↑ https://youtu.be/gGy3Rcy8qG8?t=182
- ↑ https://damasklove.com/how-to-make-beaded-bracelets-with-elastic/
- ↑ https://freeformjewellery.com/pages/bracelet-guide
- ↑ https://youtu.be/gGy3Rcy8qG8?t=214
- ↑ https://youtu.be/eZpL72SlnxE?t=145
- ↑ https://youtu.be/gGy3Rcy8qG8?t=2440
- ↑ https://youtu.be/gGy3Rcy8qG8?t=316
- ↑ https://youtu.be/eZpL72SlnxE?t=310
- ↑ https://youtu.be/gGy3Rcy8qG8?t=323
About This Article