wikiHow is a “wiki,” similar to Wikipedia, which means that many of our articles are co-written by multiple authors. To create this article, 17 people, some anonymous, worked to edit and improve it over time.
This article has been viewed 233,835 times.
Learn more...
Ankle bracelets call to mind carefree summer days, long floral skirts, and the smell of fresh cut grass. They are a symbol of friendship and a unique accessory to add to any outfit. They are easy to make at home and can be great gifts to loved ones or friends. With the right tools and creativity, you’ll be crafting gorgeous ankle bracelets in no time.
Steps
Making Twisted Staircase Ankle Bracelets
-
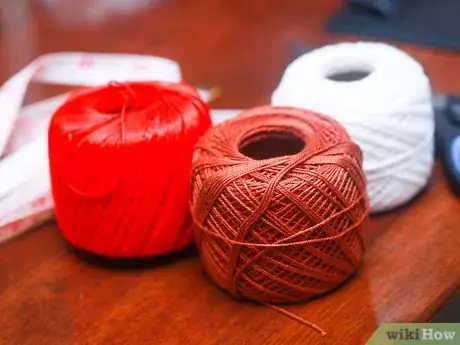
1Gather your materials. To make your ankle bracelet, you will need string. You can use one color, or an assortment. You’ll need three pieces of string for this type of ankle bracelet. You can find the string at craft stores. When picking out the colors, be sure to choose a set that either means something to the person you’re making the ankle bracelet for or simply goes well together.
- Colorful string
- Scissors
- Tape-measure
- Safety pin or tape
-
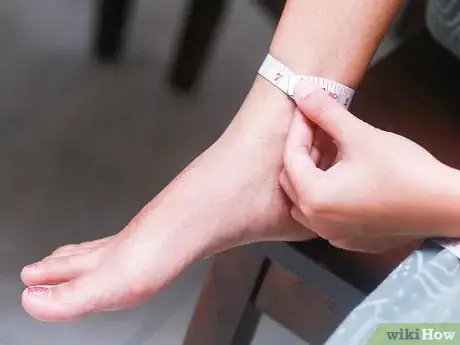
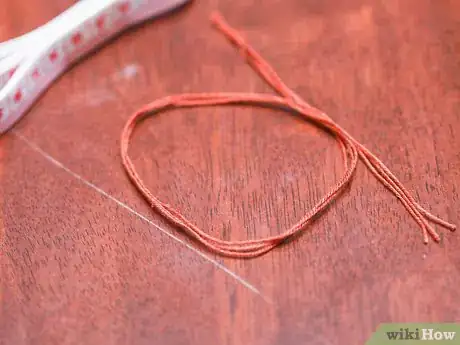
2Measure your ankle. Using your tape measure, tape around the spot on your ankle where you want your ankle bracelet to sit. Next, add 6 inches (15.2 cm) to this measurement. This gives you plenty of room to tie the ankle bracelet. Cut your string here.[1]Advertisement
-
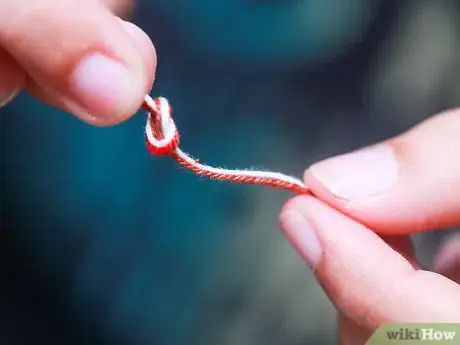
3Tie a knot. Tie all three of your strings together in one knot at the end. Leave an inch above the knot so that you can tie it again after you complete your ankle bracelet.
-
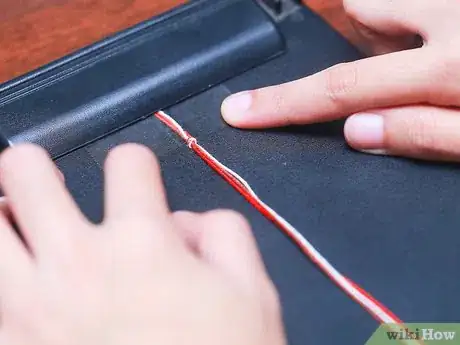
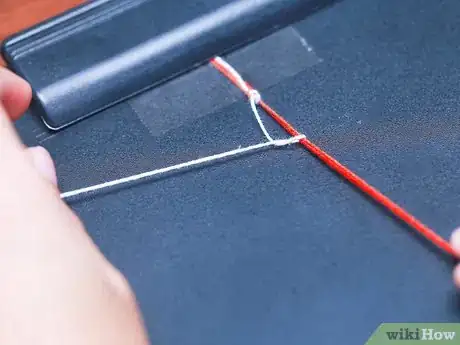
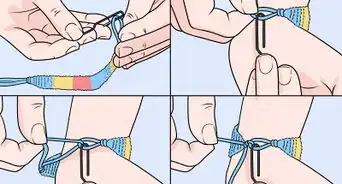
4Anchor your string. Use tape or a safety pin to anchor your string. Attaching it to something steady will make it much easier to work with. You can attach it to anything that will hold it still.
- The leg of your pants
- A binder
- The table
- A pillow
-
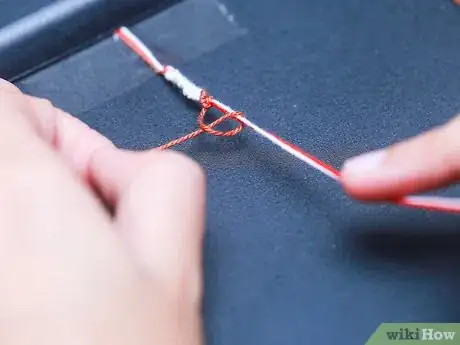
5Start your staircase. With your strings anchored, knot at the side, grab hold of two strings. Hold these straight and wrap your third string around these two and pull it into a knot. You’ll be able to see the knot on the side of the string. Using this same thread, repeat this step 10-15 times.[2]
- Be sure to hold your two center strings as straight and tight as possible. This will make tying the knots easier because it will keep them out of the way of your staircase.
-
6Switch colors. It’s just that easy—pick your next color string after you’ve reached the length you want for the first one. Hold the other two straight and use your new color to tie a knot around them. Repeat this for 10-15 knots. Continue this staircase for the length of your ankle.
- If you notice that a knot isn’t sitting correctly, you can easily undo it. However, this gets more and more difficult because your staircase gets tighter as you go; so pay attention and catch the mistake early.
-
7Test the length. Once you have approximately 4 extra inches of string, test the length of your ankle bracelet. If it is not yet long enough, continue your staircase and check again after you complete a color.
-
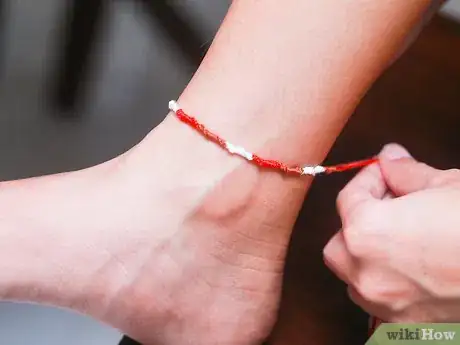
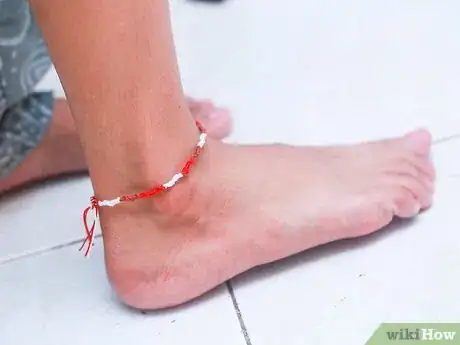
8Tie and cut. Now that your ankle bracelet is long enough, tie it around your ankle, or the ankle of the person you’re giving it to. Use a strong knot and cut the excess string away.
Making Beaded Ankle Bracelets
-
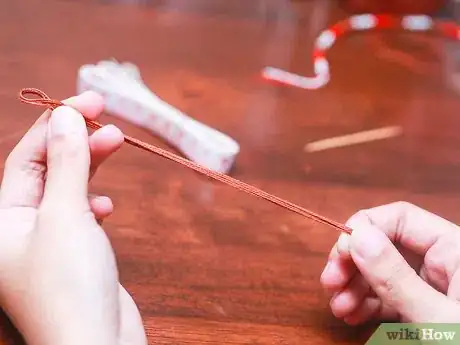
1Measure your string. One piece will most likely be too weak to hold beads, using two or three strings will lengthen the lifetime of your beaded ankle bracelet. Cut your string at your ankle length.
-
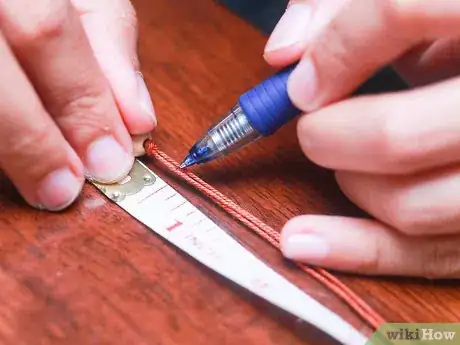
2Find the center of your ankle bracelet. Do this by taking all three pieces of your string and lining them up. Now fold them in half. Mark this spot with a pen.
-
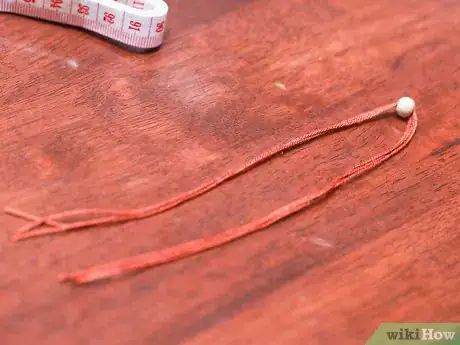
3Thread your center bead. Choose which bead you want in the center of your ankle bracelet and slide it onto the string. Move it down to the point that you just marked and tie knots on either side of it. This is now your center bead.
- Beads can represent your outfit, mood, or personality. Choose beads that convey the message that you want.
-
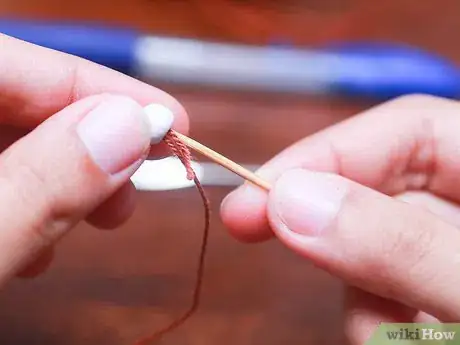
4Use a toothpick. In order to slide the rest of your beads onto your ankle bracelet, fold your string over a toothpick. This will be thin enough for your beads to fit over, but strong enough to keep your string from fraying at the ends.
-
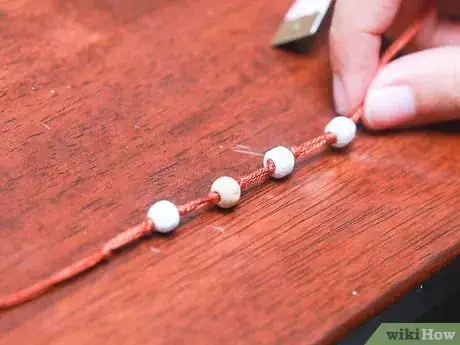
5Measure ½” from your center bead. Using your tape measure, mark ½” away from your center bead in both directions. Tie a knot at this spot and slide your next bead onto your ankle bracelet. Knot it again after the bead is in place.
-
6Continue beading. Keep measuring ½” from each bead and fill your ankle bracelet with evenly spaced beads. Be sure to knot each one on both sides of the bead so that they stay where you want them.
-
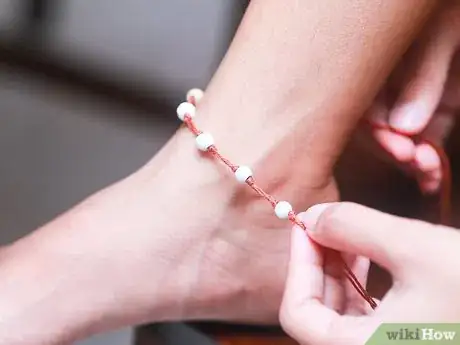
7Test the length. Once you have beaded your ankle bracelet until there is approximately 2” of thread left on each side, test the length around your ankle. If you want to add one, or you need to take one off, now is the time for those adjustments.
-
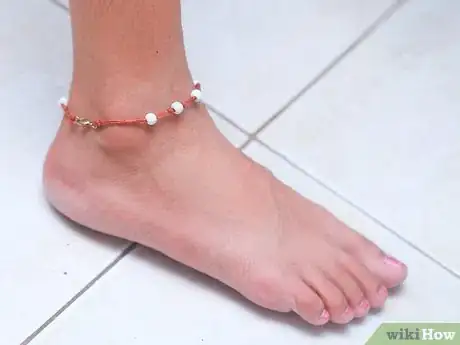
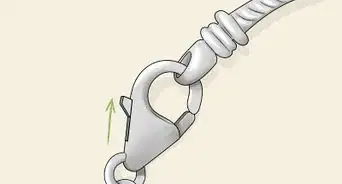
8Use a clasp. For a beaded ankle bracelet, it is smart to use a clasp because the beads are heavier than just the string. A lobster clasp is the best for an ankle bracelet and is easily tied onto each side.[3]
- You don’t necessarily have to use a clasp, but it extend the life of your beaded ankle bracelet if you do.
Community Q&A
-
QuestionHow long does this process take?
 Community AnswerNot very long, it took me about 20 minutes, but I have small ankles. It may take a bit longer if your ankles are bigger.
 -
QuestionHow do I attach the latch?
 Community AnswerTo attach the latch you simply tie the end of the remaining string to the the little hoop at the end of the latch.
 -
QuestionCan I use wool instead of string?
 Community AnswerIt may be difficult to string beads onto wool, but wool will work fine for the first method.
References
About This Article
To make an ankle bracelet, start by measuring your ankle with a tape measure. Then, cut out 3 different colored strings that are 6 inches longer than your ankle measurement. Once you’ve cut the strings, tie them together about an inch from the end so you have room to fasten your bracelet when it's done. Weigh the knot-end down with a paper weight or clamp it in a binder or clipboard to keep it still. After you’ve secured the strings, hold 2 of them straight, wrap the 3rd string around them, and knot it through itself. Repeat this 10-15 times with the same thread. Next, repeat the process with a different colored string and switch colors every 10-15 knots to make a pattern. When the pattern stretches far enough to fit around your ankle, tie the ends together with a double knot and cut away the leftover string to finish your bracelet. For more tips, including how to make a beaded ankle bracelet, read on!
