This article was co-authored by wikiHow Staff. Our trained team of editors and researchers validate articles for accuracy and comprehensiveness. wikiHow's Content Management Team carefully monitors the work from our editorial staff to ensure that each article is backed by trusted research and meets our high quality standards.
There are 7 references cited in this article, which can be found at the bottom of the page.
This article has been viewed 23,260 times.
Learn more...
Because of their unwieldy dimensions, vending machines can be difficult to transport from place to place. With the right tools, however, you'll be moving them like a pro. It's as simple as loading the machine onto a pallet jack, which you can then wheel to its new destination. Be sure to lower it down carefully and plug it back in once you're finished. And, whenever possible, have another person help you to complete the job safely and efficiently.
Steps
Securing and Loading the Machine
-
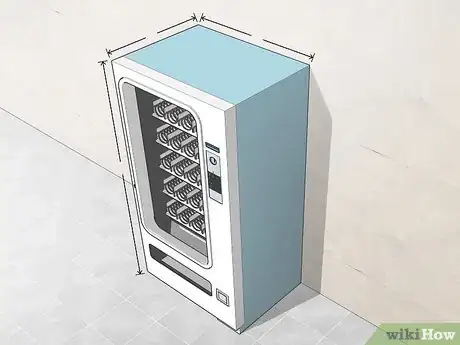
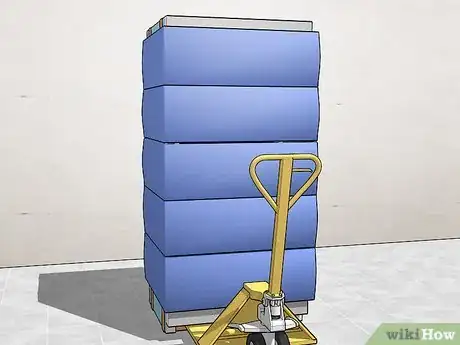
1Measure the vending machine. Use a tape measure to find the height, length, and width of the machine. Once you've done that, measure any doors and hallways it will pass through. Knowing the machine's exact dimensions will help you determine whether you'll be able to move it along your chosen path unobstructed. It may also affect the type of jack you use.
- Full-size units, like beverage and snack machines, should always go on a pallet jack with forks that are a minimum of 42 inches (110 cm) long. Smaller machines can be loaded onto a 36 inch (91 cm) jack, provided the forks cover the full length or width.
- If the machine is too big to move through an area as planned, you may have to map out a new route.
-
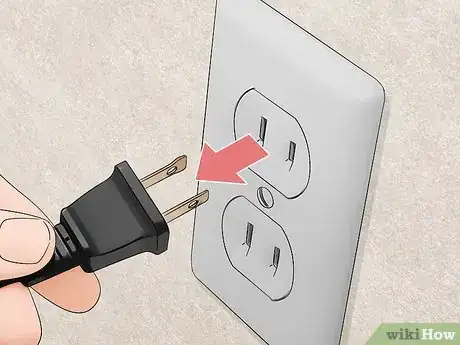
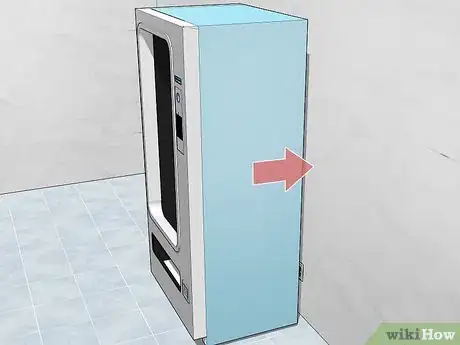
2Unplug the vending machine from the wall. Reach behind the machine and find where it’s connected to the wall outlet. Pull the plug to cut the power. The machine needs to be completely off and separated from the wall before it can be moved.
- If the vending machine has an “off” mode, make sure you shut it down before you disconnect it from the power source.
Advertisement -
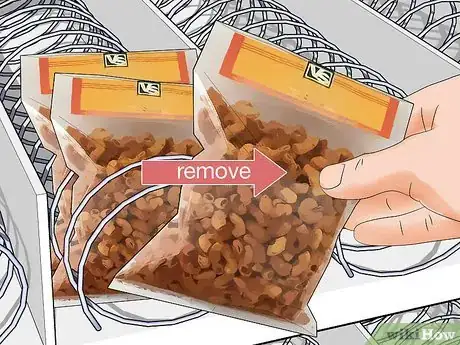
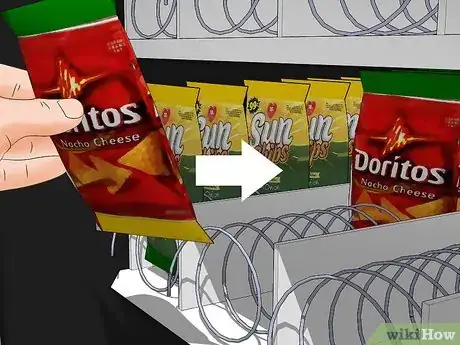
3Empty the machine. Open the display door on the front of the machine and remove all snacks, beverages, and other products from the racks. Removing the items inside will decrease the weight of the machine, making it easier to transport. It will also prevent a catastrophic mess in the event of an accident.
- Group the items in boxes by type and brand to keep them neatly organized and together in one place.
- Emptying a well-stocked vending machine can take a few minutes, but it’s nowhere near as time-consuming as cleaning dozens of spilled drinks and snacks off the floor.
-
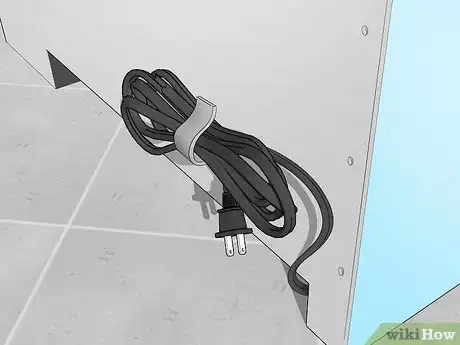
4Secure the power cord to the back of the machine. Scoot the machine away from the wall enough to take hold of the loose cord. Most machines have a small round port in the backside that serves as housing for the power cord when not in use. Feed the cord into this port until only the plug is left sticking out.[1]
- If the cord is a fixed length, stretch it up along the length of the machine and use strips of packing tape to hold it down in 2-3 places.
- Don’t wrap the cord around the base of the machine, or stuff it inside the product slot. It’s possible for the weight of the machine to crush or even sever an unsecured cord during the moving process.
-
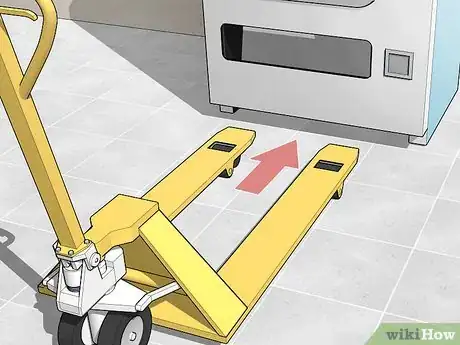
5Position the pallet jack under the machine. Slide the forks of the jack beneath the front side of the machine far enough to support its full weight. Make sure the machine is perfectly centered—otherwise, it may rock or tip when you begin lifting it.
- Push the jack until it rests snugly against the front of the machine to make sure you're taking advantage of it's full length.
- Keep an eye on forks that protrude from the backside of the machine. These can easily get snagged on nearby obstacles.
-
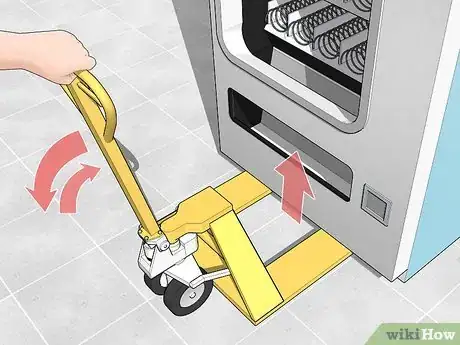
6Pump the handle of the jack to hoist the machine off the ground. Each time you crank the handle, the machine will rise by about 1⁄2 inch (1.3 cm). Keep pumping until the underside of the machine is completely clear of the floor. It will then be ready to relocate safely.[2]
- Many vending machines have short legs on the bottom. You may need to lift these machines slightly higher to keep the legs from scraping against the floor.
-
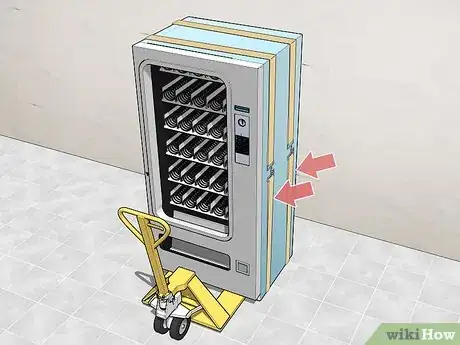
7Secure the machine to the jack using ratchet straps. Guide the straps over the top of the machine, then thread them under the lifted jack forks. Feed the loose ends through the adjustable tie-downs, pull them until they're nice and tight, and shut the clamps. Make sure each strap is firmly anchored before proceeding.[3]
- If you don't have ratchet straps, some extra-long bungee cords can also do the trick.
- Ratchet straps, bungee cords, and similar tools offer added stability while the machine is in motion, eliminating rocking and other subtle movements that may lead to shifting or tipping.[4]
Transporting the Machine Safely
-
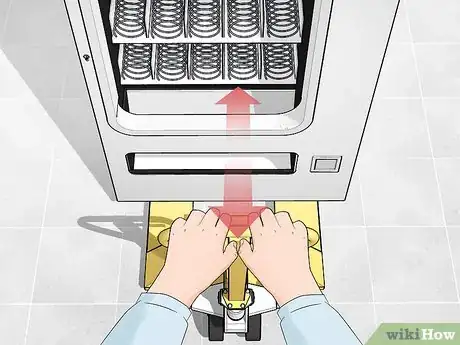
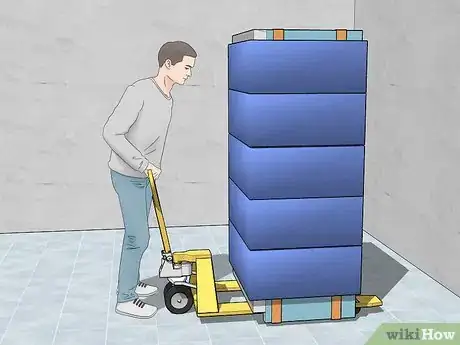
1Use the handle of the jack to push or pull the machine. Guide the machine along carefully, keeping it moving in a straight line as much as possible. Applying too much force to one side could cause it to tip over. Keep an eye out for bumps, divots, and other potential obstacles along the way.
- If you’re working with a dolly-style jack, it may be easier to remove the handle and guide the machine from either side with the help of an assistant. This will take some of the muscle out of rolling the jack while also making it easier to steady.[5]
- Don’t rush. The faster you go, you more likely you are to throw the machine off its precarious center of balance.
-
2Cover the exposed sides of the machine with moving blankets. If you’re making your way through an area full of delicate surfaces, consider draping some kind of buffer over the vending machine before you wheel it away. A little cushioning will help protect both the machine and the surrounding objects from damage. Remember that the rules of safety apply to the property as well as yourself and the machine.
- You could also use a folded canvas dropcloth or plastic tarp if you don’t have anything else on hand.
- Be particularly cautious around fragile materials, like wood paneling, glass, and drywall.
-
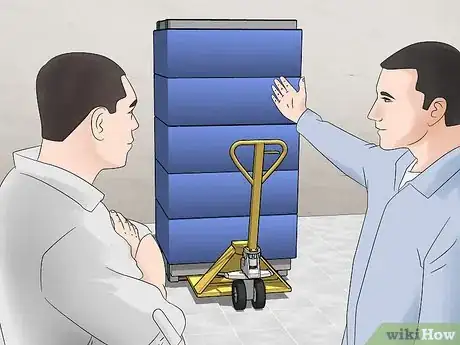
3Arrange for a helper to assist you with the move. When you come to an area with limited visibility, such as a corner or narrow corridor, station one person in front of the machine so they'll be in a better position to call out directions. The other person can concentrate on moving and steadying the machine. Together, you’ll be able to maneuver the machine more efficiently and avoid potential mishaps.
- If you’re attempting to move a vending machine by yourself, it will be necessary to pause and reposition the jack every so often to make sure you’re on the right track.
Unloading the Machine
-
1Wheel the machine into place. Pivot the jack so that the front of the machine is facing outward. Then, inch it back closer to its new position. Leave it 1–2 feet (0.30–0.61 m) away from the wall for now—it will be easier to plug it back in this way.
- Avoid turning the machine too sharply or too quickly.
-
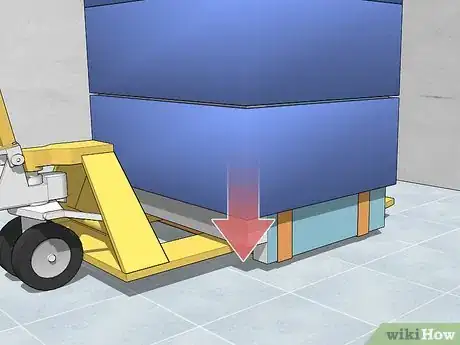
2Pull up on the jack handle to lower the machine. When it’s locked in the upright position, the jack will release the load, gently setting it back down on the floor. Keep your helper on standby near the back of the machine in case it shifts unexpectedly.[6]
- Some jacks have a separate lever on the handle that must be pressed to lower the forks.[7]
-
3Refill the vending machine, then close and lock the door. Open the display door again and return the products to their appropriate place on the racks. Double-check that everything is properly situated before closing up. Each rack should be straight and lined up neatly with the front edge of the machine to avoid hangups and missed items.
- In snack food machines, the product labels should face outward and be clearly visible.
- This is a good opportunity to restock the vending machine if it’s running low.
-
4Plug the machine back in and turn it on. Snake the power cord out of the storage port, or unstick it from the backside if you taped it down. Once you’ve inserted the prongs into the outlet, gather up the slack in the cord so that it doesn’t get trapped beneath the machine.
- Slip the excess cord length back into the port to reduce the chances of a mishap.
- It may take 1-2 hours for refrigerated vending machines to reach their lowest temperature again.
-
5Push the machine back to the wall. Inspect its final position from multiple angles to make sure it's properly aligned with the machines beside it. If it's the only machine occupying the wall, leave 3–4 inches (7.6–10.2 cm) of space in the back to provide access for routine repairs. Grab an ice cold soda or a bag of something tasty to munch on to reward yourself for a job well done!
Warnings
- Vending machines should always remain upright while being moved. Laying them down could cause issues with the refrigeration unit or other delicate parts.⧼thumbs_response⧽
- Attempting to load or transport a vending machine on your own could result in property damage or even personal injury.⧼thumbs_response⧽
Things You'll Need
- Pallet jack
- Moving blankets
- Canvas dropcloth or plastic tarp (optional)
- Packing tape
- Boxes or other containers (for storing vending machine items)
References
- ↑ https://www.youtube.com/watch?v=s--Bygi_be8&feature=youtu.be&t=149
- ↑ https://www.youtube.com/watch?v=B14fUPnDKTM&feature=youtu.be&t=14
- ↑ https://www.youtube.com/watch?v=uZlkIOHOkNo&feature=youtu.be&t=25
- ↑ http://vendinghow.com/video/how-to-move-a-vending-machine
- ↑ https://www.youtube.com/watch?v=s--Bygi_be8&feature=youtu.be&t=246
- ↑ https://www.youtube.com/watch?v=s--Bygi_be8&feature=youtu.be&t=307
- ↑ https://www.youtube.com/watch?v=B14fUPnDKTM&feature=youtu.be&t=57
