X
wikiHow is a “wiki,” similar to Wikipedia, which means that many of our articles are co-written by multiple authors. To create this article, volunteer authors worked to edit and improve it over time.
This article has been viewed 22,607 times.
Learn more...
Oh the pain of navigating through an international airport. From the time you enter till the time you board your plane, it's frightening - you'll be weaving inwards and outwards, frontwards and backward. It's completely a mess to keep up with what way your body should be moving. But, this article will get you in the direction you'll need to go to get you onto your plane to head to your destination rather painlessly.
Steps
-
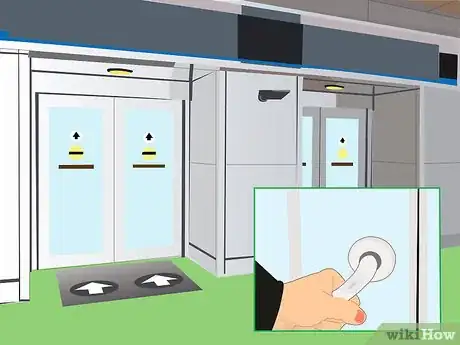
1Enter through the airport's entrance doors. Most times, the doors will automatically open, and you'll be able to enter through without lifting a finger, while other times, you'll have to open them with your hand on a handle.
-
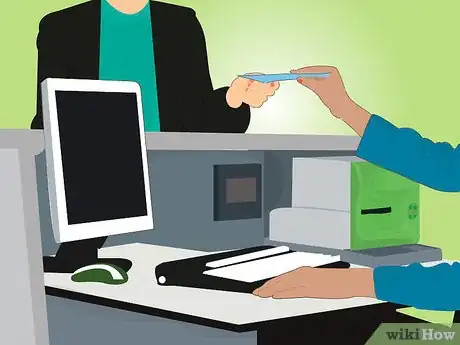
2Check in at the check-in desk and set your baggage (if you have any) down on the scale nearby. Let the employee know how many pieces of baggage you have, as rules have changed how many pieces each passenger may carry with them onboard the aircraft. Realize that only the luggage pieces should be checked in at this desk at this time.
- While you are at this desk, international airports will often have a place where you can print your boarding passes or ask the check-in person to print them for you (if you don't own a smartphone or don't have access to a printer). Printing these boarding passes are a part of their job when asked by the traveler.
Advertisement -
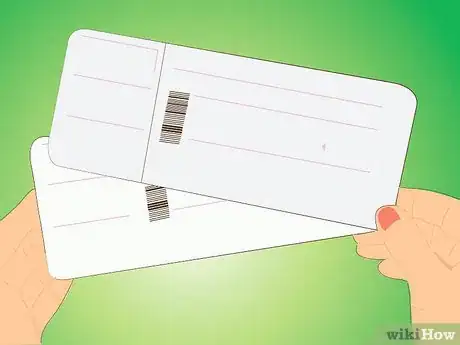
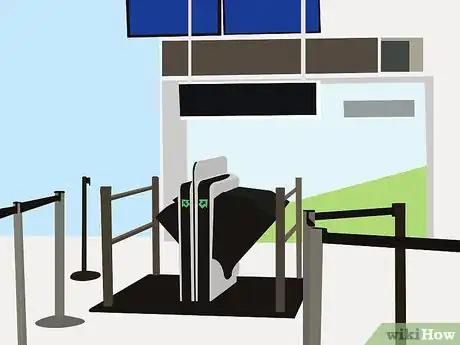
3Weave around the security check-in lines until you get to the ID check-in station. The security agent will need to see your boarding ticket and photo ID. The two names on each item must match the other item. If they don't, the FAA will stop you from boarding until either form has been corrected. For those carrying mobile boarding passes on their phone, you must place your phone down onto the podium where they will scan for the chip holding this pass (which should only take a matter of two seconds).
-
4Place your onboard checked baggage as well as any keys, phones, or anything metal in small bins/containers the TSA agent should hand you (upon your request). Ensure all your belts, keys, jackets, coats, shoes/sneakers, and mobile phones are taken off and placed in the bin. If you are carrying a laptop in a bag, you must take this out of the bag and place it in its own separate bin that can travel along the conveyor belt. (TSA Pre-Check (which is a paid yearly service) travelers do not need to follow this advice of removing extra pieces, but they can if they feel up to doing so.)
- Unless otherwise asked by the agent, you may leave your socks on now when walking through the next few processes. However, shoes/sneakers must be off.
-
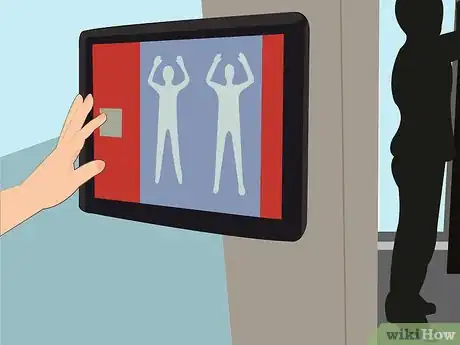
5Walk through the metal detector, or for full-body scanners, walk and stop on the body scanner for it to X-ray you. While most international airports have switched to body scanners (body scanners do have a lower rate of error), there are still a few international airports that still have metal-detectors in place, and you must be able to follow those directions instead.
- For those wearing medical devices such as heart implants or certain other machines, you must be able to have the security agent pat you down instead with their 'magic wand' from head to toe.
- Be careful of following through a full-body scanner. They can be triggered by excess amounts of water, such as when a person is sweating profusely. As long as there's a reason for the person is sweating, you could be okay with walking through the rest after the body scan.
- Follow all prompts as the TSA agent asks you. Certain machines will have certain methods you must abide by to get you through the machine while following their special rules.
-
6Pick up your things from the conveyor belt and place back on your shoes, socks (certain instances), place back your phones and personal accessories, place your laptop back into it's carrying case (unless the TSA agent needs to second check the device which sometimes needs to be done if they suspect something may be hiding inside it).
-
7Look at your ticket. While most mobile passes have your most recent updated boarding passes, printed boarding passes don't have that luxury and will mention the boarding gate the last time it was known to have been updated at the time you checked in for your flight. Knowing this information is crucial to know where to go to find your plane that will lift you off to your determined location. Look around for monitors that mention your new boarding gate (if any changes at all have occurred).
-
8Shoot straight for your boarding gate. Walk quickly but don't run; don't stop and dawdle. Try not to stop at walking-path shops unless all other guests can quickly get around you and anybody nearby. Use the moving sidewalk to your advantage if the gate is far away and the gate isn't directly next to the sidewalk (where you'd have to get out before the sidewalk ends) by either walking along with it, running with your bags on it, jogging or forever moving with it to get you to the gate quicker. If you have extra time, you may walk from the security checkpoint area, but people often tend to run to their gate as quickly as possible.
-
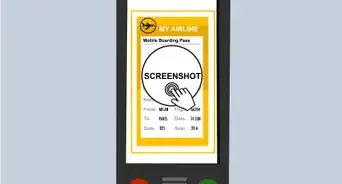
9Sit down at your final boarding gate, or, if the plane is already boarding, board the airplane. The gate agent will ask you for your boarding pass; have them scan it. If you are carrying a mobile boarding pass, most often, you'll need to turn on the device and open up the app carrying your pass on it until the flight data barcode/QR code is shown.
- For those operating mobile phone apps for your boarding pass, you'll be operating your phone to show the boarding pass to the pedestal before the gate leading you to the plane.
- Sometimes, you'll need to increase your phone's brightness up to maximum brightness to ensure the scanner can properly read the barcode.
- Almost all iPhones have a Pass app on them. Download the pass to Passbook and use this item instead of the app. The passbook passes are better known to the airline industry than the airline's own app. Plus, these passes have all the data you'll need without scrolling the pass up and down on the screen to ensure the entire code is scannable all at once.
- Some Android phones have similar pass apps that you can use. Use them when available. Some Samsung phones themselves also have their own pass system available for an airplane flight from an international airport.
Advertisement
Warnings
- Follow all directions that the TSA agent gives you. If they say that you can enter through the quick check-in line, follow what they tell you. Don't try to squander into someone else's stream, as this can get you barred from the check-in line. Each person's conditions are different.⧼thumbs_response⧽
- Make sure you can visually see all checked baggage from the time you enter through the airport's entrance doors till the time you board your plane. Don't accept bribes for others to take your baggage, as most of these people can't be trusted to get it to your final destination.
- Watch for nametags on the person, along with the FAA shirts and insignias of the flight company to be prominently displayed. Wander away from any person that requests baggage that doesn't have either. Be cautious towards those who have shirts and no name tags, and be very cautious of people who have nametags and no shirts. Report any people who request baggage who don't have either of these items on them, but be prepared to mention their body characteristics and potential name to official airline terminal representatives immediately as soon as you arrive at your boarding gate.
⧼thumbs_response⧽
Advertisement
About This Article
Advertisement









-Step-12.webp)
