This article was co-authored by Tanglewood Sue. Tanglewood Sue is a DIY and Upcycling Specialist and the Owner of Tanglewood Works out of Hyattsville, Maryland. With over nine years of experience, Sue specializes in upcycled painted furniture and other handmade, personalized, and sustainable goods. With her passion for art and reinvention, marketing experience, and Bachelor’s Degree in Broadcast Media, Sue has been able to create a business that not only provides quality pieces but empowers customers to create their works through her library of DIY tutorials and live demos as well as DIY supplies.
There are 10 references cited in this article, which can be found at the bottom of the page.
This article has been viewed 12,258 times.
You may have been told that you have to sand your wooden furniture before you paint it, but that’s actually not true. If you hate the chore of sanding, there are many ways to avoid it! You can use a liquid deglosser or a primer before you paint to help the paint bond with the wood. You can also use special kinds of paint that don’t require primers at all, like milk paint, chalk paint, and mineral paint.
Steps
Protecting Your Furniture and Applying a Primer
-
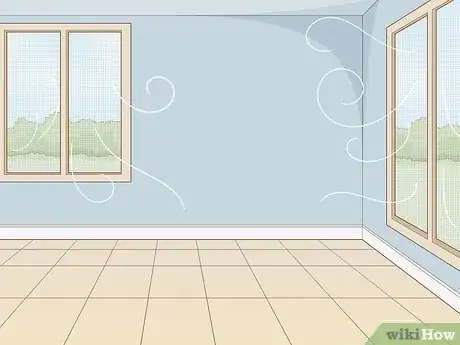
1Make sure your painting space is well ventilated. If you’re working indoors, open up windows and doors to keep the air circulating. Consider placing a fan facing out the window, to blow out air. Paint fumes aren’t good to inhale, especially for children and pregnant women.[1]
-
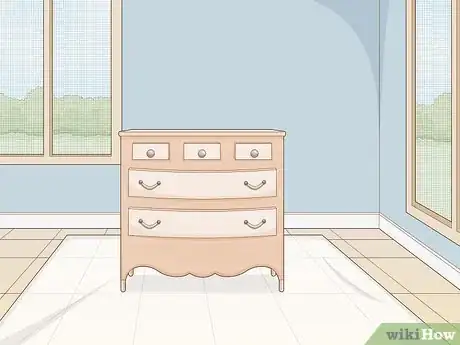
2Place the furniture on a drop cloth. This will keep your floor clean as you paint if you’re painting inside. You won’t have to worry about paint drips and dribbles. If you’re painting outside, a drop cloth will protect your furniture from grass and dirt.[2]
- A plastic tarp makes a good, affordable drop cloth.
Advertisement -
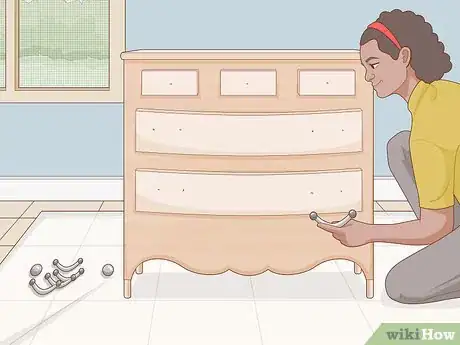
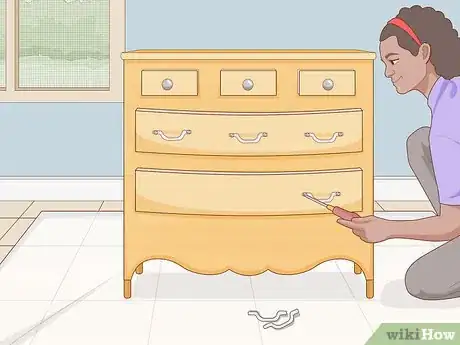
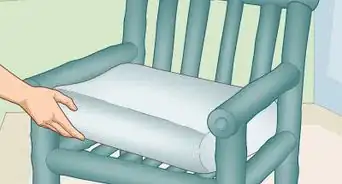
3Remove any knobs or handles from your furniture. If you don’t want a piece on your furniture to get painted, it’s easier to take it off with a screwdriver rather than try to paint around it later on. Also, if you're painting furniture with cushions, make sure to take the cushions off![3]
-
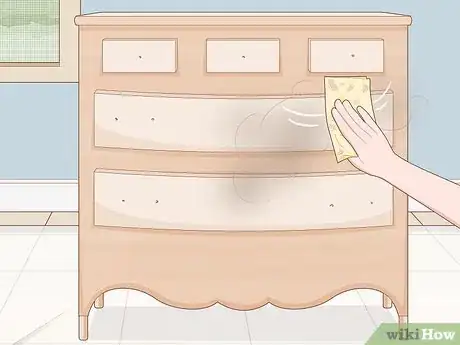
4Wipe down your furniture with a tack cloth. A tack cloth is a lint-free cloth that is slightly tacky (sticky), which means it can pick up dust much better than your average cleaning rag. Getting your furniture clean before you paint it is important so that you don’t accidentally make specks of dirt stick to the furniture.[4]
- A dry cloth will get off most of the dust, but if you have more stubborn grit, just wet the cloth until it is slightly damp and rub it over the furniture.
-
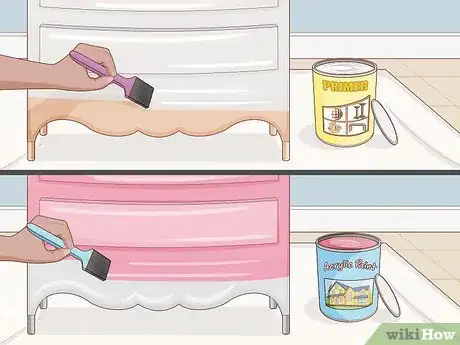
5Use a bonding primer with acrylic paint. To use acrylic paint, which is commonplace and affordable, you’ll have to first apply a primer to make the paint stick to the wood. Choose a primer designed for the kind of wood your furniture is made out of. Apply a coat of primer with even brushstrokes, in the direction of the wood grain. Let the primer dry completely before applying your coat of paint.[5]
- Some primers take hours to dry and some only 10 minutes.
-
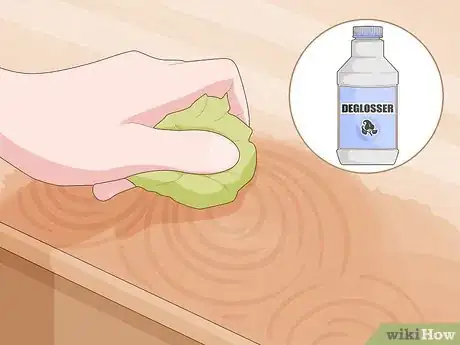
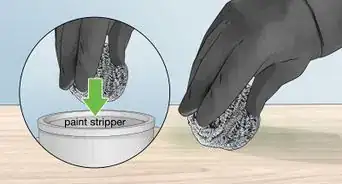
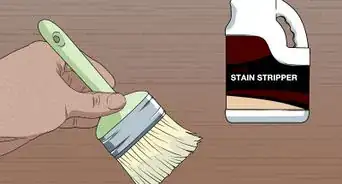
6Prep with a liquid deglosser if your furniture has intricate woodwork. Liquid deglosser helps dull the paint on the furniture, doing the task of sandpaper, but without you having to tediously sand.[6] Just soak a rag in deglosser and run it over the furniture. The liquid will seep into all the tiny nooks and crannies of your furniture.
Choosing Your Paint
-
1Use acrylic paint for an easy to find, affordable option. Acrylic paint is very easy to come by, and cheap. However, people normally sand their wood furniture before applying acrylic paint, so if you’re bent on avoiding sanding, you’ll have to apply a primer first. You may be better off trying out a more expensive and unusual form of paint.
-
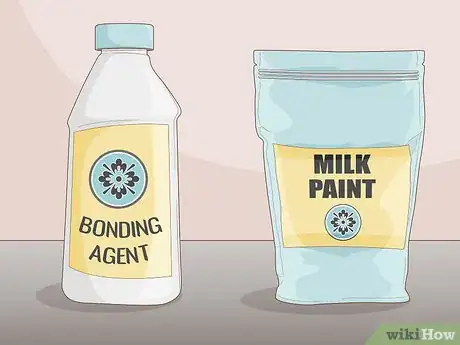
2Mix milk paint with a bonding agent for an easily adhering paint. Bonding agent is a liquid substance that helps the milk paint grip onto the wood. In a bucket, mix equal parts milk paint with bonding agent. Stir completely before using. You don’t need a primer or deglosser with milk paint.[9]
-
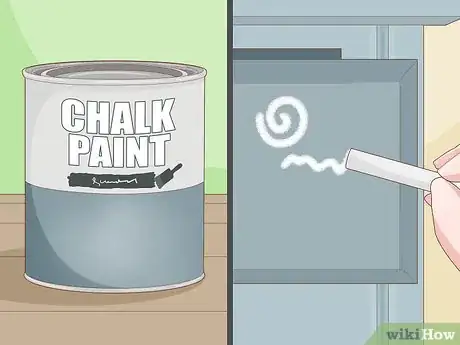
3Use chalk paint for a matte, writable surface. Chalk paint requires no bonding agent and adheres to almost any surface.[10] And, you can write on your furniture with chalk afterwards, which could be fun! Chalk paint dries quickly, so use light, thin coats, to avoid leaving visible brush strokes.[11]
- There is no need to apply any primer or deglosser before painting with chalk paint.
-
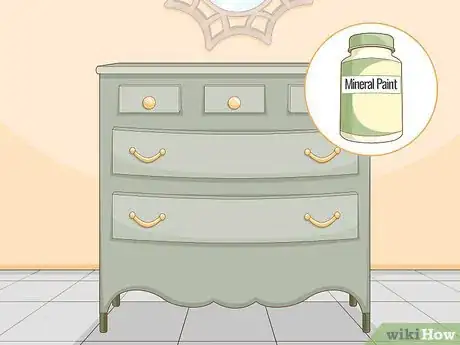
4Choose mineral paint for a waterproof finish. Mineral paint is generally more expensive than the other options but it resists water rings from cups being set down on it. So, if you’re painting a coffee table, or something else that might get spilled on, it might be the paint for you. [12]
- Mineral paint also requires no primer or bonding agent.
Painting and Finishing Your Furniture
-
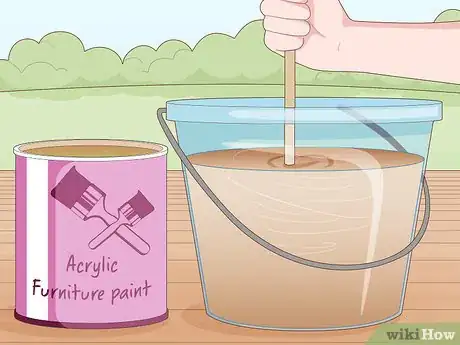
1Stir your paint with a stir stick. Because you’re not sanding your furniture, you can get right to painting it! Stirring your paint gets out any globs and bubbles and makes sure the paint is all a consistent color. Once your bucket of paint is stirred, you may want to test painting on a scrap of wood to make sure it comes out the color you want.
-
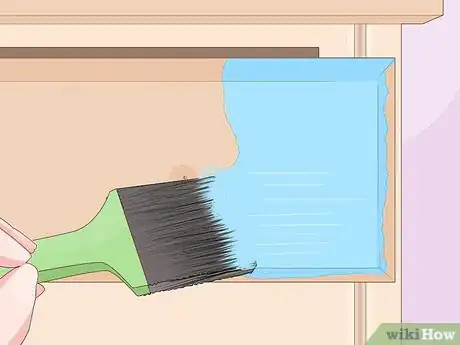
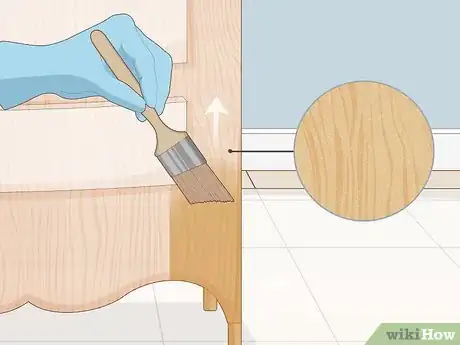
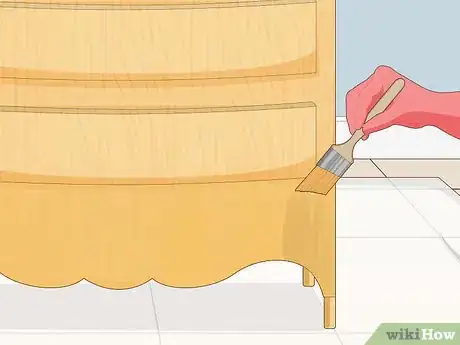
2Paint the furniture in a light, even coat in the direction of the grain. The grain will be clearly visible, especially because you haven’t sanded your furniture. Dip the paintbrush in the bucket of paint and rub off any excess paint. Then paint lightly in the direction of the wood grain.[13]
- Start at the bottom of the piece of furniture and work upwards.
- Place your paintbrush on the unpainted wood and move it towards the part you have already painted, until the paint overlaps, instead of placing your brush on the wet paint and working outward. This will avoid leaving brushstrokes.[14]
-
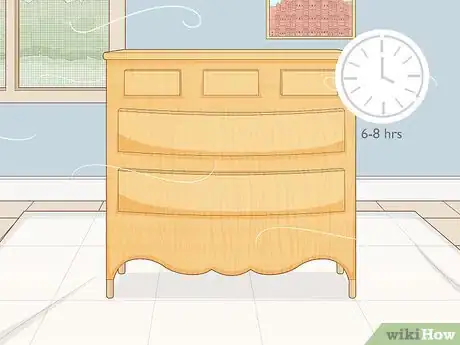
3Let the furniture dry completely after the first coat of paint. The amount of time your paint will take to dry depends on the type of paint you choose. Most paints need about 6-8 hours to dry. Chalk paint, which sticks very well to unsanded wood, only takes about 30 minutes to dry. Check your can of paint to see how long the recommended drying time is.[15]
-
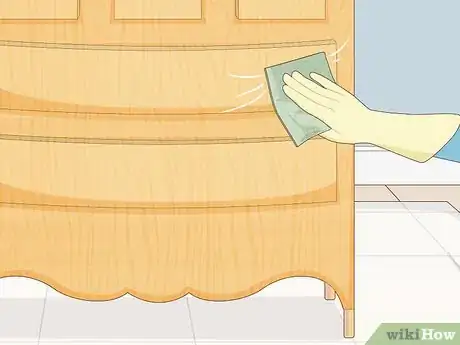
4Wipe the furniture with a dry tack cloth before painting again. This will collect any dust that may have settled on the furniture after your first coat. Make sure to wipe down the furniture between each coat of paint.[16]
-
5Paint more coats of paint, until you get the look you want. Remember to let the paint dry in between each coat and wipe with a tack cloth once dry.[17] You may be tempted to really slather on the paint to make sure it sticks, since you didn’t sand your furniture. But actually, applying many layers of light paint will make your furniture look much cleaner and more professional than if you put on one thick, gloopy layer of paint.[18]
-
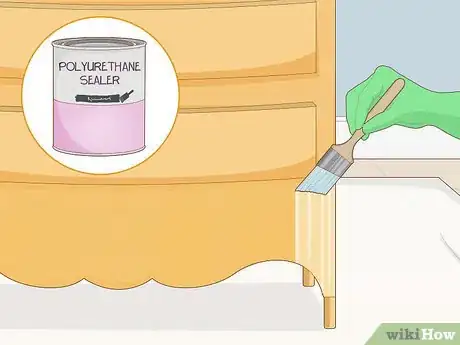
6Apply a coat of wax or polyurethane sealer. Once your furniture is completely painted and dried, you can choose to seal it with wax or polyurethane. Apply the wax with a soft cloth or paint brush, in the direction of the grain. Sealer isn’t necessary but will help keep your furniture protected from scuffs and spills.[19]
- Let the paint and sealer cure for 24 hours before you begin using your piece of furniture.
-
7Reattach the knobs and handles. Now that your furniture is all painted and dried, you can reattach any drawer knobs or handles that you removed before you started painting. Your furniture is done! Enjoy the new look.
Expert Q&A
-
QuestionCan I paint over glossy wood?
 Tanglewood SueTanglewood Sue is a DIY and Upcycling Specialist and the Owner of Tanglewood Works out of Hyattsville, Maryland. With over nine years of experience, Sue specializes in upcycled painted furniture and other handmade, personalized, and sustainable goods. With her passion for art and reinvention, marketing experience, and Bachelor’s Degree in Broadcast Media, Sue has been able to create a business that not only provides quality pieces but empowers customers to create their works through her library of DIY tutorials and live demos as well as DIY supplies.
DIY & Upcycling Specialist Apply a deglosser on the wood before you start painting to help get an even painting surface.
Things You’ll Need
- Drop cloth
- Screwdriver
- Paint brush
- Stir stick
- Paint bucket
- Tack cloth
- Primer (optional)
- Deglosser (optional)
- Wax or polyurethane sealer (optional)
- Milk paint and bonding agent
- Chalk paint
- Mineral paint
- Acrylic paint
References
- ↑ https://www.cpsc.gov/s3fs-public/painting.pdf
- ↑ https://www.countryliving.com/diy-crafts/tips/a266/paint-furnishings-and-learn-from-my-mistakes/
- ↑ https://www.apartmenttherapy.com/how-to-paint-furniture-biggest-painting-mistakes-257192
- ↑ https://www.familyhandyman.com/painting/diy-dictionary-tack-cloth/
- ↑ https://salvagedinspirations.com/5-ways-to-paint-furniture-without-sanding/
- ↑ Tanglewood Sue. DIY & Upcycling Specialist. Expert Interview. 24 March 2021
- ↑ https://www.architecturaldigest.com/story/options-for-painting-wood-furniture-without-sanding
- ↑ https://www.architecturaldigest.com/story/options-for-painting-wood-furniture-without-sanding
- ↑ https://refreshliving.us/how-to-paint-furniture/
- ↑ https://salvagedinspirations.com/how-to-paint-furniture-without-brush-marks/
- ↑ https://www.countryliving.com/diy-crafts/tips/a266/paint-furnishings-and-learn-from-my-mistakes/
- ↑ https://www.countryliving.com/diy-crafts/tips/a266/paint-furnishings-and-learn-from-my-mistakes/
- ↑ Tanglewood Sue. DIY & Upcycling Specialist. Expert Interview. 24 March 2021
- ↑ https://www.countryliving.com/diy-crafts/tips/a266/paint-furnishings-and-learn-from-my-mistakes/
- ↑ https://www.familyhandyman.com/heating-cooling/furnace-repair/how-to-apply-polyurethane/view-all/
