This article was co-authored by Andre Kazimierski. Andre Kazimierski is a Painting Specialist and the Founder and CEO of Improovy, an on-demand house painting service startup. With more than 15 years of experience, Andre and the Improovy team use data and technology to streamline the home improvement process for homeowners and painting contractors. Andre started in the painting industry as a sophomore at Depaul University in Chicago, working with one of the nation’s largest painting companies to launch new cities and territories across the Midwest. Years later, he started 3rd Gen Painting and Remodeling and had a successful exit after growing the company to two different states.
There are 15 references cited in this article, which can be found at the bottom of the page.
This article has been viewed 21,943 times.
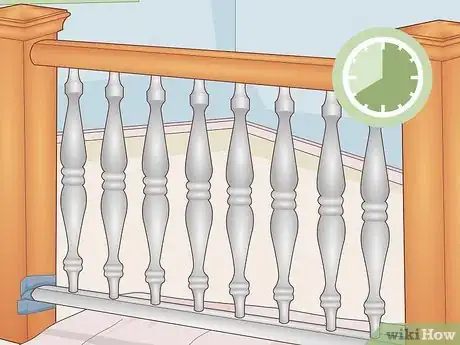
Spindles, also called balusters, look beautiful when used to decorate furniture and staircases. They are the intricately-designed rods used to back chairs and line banisters. Because of the way they are cut and spaced, they can seem tough to paint, but it isn’t different than finishing any other type of wood furniture. It takes patience and the right tools. As long as you put in the effort, you can make every spindle a vibrant part of your home.
Steps
Removing Dirt and Grime
-
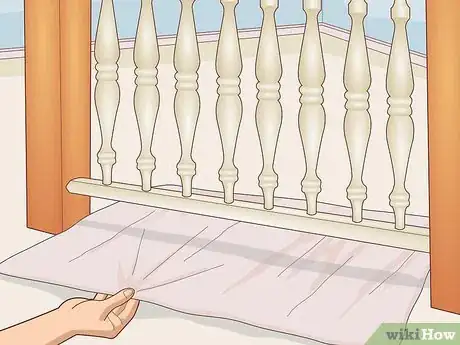
1Spread a drop cloth underneath the area you plan on painting. Cover any surfaces near the spindles to protect them from paint splatter. If you’re painting a piece of furniture, put it on top of the drop cloth. For a staircase, try rolling plastic sheeting out next to the spindles. Tape the edges of the sheet down with painter’s tape to hold it in place.[1]
- As a rule of thumb, cover up anything you don’t want painted. Move nearby furniture, for instance, and cover plants if you’re unable to move them.
- Spindles are easiest to paint before they are installed. If you’re working on new spindles, try painting them outdoors, then installing them in furniture or staircase railings.
- Drop cloths, plastic sheeting, and all other painting supplies are available online as well as at most hardware stores.
-
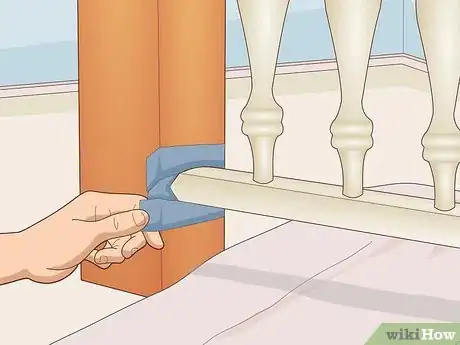
2Mark off exposed areas around the spindles with painter’s tape. Place the tape over surfaces adjacent to the spindles. For example, if you’re painting a wood staircase, you could apply tape under the top banister and on the steps for additional protection. Use the tape to seal off any areas left uncovered by the drop cloth.[2]
- One way to do this is by taping along the inner edges of the spindles. These in-between spots are often hard to reach otherwise. Then, position drop cloths along the outer edges.
- If you are careful and use the right tools, you can paint spindles without covering nearby surfaces. However, it’s better to take the extra precautions to guard against possible mistakes.
Advertisement -
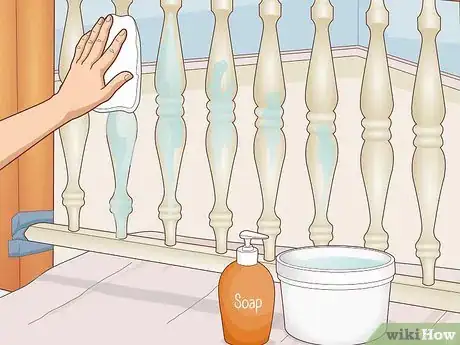
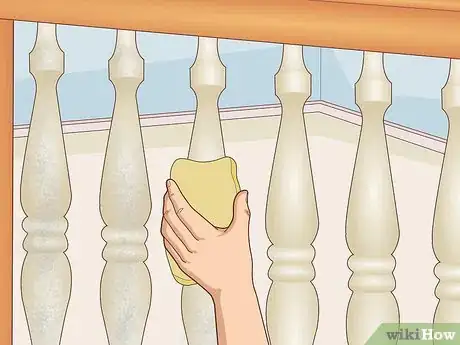
3Scrub the spindles with a microfiber cloth dampened in soapy water. Mix about 2 tablespoons (30 mL) of a mild dish soap into 1 US gal (3.8 L) of warm water. Stir the water until it’s nice and soapy. Then, get a clean microfiber cloth or a non-abrasive sponge. Dip it lightly into the water, then use it to clean off all of the spindles.[3]
- Make sure the spindles all look clean. Take time to clear off any stubborn stains, since they can prevent the paint from sticking to the wood.
- If you run into tough stains you can’t remove otherwise, try using trisodium phosphate. It is a harsh cleaner, so wear a long-sleeved shirt, long pants, gloves, safety glasses, and a respirator mask while applying it.[4]
-
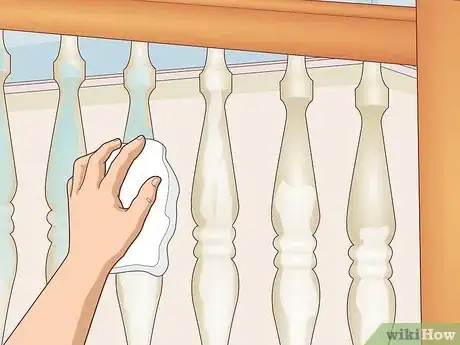
4Rinse off the soap using a cloth dampened in clean water. Wipe the spindles clean from top to bottom. Make sure you have scrubbed off any remaining debris along with all of the soap. When you’re done, go back over each one with a dry cloth. You can also let the spindles air dry for 30 minutes to prepare them for painting.[5]
- If the spindles are wet at all, the moisture will affect the paint. Double-check that they are completely dry and free of debris.
Sanding the Spindles
-
1Put on a dust mask for protection while sanding and painting. A regular dust mask is fine for general work. If you’re particularly sensitive to paint fumes, get a painting respirator mask instead. Wear your mask at all times while working on the spindles.[6]
- Sanding releases wood dust into your home, so consider also vacuuming each time you sand.
- To help lessen problems with wood dust or paint fumes, you can also open nearby doors and windows to ventilate the area.
-
2Sand each spindle from top to bottom with 80-grit sandpaper.[7] To deal with a spindle’s unusual shape, curl the sandpaper around it. Work on one half of the spindle first. While applying a light amount of pressure, move the sandpaper straight down along the wood. Then, repeat sanding the opposite side the same way.[8]
- Use 80-grit sandpaper to buff out the old finish on the wood, including paint and stains. Shine a light across the wood afterward to spot imperfections and finish buffing them out.
- Another option is to use an orbital sander. You won’t be able to reach into narrow gaps, such as the space between adjacent spindles, so you will still have to sand those areas by hand.
-
3Wipe the surface with a tack cloth to remove wood dust. Take some time to wipe down each spindle from top to bottom. Switch out to a new tack cloth once yours is full of dust and no longer sticky. Sanding leaves behind wood dust and, even if you can’t see it, it’s there. You could go over the wood a second time to ensure all of the dust is gone.[9]
- If you don’t have a tack cloth available, use a clean cloth dampened in cool water instead.
- The wood dust gets in the way of the paint. Cleaning spindles over and over again can be a little tedious, but it’s worth it in the end.
-
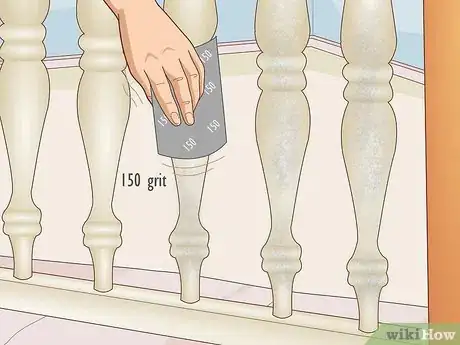
4Use 150-grit sandpaper to sand the spindles again. Go back over each spindle from top to bottom again. This sandpaper is gentler than the 80-grit, so it smooths out the wood grain to better prepare it for painting. Make sure you finish both sides on each spindle. Wipe the sand off with a tack cloth when you’re done.[10]
- Always start with the lowest-grit sandpaper and move up gradually to the highest-grit one you have available. Doing this gives the spindles a smooth, scratch-free surface.
-
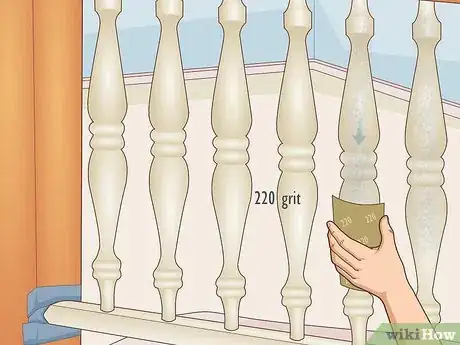
5Use 220-grit sandpaper to sand the spindles from top to bottom. Wear each spindle down lightly, then examine them. Look for any spots that still look rough and sand them smooth. The wood should feel smooth all over. Wipe the wood off one last time before painting it.[11]
- Keep the sandpaper on hand. Although it isn’t necessary, you can use it to sand the primer and each layer of paint so they adhere to the wood better.
Priming Spindles
-
1Choose an oil-based primer that blocks stains and imperfections. An oil-based primer is perfect for unpainted spindles, but make sure the product you get is compatible with acrylic and latex paint. Select a good stain-blocking primer so that the finish lasts a long while.[12] Using a quality primer helps ensure you don’t have to go through all the cleaning and sanding to repaint spindles again anytime soon![13]
- If you’re recoating spindles that have already been painted, you could use a latex primer instead. They tend to stick better to finished surfaces than oil-based products.
- Keep in mind that some types of paint serve as a primer. If you’re planning on using an all-in-one paint, you won’t have to apply primer separately.
-
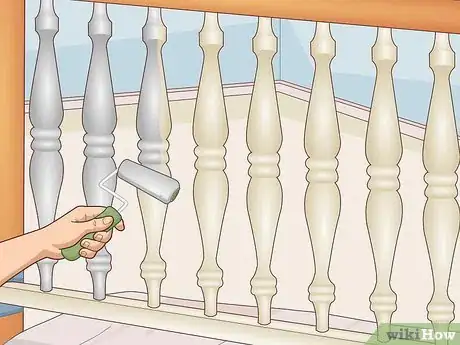
2Select a 4 in (10 cm) foam roller to apply the primer. Pour some of the primer into a paint tray, then push the roller through it. Coat the roller very lightly so that you don’t end up with drips or splatter. When done correctly, you can cover difficult spindles very quickly and still get a good finish. Rollers are not only fast, but they spread primer more evenly than brushes.[14]
- You may have a hard time reaching some spots. For these problem areas, switch to a 1 in (2.5 cm) nylon angle brush.
- It is possible to paint spindles with a regular paint brush. Some people also get good results with a high-volume, low-pressure (HVLP) spray gun.
- Another option is to dip something like a painting sponge. That way, you can easily get between spindles and into tight areas without a mess.
-
3Spread a coat of primer over each spindle from top to bottom.[15] Work on the spindles one at a time. Start at the top, spreading paint around the end of the spindle. Then, apply paint straight down one side. Roll more paint along the sides without overlapping your strokes. Once you have half of the spindle covered, move to the opposite side to continue painting.[16]
- While you’re painting, check for dripping paint. If you notice drips, you’re applying too much paint at once. Smooth out the paint with the roller, cleaning up the drips before they dry.
- Use an angled brush to cover any spots you can’t reach with a roller.
- Make the primer as consistent as possible. If it doesn’t look perfect, you can always apply a second layer after the first one dries.
-
4Wait at least 8 hours for the primer to dry. Check the manufacturer’s recommendation for a more specific drying time first. Keep in mind that primer takes longer to dry in cold or humid weather. Remind anyone else in your home to avoid touching the spindles until then. Afterward, make sure they feel dry to the touch before doing anything else with them.[17]
- If you notice any spots that look uneven, you can sand them down with 220-grit sandpaper.
Applying Paint
-
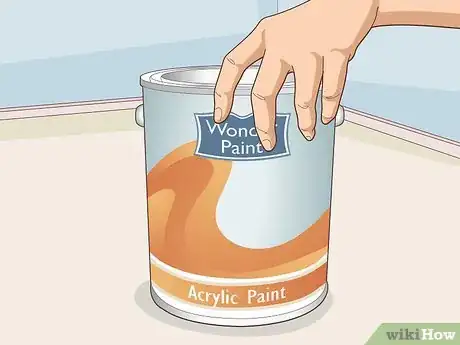
1Select acrylic paint for a finish that resists damage better. Latex paints are fine if you’re looking for a quick and inexpensive way to brighten up spindles. Acrylics cost a little more but adhere better long-term, especially over imperfections spindles tend to have due to their shape. Try using a semi-gloss or gloss paint to give the spindles a little extra sheen compared to the surrounding surfaces.[18]
- Acrylic paint doesn’t hold up quite as well to high-traffic, but this isn’t a problem unless you are going to touch the spindles a lot. Most of the time, people touch a staircase railing, for instance, instead of the spindles.
- You could also use enamel paint. Enamel paints self-seal for additional protection, although you can still apply a separate top coat.
-
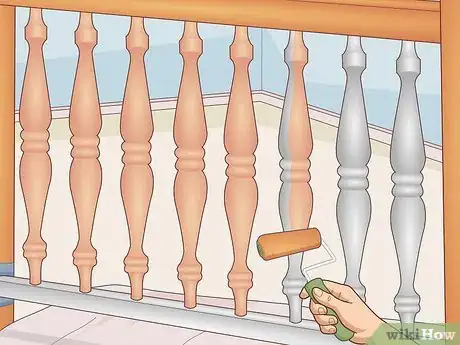
2Roll and brush paint over each spindle from top to bottom. Coat the roller very lightly. Work along one side of the spindle first. Paint around the upper edge, then down the spindle’s length. Without overlapping strokes, continue painting until the spindle is halfway covered. Then, switch to the other side and paint it the same way.[19]
- Use an angled brush to cut into all the nooks and crannies you can’t access with a roller.
- Get the paint as consistent as possible, but don’t worry about it not looking amazing at first. You can correct that with additional layers of paint.
-
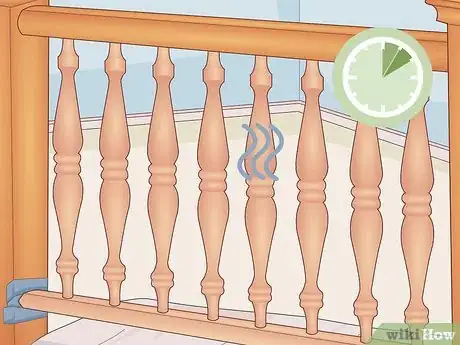
3Wait at least 1 to 2 hours for the paint to dry. The drying time can vary a lot depending on the product you used, so check the manufacturer’s recommendation for more information. Leave the spindles alone in an area with good air circulation, making sure no one else touches them in the meantime. When they are dry to the touch, you can recoat them.[20]
- Check the spindles for any problems, such as spots where the paint isn’t sticking. Make sure all of the ridges on the spindle are covered as well.
-
4Recoat the spindles 1 to 2 more times for a consistent finish. Paint each spindle again to solidify the finish. Use your roller to paint it one half at a time. Make sure the coat of paint is as consistent as it can be. Clean up any drips or splatters, let the paint dry, then recoat the spindle if needed.[21]
- Usually, 2 coats is enough, but add a third coating if the finish looks uneven.
Expert Q&A
-
QuestionHow do you paint spindles without brush marks?
 Andre KazimierskiAndre Kazimierski is a Painting Specialist and the Founder and CEO of Improovy, an on-demand house painting service startup. With more than 15 years of experience, Andre and the Improovy team use data and technology to streamline the home improvement process for homeowners and painting contractors. Andre started in the painting industry as a sophomore at Depaul University in Chicago, working with one of the nation’s largest painting companies to launch new cities and territories across the Midwest. Years later, he started 3rd Gen Painting and Remodeling and had a successful exit after growing the company to two different states.
Painting Specialist The best way to do it is with a HVLP sprayer — which stands for high volume, low pressure —, as it will lay down a real buttery smooth finish. Also, don't forget to really scuff up that surface beforehand.
Warnings
- Sanding and painting wood can be dangerous if you don’t take safety precautions. Always wear a dust mask and work in a well-ventilated area to protect yourself against wood dust and paint fumes.⧼thumbs_response⧽
Things You’ll Need
- Dust mask
- Drop cloth
- Painter’s tape
- Plastic bucket
- Microfiber cloths or sponges
- Dish soap
- 80-grit sandpaper
- 150-grit sandpaper
- 220-grit sandpaper
- Tack cloth
- 4 in (10 cm) foam roller
- 1 in (2.5 cm) nylon angle brush
- Oil-based primer
- Acrylic paint
References
- ↑ https://www.thisoldhouse.com/21097206/how-to-choose-a-drop-cloth
- ↑ https://www.thisoldhouse.com/painting/21124717/how-to-choose-and-use-painter-s-tape
- ↑ https://www.thisoldhouse.com/woodworking/21015275/clean-grime-from-woodwork
- ↑ https://www.bobvila.com/articles/cleaning-with-tsp-trisodium-phosphate/
- ↑ https://averageinspired.com/2014/03/five-tips-for-painting-staircase-with.html
- ↑ https://www.youtube.com/watch?v=P_aO7PyexEg&feature=youtu.be&t=193
- ↑ Andre Kazimierski. Painting Specialist. Expert Interview. 26 January 2022.
- ↑ https://www.thisoldhouse.com/tools/21015112/choosing-and-using-sandpaper
- ↑ https://www.bobvila.com/articles/30124-dream-it-do-it-how-to-paint-wood-furniture/
- ↑ https://www.bobvila.com/articles/30124-dream-it-do-it-how-to-paint-wood-furniture/
- ↑ https://www.thisoldhouse.com/tools/21015112/choosing-and-using-sandpaper
- ↑ Andre Kazimierski. Painting Specialist. Expert Interview. 26 January 2022.
- ↑ https://www.bobvila.com/articles/best-paint-to-use-on-wood/
- ↑ https://averageinspired.com/2014/03/five-tips-for-painting-staircase-with.html
- ↑ Andre Kazimierski. Painting Specialist. Expert Interview. 26 January 2022.
- ↑ https://www.youtube.com/watch?v=Cz0v92IDQgQ&feature=youtu.be&t=344
- ↑ https://www.bobvila.com/articles/paint-unfinished-wood-what-would-bob-do/
- ↑ https://www.bobvila.com/articles/best-paint-to-use-on-wood/
- ↑ https://www.youtube.com/watch?v=wIePy30pm8g&feature=youtu.be&t=80
- ↑ https://www.bobvila.com/articles/best-paint-to-use-on-wood/
- ↑ https://www.youtube.com/watch?v=fPLX0tZNWbc&feature=youtu.be&t=317
- ↑ https://www.bobvila.com/articles/2150-paints-and-finishes/
