This article was co-authored by Lauren Kurtz. Lauren Kurtz is a Naturalist and Horticultural Specialist. Lauren has worked for Aurora, Colorado managing the Water-Wise Garden at Aurora Municipal Center for the Water Conservation Department. She earned a BA in Environmental and Sustainability Studies from Western Michigan University in 2014.
This article has been viewed 43,931 times.
If you’re growing your own kale, it might not be clear how you should pick it. All you really need to harvest your leaves, though, is a pair of pruning shears and a container to gather the kale. Cut just the larger, older leaves, and then enjoy your delicious and nutritious kale!
Steps
Harvesting Kale Leaves
-
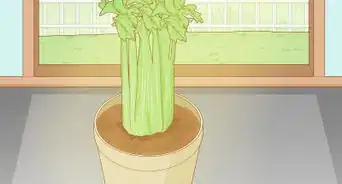
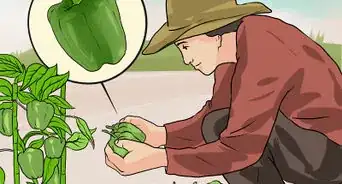
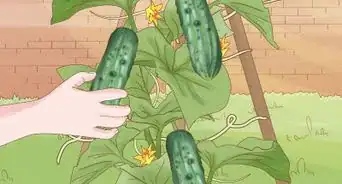
1Wait about 70 days after planting to harvest. In general, this is how long it takes kale plants to produce its first leaves that are ready to pick. Your plant should be around 8–10 inches (20–25 cm) high before you harvest its leaves.[1]
- You can harvest baby kale leaves sooner, but be sure not to pick too many or the plant will have difficulty maturing properly.
-
2Get pruning shears and a clean container. Pruning shears make harvesting kale much easier. Purchase them at any gardening or home improvement store. Find a bucket, basket, or bag that you can place the leaves you pick in.Advertisement
-
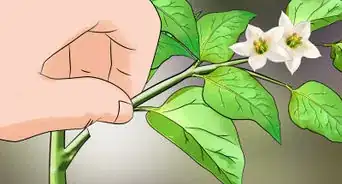
3Cut the largest leaves off with your pruning shears. The largest and oldest leaves on a kale plant are always near the bottom. Smaller and younger leaves are near the top. Hold the leaf you want to cut with 1 hand. Then use your other hand to cut the stem of that leaf with your shears. Cut the stem near its base to make sure you remove the entire leaf.[2]
-
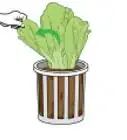
4Discard any leaves that appear yellow or damaged. Sometimes pests will eat parts of kale leaves, leaving small holes in them. Make sure you cut off all of these leaves, but keep them separate from the ones you want to use. Compost or throw away the damaged or yellow kale leaves.[3]
-
5Avoid cutting the root of the plant. Kale plants can be harvested many times, so make sure you leave the plant intact. Only cut the stems of the leaves that you want to pick, and leave the root alone.
-
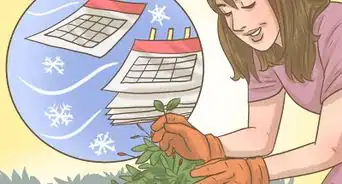
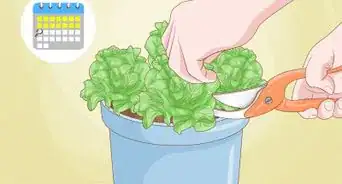
6Return in 1 week and pick the new large leaves. Kale needs to be harvested routinely. If you don’t harvest for more than a week, the plant could be eaten by pests. Additionally, cutting the larger, older leaves helps the smaller, younger leaves grow. After about a week, there should now be more large leaves that are ready to be picked.[4]
- Again, only pick these and avoid picking the new, small leaves on the plant.[5]


Storing Kale Leaves
-
1Wash all the leaves you picked. Run the kale under cool water to remove any dirt or debris. Remove the stems now, if you don’t plan to eat them. Don’t use hot water or soak the leaves, as this could lead to wilting.
-
2Let the leaves dry. Pat them with a paper towel to absorb some of the water on them. Let them air dry on a clean surface for at least 10 minutes. Make sure they are completely dry before storing them. If you try to store them when they’re wet, they will quickly become wilted and slimy.
-
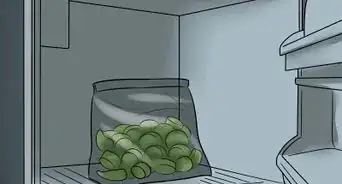
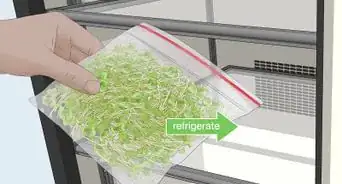
3Place the leaves in a resealable plastic bag. Place a paper towel in the bag with the kale to help prevent the leaves from being harmed by moisture. Push on the bag to try to get as much air out of it as you can before you seal it. Then, seal the bag and place it in the vegetable drawer of your refrigerator. If you don’t have a vegetable drawer, choose a low shelf in your refrigerator.[6]
-
4Use the leaves within 1-2 weeks. The kale is good until it becomes yellow, wilted, or slimy. Mix the kale with some of your favorite vegetables to make a salad, or search online for creative recipes that feature kale.[7]


Community Q&A
-
QuestionWhat if my kale looks different from those pictured?
 Community AnswerIt may be a different variety. All plants look different from each other. They all have different genetics and heritages.


References
- ↑ https://harvesttotable.com/how_to_grow_kale/
- ↑ http://sites.miis.edu/ourgreenthumb/2012/03/26/kale-101-basic-care-and-harvesting-tips/
- ↑ http://sites.miis.edu/ourgreenthumb/2012/03/26/kale-101-basic-care-and-harvesting-tips/
- ↑ https://harvesttotable.com/how_to_grow_kale/
- ↑ https://harvesttotable.com/how_to_grow_kale/
- ↑ https://harvesttotable.com/how_to_grow_kale/
- ↑ https://harvesttotable.com/how_to_grow_kale/
About This Article

To pick kale, wait 70 days after planting it, or until the plant is 8-10 inches high, which means it's ready for harvest. Choose the largest, oldest leaves, which will always be near the bottom. Hold the kale leaf with 1 hand and cut the stem near its base with pruning shears. Avoid cutting the root, since this will stunt further growth. If any of the leaves are yellow or have holes in them, throw them away. You should also wash all of your leaves with cool water to get rid of any dirt and debris. Then, pat them with a paper towel to absorb some of the water, and leave them to air dry for at least 10 minutes. Make sure to harvest your kale leaves every week so they don’t get eaten by pests. For more tips from our Gardening co-author, including how to store your kale leaves, read on!