wikiHow is a “wiki,” similar to Wikipedia, which means that many of our articles are co-written by multiple authors. To create this article, 9 people, some anonymous, worked to edit and improve it over time.
This article has been viewed 409,212 times.
Learn more...
Featuring two pictures side by side is an ideal way to share before-and-after photos, comparisons, and photo collages on your blog or website. You can use free online photo-editing apps such as PhotoJoiner or Picisto, or use HTML coding to feature side-by-side photos on sites such as WordPress or Blogger.
Steps
Using PhotoJoiner
-
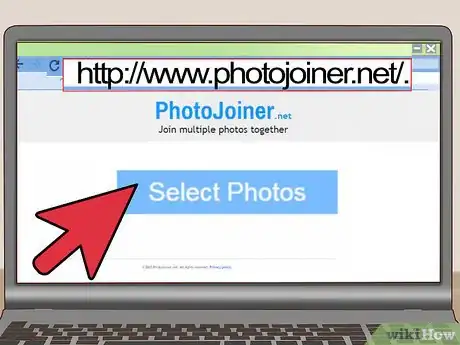
1Navigate to the PhotoJoiner website at http://www.photojoiner.net/.
-
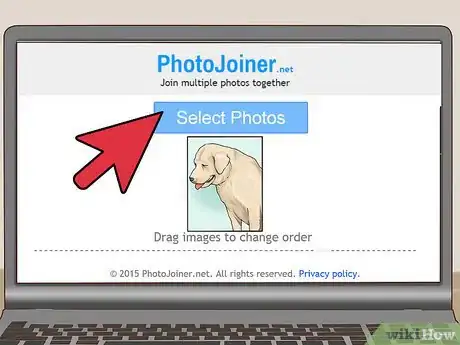
2Click on “Select Photos,” then select the first photo you want used. The photo will display on-screen at PhotoJoiner.Advertisement
-
3Click on “Select Photos” again, then select the second photo you want used. This photo will display to the right of the first photo.
-
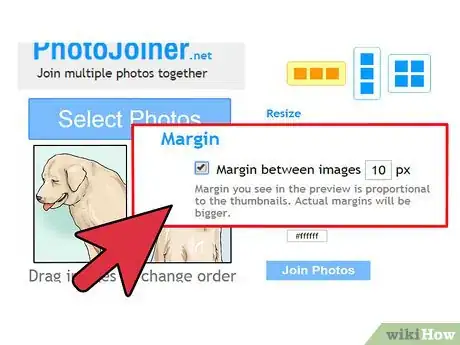
4Place a checkmark next to “Margin between images,” if desired. This feature adds a margin to separate the two photos from one another.
-
5Click on “Join Photos.” Both images will be combined into one solo image.
-
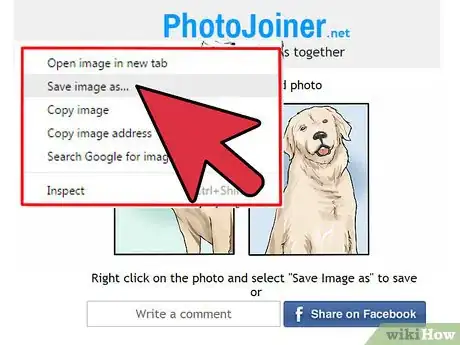
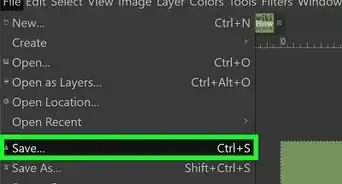
6Right-click on the photo and select “Save image as.”
-
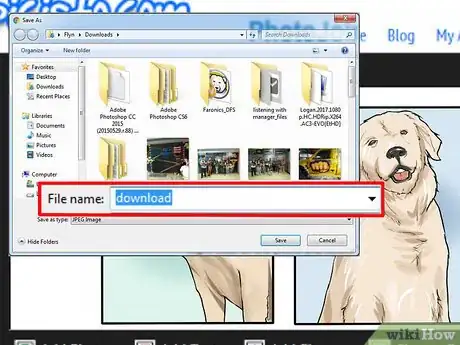
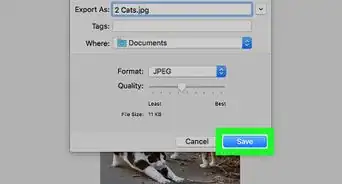
7Type a name for your photo, then click “Save.” Your side-by-side photo will now be saved.
Using Picisto
-
1Navigate to the Picisto website at http://www.picisto.com/.
-
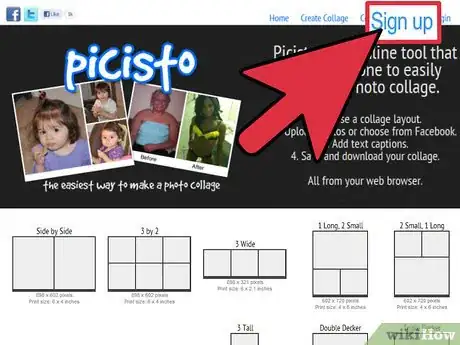
2Click on “Signup” at the top right corner, then follow the on-screen instructions to create a free account. You must sign up for Picisto before you can combine photos using this service.
-
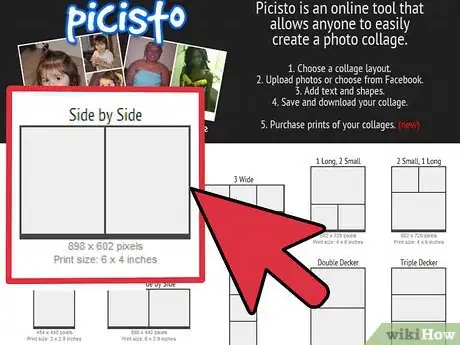
3Click on “Side by Side” after logging into Picisto.
-
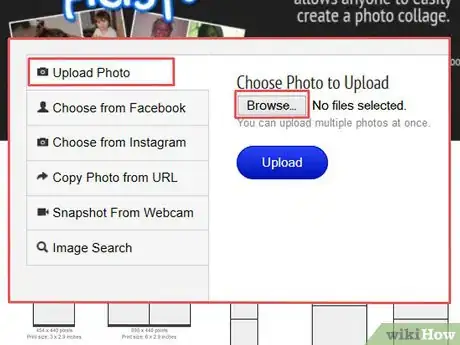
4Click on “Upload / Choose Photo,” then click “Browse” to select the first photo you want used. The photo will upload and display on the Picisto site.
- Alternately, you can choose to upload a photo from Facebook, Instagram, URL, or webcam.
-
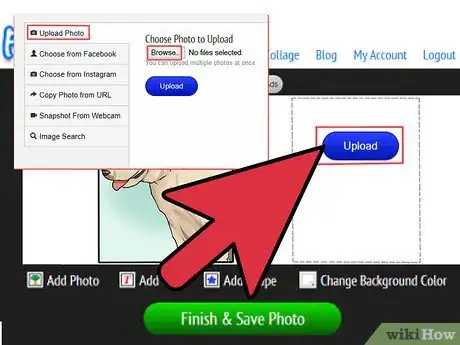
5Click on “Upload / Choose Photo” again, then click “Browse” to select the second photo. This photo will display to the right of your first photo.
-
6Scroll to the bottom of your photo and click “Finish and Save Photo.” Picisto will display a message saying your photo was saved successfully.
-
7Scroll to the bottom of your photo and click on “Download.”
-
8Select the option to “save” the photo to your desktop. Your pictures will now be combined and saved into one solo image.
Using HTML
-
1Edit the blog post or page on which you want to feature two pictures side by side.
-
2Insert both images separately into your blog post. Later on, you’ll need to click and drag the images to a different section in the blog post to place them side by side.
-
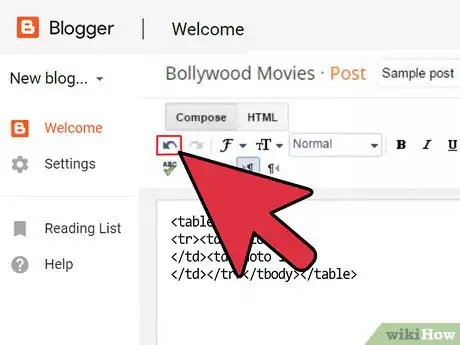
3Click on the “HTML” tab in your post. This is where you’ll paste the code that allows you to feature two images side by side.
-
4Position your cursor at the place you want the two photos displayed side by side, then paste the following code:<table><tbody><tr><td>photo 1-1</td><td>photo 1-2</td></tr></tbody></table>
-
5Click back over to the “Text” tab of your post. You will now see two gray boxes side by side labeled as “photo 1-1” and “photo1-2.”
-
6Click and drag the first photo over to the gray box labeled “photo 1-1.”
-
7Click and drag the second photo over to the gray box labeled “photo 1-2.”
- If you experience difficulty with clicking and dragging your photos to the gray boxes, click back over to the HTML tab and replace “photo 1-1” and “photo 1-2” with the following code: <img border=”0″ src=”INSERT YOUR IMAGE URL” width=”300” />. The width value can be changed based on your preference.
-
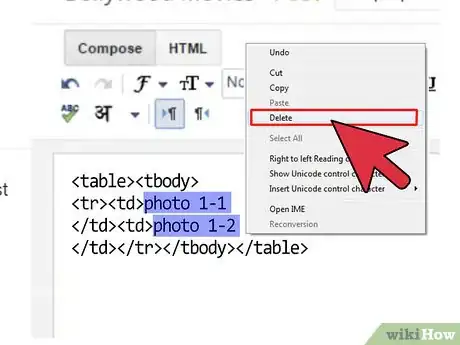
8Delete the “photo 1-1” and “photo 1-2” text from below each photo. Your images will now be positioned side by side in your post.
Community Q&A
-
QuestionHow do I make a side by side picture?
 Community AnswerYou take two separate pictures and put them together using an editing software like Photoshop.
About This Article
With the right app like PhotoJoiner or Picisto, it’s easy to place two pictures side by side. Head to either the PhotoJoiner or Picisto website to get started. Create a free account before you begin joining photos if you’re using Picisto. For either website, select the photos you want to place side by side from your files. Upload your chosen photos to the website and then wait for the photos to be joined. Once the process is complete, download the final, joined photo file and save it to your computer. For more tips on placing two pictures side by side, like how to use HTML coding to do so, read on.
