This article was co-authored by Linh Le. Linh Le is a Certified Mobile Repair Specialist and the Owner of SC Mobile Repairs in San Clemente, California. With more than 12 years of experience, he specializes in smartphone, tablet, and smartwatch hardware repair. Linh has an iTech Mobile Device Repair Certification and an iOS Certification. He holds a Bachelor’s degree from The Franciscan University of Steubenville.
The wikiHow Tech Team also followed the article's instructions and verified that they work.
This article has been viewed 438,878 times.
This wikiHow teaches you how to transfer photos so that you can access them on your iPhone.
Steps
Using iCloud
-
1Open Settings. It's a gray app that contains gears (⚙️) and is typically located on your home screen.
-
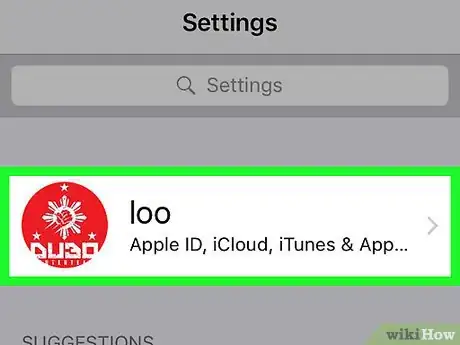
2Tap your Apple ID. It's the top section in the Settings menu that contains your name and image if you've added one.
- If you are not signed in, tap Sign in to Your iPhone, enter your Apple ID and password, then tap Sign In.
- If you are running an older version of iOS, you may not need to do this step.
Advertisement -
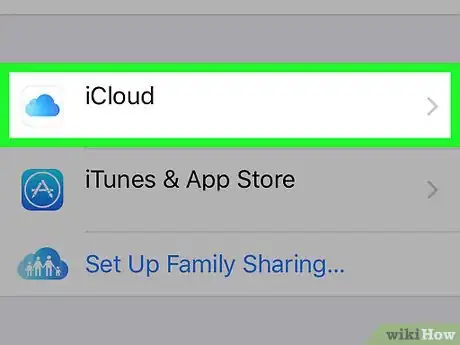
3Tap iCloud. It's in the second section of the menu.
-
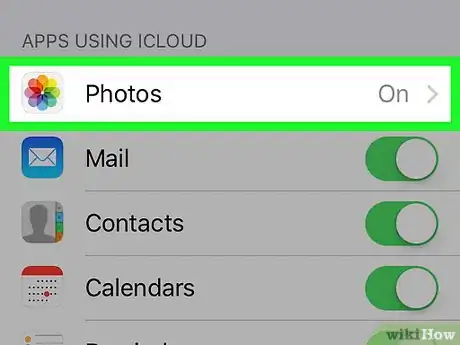
4Tap Photos. It's near the top of the "APPS USING ICLOUD" section.
-
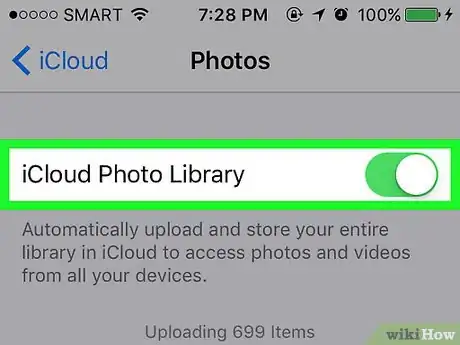
5Slide "iCloud Photo Library" to the "On" position. It will turn green. Photos you take on your device, as well as existing photos in your Camera Roll, will now be saved to iCloud.
- If you'd like to save storage space on your device, tap Optimize iPhone Storage to store smaller versions of photos on your device.
-
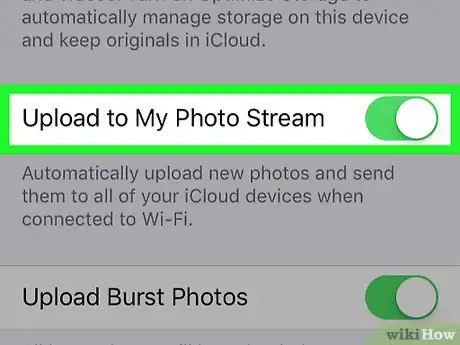
6Slide "Upload to My Photo Stream" to the "On" position. Any new photos you take with your device will now sync to all that devices on which you've signed in with your Apple ID when they're connected to Wi-Fi.
-
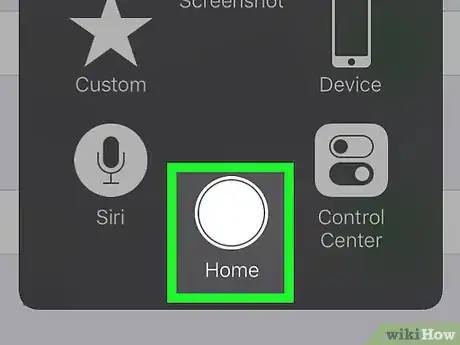
7Press the Home button. This is the main button below the screen of the iPhone. This will return you to your main home screen.
-
8Open the Photos app. It's a white app with a multicolored flower icon.
-
9Tap Albums. It's in the bottom-right corner of the screen.
-
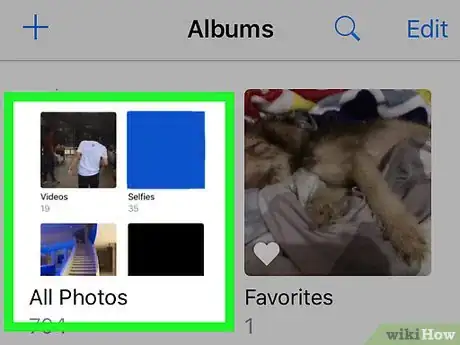
10Tap All Photos. It's at the top of the screen. All of your iCloud photos are now accessible in your Photos app.
Using iTunes
-
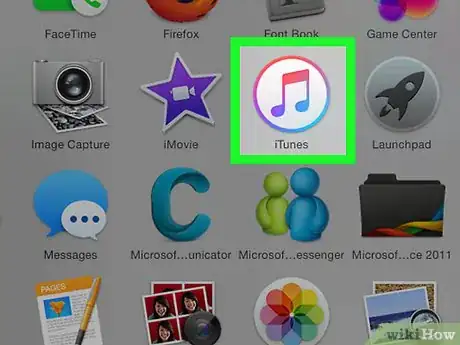
1Open iTunes on your computer. The icon looks like a multicolored musical note inside a white background with a multicolored ring around the outside.
- If iTunes prompts you to download the most recent version, do so.
-
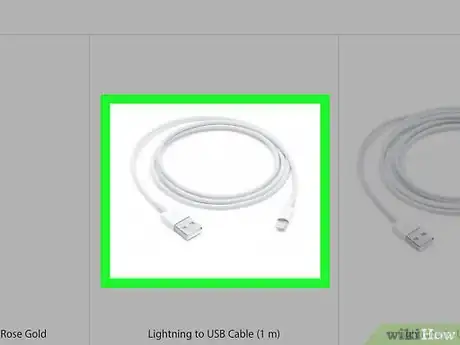
2Attach your iPhone to your computer. Using your iPhone cable, plug the USB end into your computer and the other end into your iPhone charging port.[1]
-
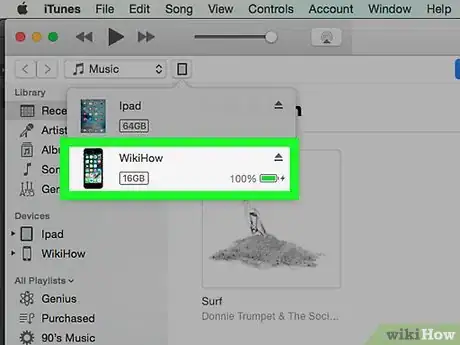
3Click the iPhone icon. It's in the upper-left corner of the iTunes window.[2]
-
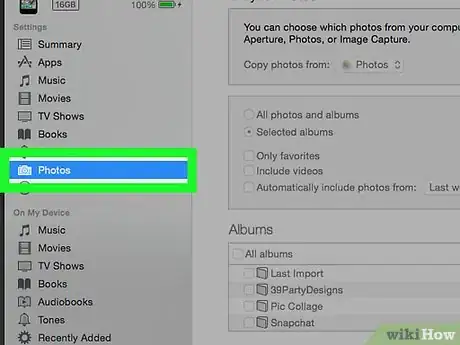
4Click on Photos. It's in the left pane of the window next to a camera icon.
-
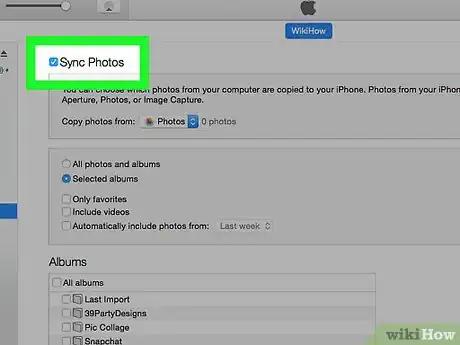
5Check “Sync Photos.” It's at the top of the right pane of the window.
- If you see “iCloud Photos is On” instead of “Sync Photos,” your photos are already being synced with iCloud, and are available on your iPhone.
- To switch from iCloud Photo Library to iTunes, disable iCloud Photo Library on your iPhone: Open Settings, tap your Apple ID, tap iCloud, then Photos and slide "iTunes Photo Library" to the "Off" (white) position. If prompted, follow the on-screen instructions to download your photos before continuing.
-
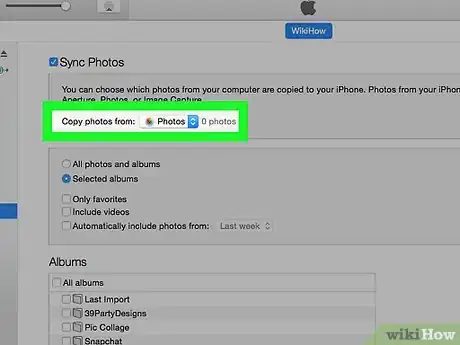
6Click on the “Copy photos from” dropdown. It's near the top of the screen.
-
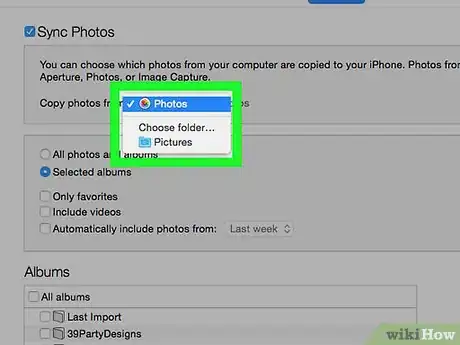
7Select a folder or application to sync. The folder or app you choose should be the folder or application where you store your photos.
-
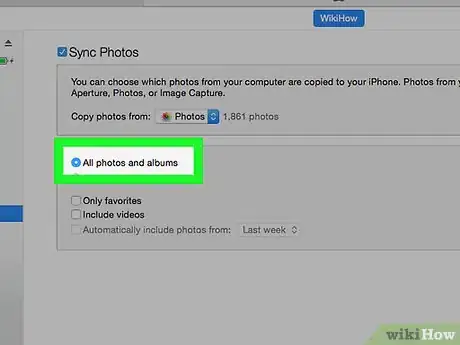
8Click on All photos and albums. Everything in the folder or application you selected will now be included in the sync.
- Click on Include videos if you would also like to sync videos to your iPhone.
-
9Click on Apply. It's in the lower-right corner of the iTunes window. All photos (and videos, if you chose that option) in the folder or application you selected will sync to your iPhone.
-
10Open the “Photos” app on your iPhone. The photos you synced are now available on both your iPhone and your desktop.
- If you use automatic syncing, the photos will automatically sync each time you plug in your iPhone.
Using AirDrop
-
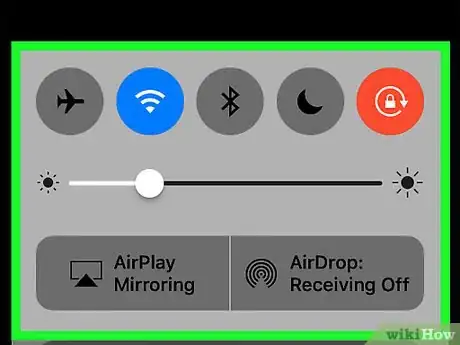
1Open the Control Center on your iPhone. Do so by swiping up from the bottom of the screen.
-
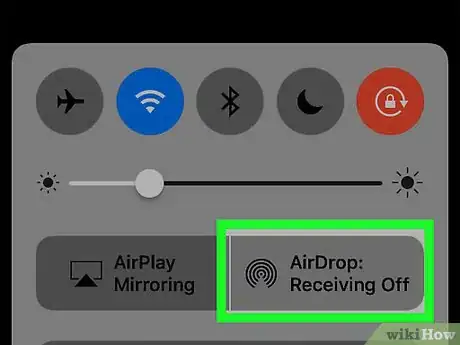
2Tap AirDrop:. It's in the right-center of the Control Center.
- If prompted to turn on Bluetooth and Wi-Fi, do so.
-
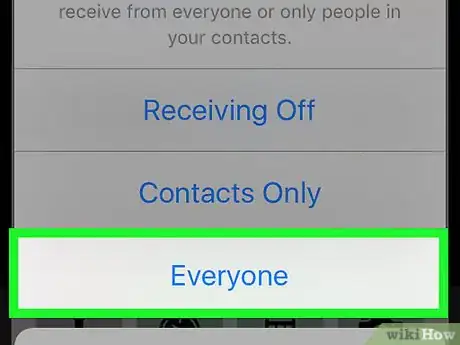
3Tap Everyone. It's in the center of the pop-up menu.
-
4Open the Photos app on another device. It's a white app with a multi-colored flower icon.
-
5Tap or click on Albums. It's at the bottom (iPhone or iPad) or left (Mac) of the screen.
-
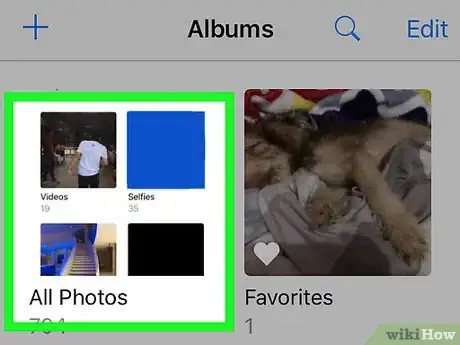
6Tap or click on All Photos. It's one of the albums on the screen, likely in the upper-left corner.
-
7Select a photo. Do so by tapping the photo you want to share.
-
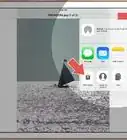
8Tap or click on the "Share" button. It's a rectangle that contains an upward-pointing arrow in the lower-left (iPhone or iPad) or upper-right (Mac) corner of the screen.
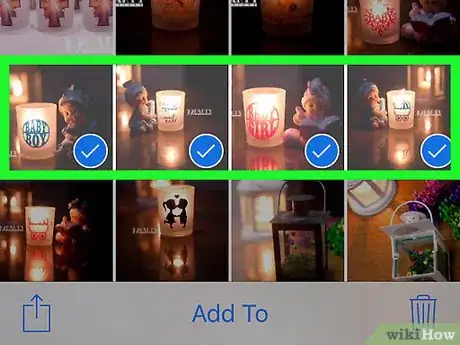
- On iPhone or iPad, you can select additional photos by scrolling left or right through the photos at the top of screen and tap the open circle in the lower-right corner of an image to select it.
- Some users have reported issues when trying to use AirDrop to transfer multiple photos.
-
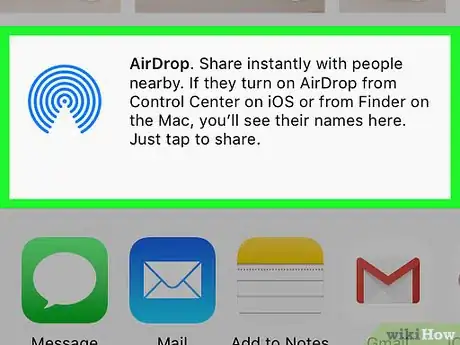
9Tap or click on AirDrop. It's in the center of the sharing menu on iPhone or iPad or near the middle of the drop-down menu on Mac.
-
10Tap or click on the name of your iPhone.
- If you don't see the iPhone, ensure that the device is close enough (within a few feet) and that AirDrop is enabled.
- If prompted to turn on Bluetooth and Wi-Fi, do so.
-
11View the photo(s) on your iPhone. A message will appear saying that a device is sharing a photo. Once the transfer is complete, Photos will open to the picture(s) on your iPhone.
Community Q&A
-
QuestionHow can I change the photo on my homepage?
 OC_VORTEKSCommunity AnswerOpen settings, select "Wallpaper," then select "Choose a New Wallpaper," and choose the photo you want.
 -
QuestionHow do I delete photos from my iPhone 6?
 Community AnswerIf you synced your photos with iTunes: connect your iPhone to your computer, then select your phone in iTunes. Click "Photos," then uncheck the folders you no longer want on your iPhone. Delete all of them at once by un-checking "sync photos from". When prompted, confirm that you want to delete the photos. If they are photos you took with the iPhone camera, open the Photos app on your iPhone, tap the photo, then tap the trash can.
About This Article
1. Open Settings.
2. Tap your Apple ID.
3. Tap iCloud.
4. Tap Photos.
5. Enable "iCloud Photo Library."
6. Enable "Upload to My Photo Stream."
7. Find iCloud photos in the Photos app.
