This article was co-authored by Doug Ludemann and by wikiHow staff writer, Hunter Rising. Doug Ludemann is the owner and operator of Fish Geeks, LLC, an aquarium services company based in Minneapolis, Minnesota. Doug has worked in the aquarium and fish-care industry for over 20 years, including having worked as a professional aquarist for the Minnesota Zoo and Shedd Aquarium in Chicago. He received his Bachelor of Science in Ecology, Evolution, and Behavior from the University of Minnesota.
This article has been viewed 34,596 times.
Unlike freshwater tanks, reef tanks require a concentration of saltwater for your marine life to stay happy and healthy.[1] Over time, various factors, like adding new fish to the tank or salt creep, can lower the salt content of your water. By preparing a synthetic saltwater solution and regularly maintaining the salt content, you can adjust the salinity of your tank to the correct levels.
Steps
Mixing Saltwater
-
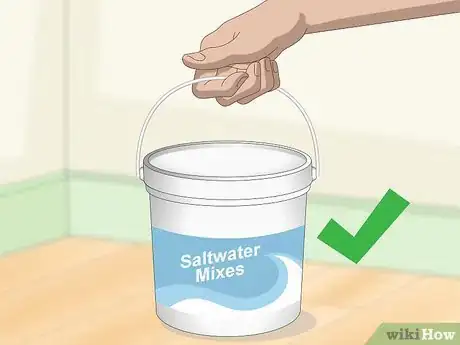
1Purchase a salt mix made for reefs.[2] Synthetic saltwater mixes simulate the mix of chemicals that occur naturally in the ocean. You can purchase a large container of salt mix online or from stores that specialize in marine life.
- Don’t use table salt. Table salt only contains sodium rather than the necessary mix of chemicals.
-
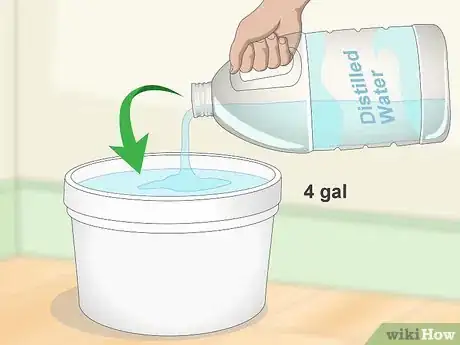
2Fill a bucket with 4 US gal (15 L) of distilled water. Use distilled water since tap water could contain silicates that create algae and dirty your tank. Make sure the bucket is not filled to the top since adding salt will raise the water level.
- If you do not have marine life yet, you can mix the water directly in the tank. After you add fish or coral, you need to mix saltwater in a separate container.
Advertisement -
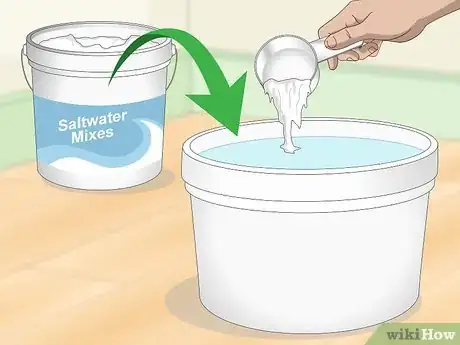
3Pour in the amount of salt mix as specified in the instructions and stir. Each salt mix will have a different ratio of cups per gallon. A good baseline is ½ cup (150 g) per 1 US gal (3.8 L) of water. Follow the instructions carefully if they are different. As you add the mix, stir it with a wooden spoon to help it dissolve faster.[3]
-
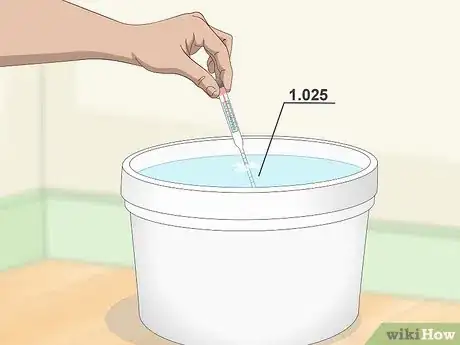
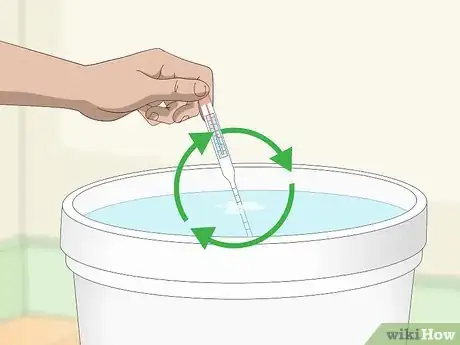
4Test the water with a hydrometer until the specific gravity is 1.025. Purchase a hydrometer online or from a store specializing in saltwater aquariums. Dip the hydrometer in the water until it fills up. Tap it on a level surface and let it rest for 10 seconds. Look where the arrow is pointing to determine the specific gravity.[4]
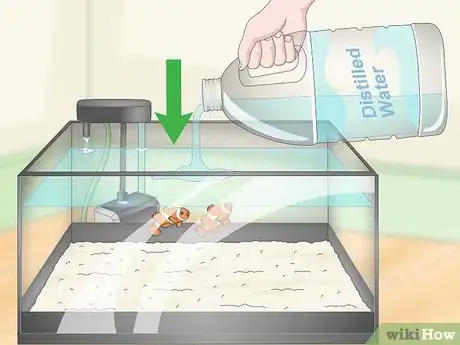
- If the specific gravity reads lower than 1.025, add ½ cup (150 g) of the salt mix and test the water again. If it reads higher, add 1⁄4 US gal (0.95 L) of distilled water.
- Specific gravity measures the density of the water compared to pure water. It is an indirect measurement of salinity that hydrometers read.
-
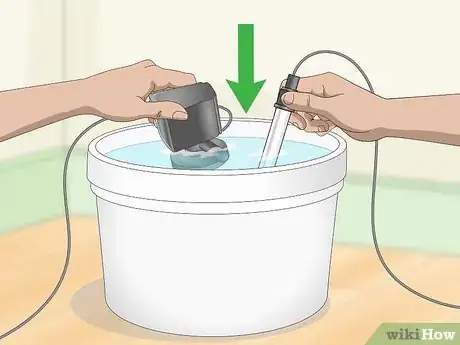
5Submerge a pump and heater to circulate and heat the water. Position the pump so it creates turbulence and movement on the surface of the water. This helps the water aerate. Then drop the heater in the water, making sure the thermostat is set to the same temperature as your aquarium, which should be 70–80 °F (21–27 °C).[5]
-
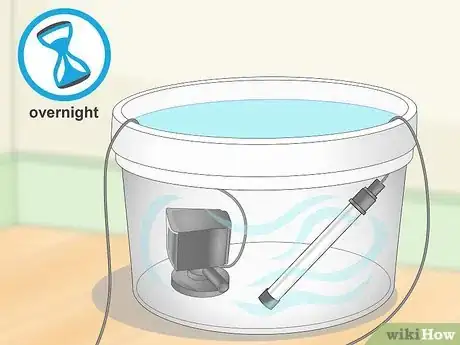
6Let the water circulate and heat overnight. Keep the pump and heater running throughout the night for at least 6 hours. This gives enough time for the salt mix to completely dissolve and reach the correct temperature.
- Cover the bucket with a lid so contaminants don't fall into the water.
-
7Test the specific gravity again the next day. Use the hydrometer to see if the specific gravity has changed. There may be small changes after the salt has dissolved and the water has been aerated. Add more mix or water to adjust the salinity level if needed.
Adding Saltwater to Your Tank
-
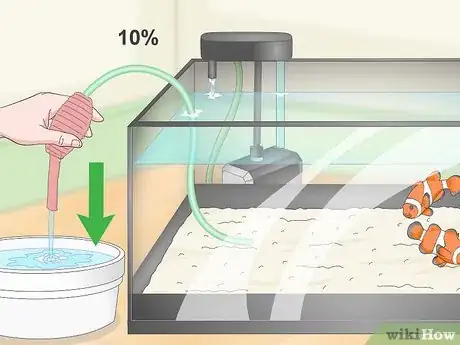
1Remove 10% of the water from your tank. Use a water siphon to remove the water. Reach the end of the siphon hose to the bottom of the tank and squeeze the pump to drain the water. Pour the removed water into a bucket. Dump the water down a drain once you are finished.
- Water siphons can be purchased at pet stores or online.
- Never prime the siphon by sucking through the hose with your mouth.
-
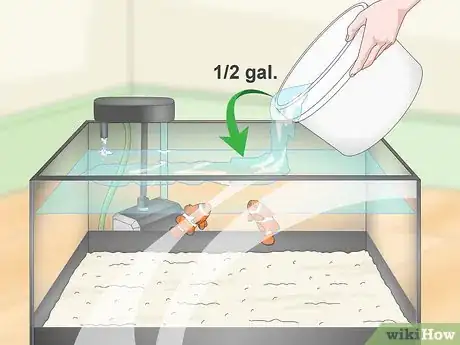
2Add 1⁄2 US gal (1.9 L) of the solution to your tank. Only add a little water at a time since drastic salt adjustments could affect the health of your fish. Pour the solution slowly throughout the entire tank so it is not localized in one spot of water.[6]
-
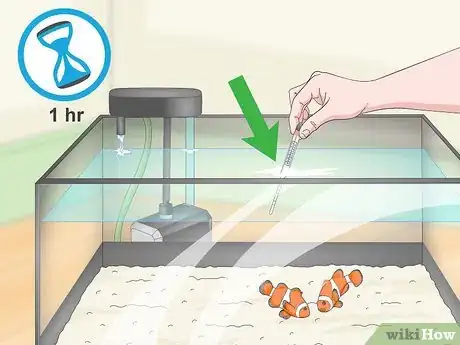
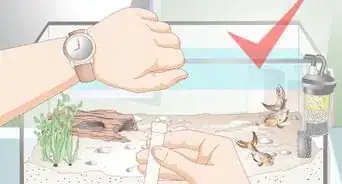
3Check the specific gravity after 1 hour. Let the solution you added thoroughly mix into your tank for 1 to 2 hours before you test the salinity. Use a hydrometer to check the specific gravity in your reef tank. It should be around 1.025 for a healthy reef.[7]
-
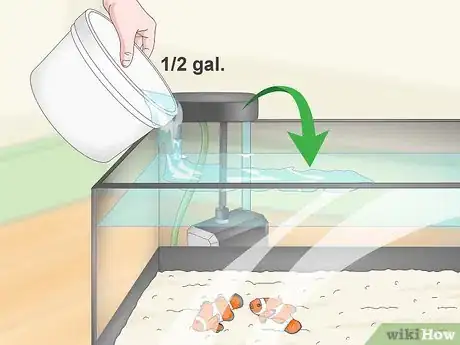
4Continue adding 1⁄2 US gal (1.9 L) until you reach the desired salinity. Each time you add the solution to your tank, wait 1 hour before testing the specific gravity. Testing too quickly or adding too much water in a short period of time will shock any marine life you have.[8]
Maintaining Salinity
-
1Top off evaporated water with fresh water if the salinity is too high. When water evaporates, it leaves the salt behind in your tank and it will increase your salinity. Use fresh distilled water that has been heated to the temperature of your aquarium to replace any lost water.
- Mark the tank at the top where the water level should be so you know how much water to add back in.
-
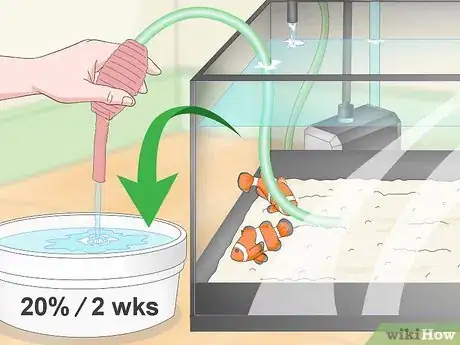
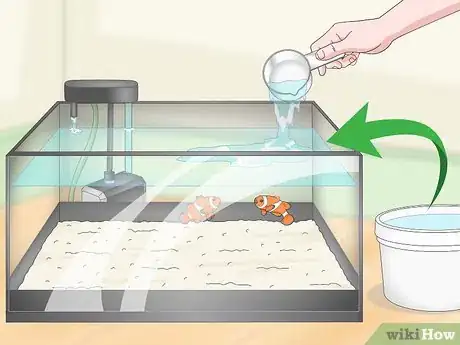
2Change 20% of the water every 2 weeks. Water needs to be changed and replaced every 2 weeks to remove filth and chemicals. Use a water siphon to remove 20% of the water from your tank and replace it with the same amount of heated saltwater.
- Alternatively, clean the tank weekly by removing 10% of the water once per week.
-
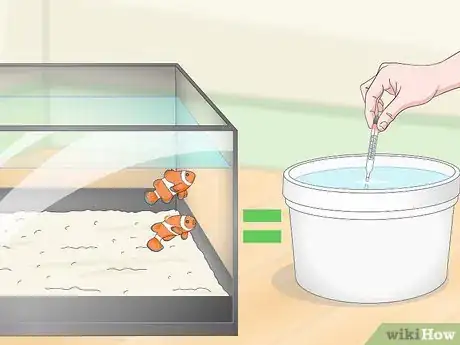
3Match the salinity of new saltwater with your aquarium. When you’re mixing saltwater for a water change, make sure your solution has the same salinity as your tank.[9] A stronger or weaker solution will raise or lower your tank’s salinity respectively.
- Mix and heat a saltwater solution 1 day before you perform a water change on your tank.
-
4Compensate for salt creep by adding saltwater solution to the tank. Over time, salt deposits will form on the sides of your tank. The salt is removed from your water and will lower your salinity. Add a saltwater solution to your tank to raise the salinity back to the levels you need for your tank.
Warnings
- Do not dump salt directly into the aquarium. It will not mix evenly and could shock any marine life you are keeping.⧼thumbs_response⧽
Things You’ll Need
- Reef salt mix
- Distilled water
- Bucket
- Wooden spoon
- Hydrometer
- Submersible pump
- Submersible heater
- Water siphon
References
- ↑ Doug Ludemann. Aquarium Care Professional. Expert Interview. 27 August 2019.
- ↑ Doug Ludemann. Aquarium Care Professional. Expert Interview. 27 August 2019.
- ↑ https://youtu.be/lghkIaxVuxk?t=1m30s
- ↑ https://youtu.be/0hOHovqrd8E?t=11s
- ↑ https://www.advancedaquarist.com/2006/2/aafeature2/
- ↑ https://youtu.be/CWHS70X9URw?t=8m47s
- ↑ https://youtu.be/CWHS70X9URw?t=8m47s
- ↑ https://youtu.be/CWHS70X9URw?t=8m51s
- ↑ Doug Ludemann. Aquarium Care Professional. Expert Interview. 27 August 2019.

