X
This article was co-authored by Ashley Adams. Ashley Adams is a Licensed Cosmetologist and Hair Stylist in Illinois. She completed her Cosmetology education at John Amico School of Hair Design in 2016.
This article has been viewed 18,525 times.
Razor cutting hair is a great way to add texture and layers without a lot of time and effort. It sounds fancy, but it is actually quite simple to do. All you need is a carving comb, or a fine-toothed comb with a razor inside of it. Razor cutting works the best on those with straight hair, but you can try it if you have curly or wavy hair too.
Steps
Part 1
Part 1 of 3:
Getting Ready to Cut
-
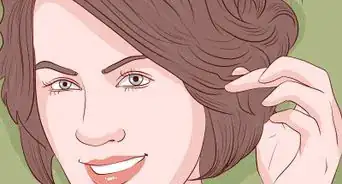
1Determine if razor cutting is recommended for your hair type. Razor cutting is a great way to add smooth layers and soft texture to straight or wavy hair.[1] You can also use razor cutting to thin thick hair or to bring out natural curls.[2] If you have fine, ethnic, or frizzy hair, however, you may want to take a pass on razor cutting, as it will only damage your hair and lead to more frizz.[3]
-
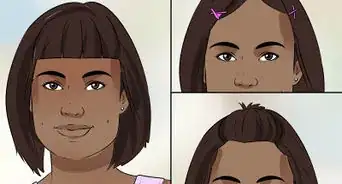
2Decide on what style you want. Never start cutting your hair blind; have some sort of idea in mind. Do you want to cut your hair short, or do you just want to add some layers? What about a face-framing cut? Do some research and print out reference pictures; look for models who have a hair texture similar to your own.
- Great places to do research for haircuts are websites like Pinterest and Instagram!
- One popular for long hair is where you cut layers into the front, and keep the back at its original length (or close to it).
- The shorter you plan to cut your hair, the higher up the layers will need to be in order to look proportionate.
Advertisement -
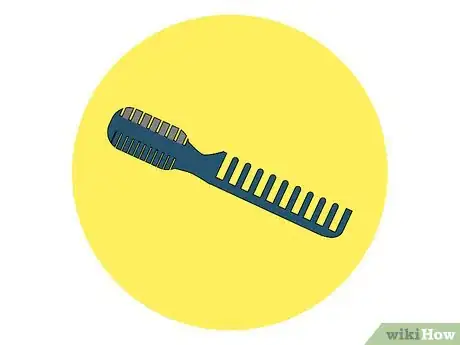
3Obtain a carving comb. A carving comb typically looks like a rat-tail comb, except that it has a razor inside the blades. They typically have wide teeth on one side, and fine teeth on the other. You can find them in well-stocked beauty supply shops, in hair salons, and online.
- If you already own a carving comb, make sure that the blade is sharp. It might be a good idea to replace it, regardless. A sharp blade is key to getting a good hair cut.
-
4Get your hair wet. You can wash your hair with shampoo and conditioner first, if you want to, but your hair needs to be wet while you cut it. If you cut it while it is dry, you risk damaging it. This is important for all hair types, especially curly hair, which becomes straighter when wet and therefore easier to cut.[4]
-
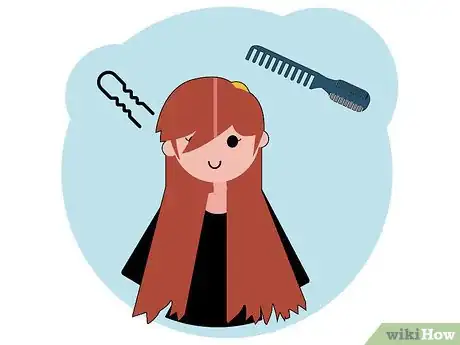
5Section off the top part of your hair. Use the handle of a rat-tail comb to divide your hair in half horizontally at about eye brow level. Gather all of the hair from the upper section, twist it out of the way, and secure it with a clip.
- If you want more layers, divide your hair at about ear level (or lower) instead. This will great a thicker upper layer, which you can divide further later on.
Advertisement
Part 2
Part 2 of 3:
Cutting the Bottom Layers
-
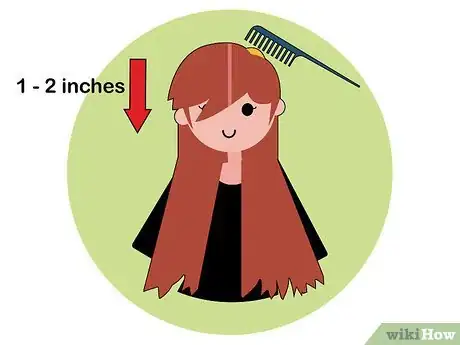
1Use a comb to pull a thin section of hair in front of your face. Pick a side to start on: left or right. Gather a 1 to 2 in (2.5 to 5.1 cm) wide section from the start of that side (temple region). Use a rat-tail comb or the razor-less part a carving comb to pull the hair section in front of your face and away from your body.[5]
-
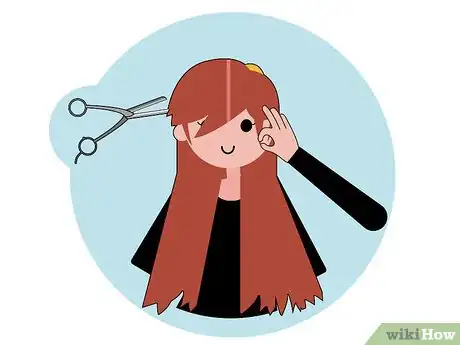
2Pinch the section between your finger where you want it cut. Make a V-shape with your forefinger and middle finger. Close your fingers in a scissor-like motion against the section of hair. Slide your fingers down the length of the section, stopping where you want to cut it. How much you decide to cut off is up to you.
- If you just want to trim your hair, bring your fingers down until they are just above the ends. A trim is usually between 1⁄2 and 1 inch (1.3 and 2.5 cm) of hair.
- If this is your first time cutting your hair, bring your fingers lower than where you want to cut. It is easier to trim more off than add hair back.
-
3Point your fingers upwards and angle them. Give your hand a slight twist so that your fingers are pointing upwards; this will make it easier to cut the hair. Angle your fingertips slightly towards your face.
-
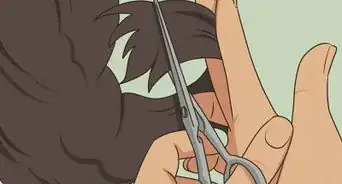
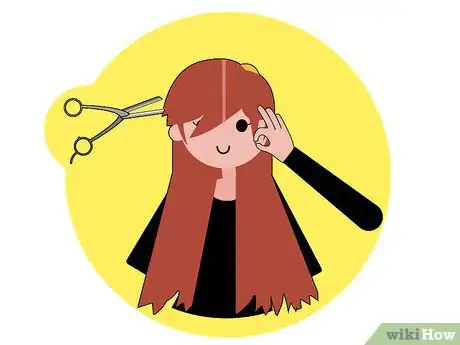
4Cut the hair at a downward angle using the carving comb. Use short, quick strokes while moving downward. Slide your fingers down the length of your hair while you cut. This will not only keep you from nicking them, but it will also help create the angle.[6]
- If you have curly hair, be sure to cut with the curl rather than against it.[7]
-
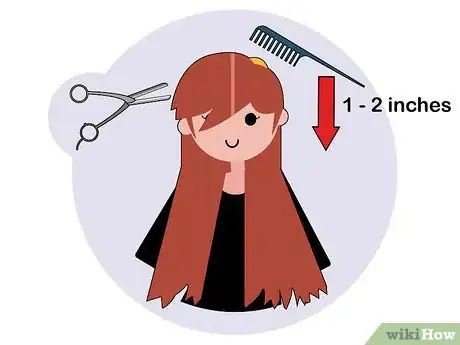
5Grab another section and measure it up against the previous one. Take another 1 to 2 in (2.5 to 5.1 cm) section from right next to the first one, moving towards your ear. Add a few strands from the previous section to it. Pinch the section between your fingers, like before. Pull the section out in front of your face, and slide your hand down until you are just past the tips of the already-cut section.
-
6Cut the new section and move onto the next one. Keep cutting the strands using short, downward motions, working from one side of your head to the back. Repeat the process on the other side of your head. Always pull the strands of hair in front of your face and use already-cut strands as a guide for accuracy and evenness.[8] Stop when you get to the crown.
Advertisement
Part 3
Part 3 of 3:
Cutting the Remaining Layers
-
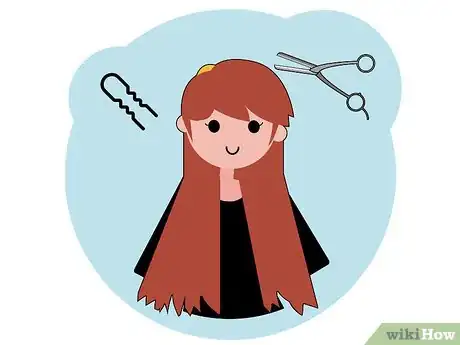
1Un-clip the hair at the top part of your head. If you started with a thin, bottom layer, you will need to section another layer, clip the upper potion of your hair up again, then cut the new layer. Keep working in layers until you reach the hair at the crown of your head (eyebrow-level and up).
- Use the already-cut layers as a measuring guide for the new, uncut layers. Hold the uncut strands up against the already-cut ones.
-
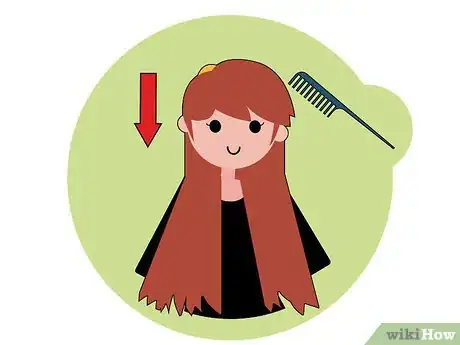
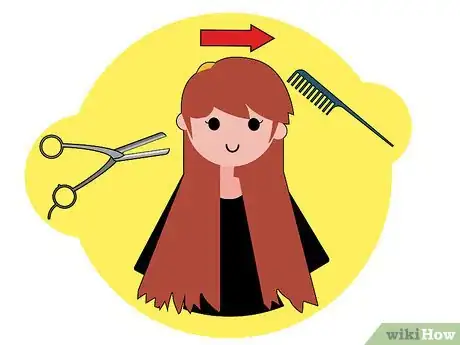
2Brush the hair on the top of your head over your face. Gather everything from the back of your crown-forward, and comb it over your forehead, so that it falls in front of your face.
-
3Gather the hair in your hand. Close your hand around the hair you just gathered, like holding onto a rope. Slide your hand downward until the forefinger and thumb are level with where you want to cut it.
-
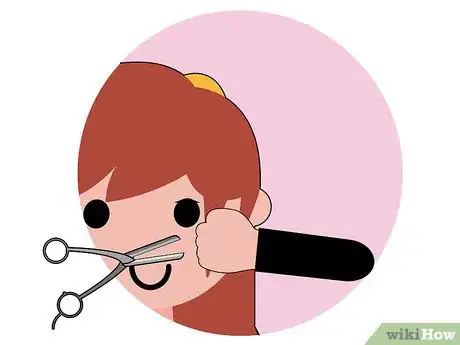
4Cut the hair using short, downward strokes. Keep the comb above your hand, cutting down towards it. Work your way across the hair, from left to right. Because of the way you are holding your hair, the sides will end up a little longer than the middle.[9]
-
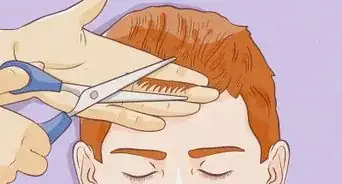
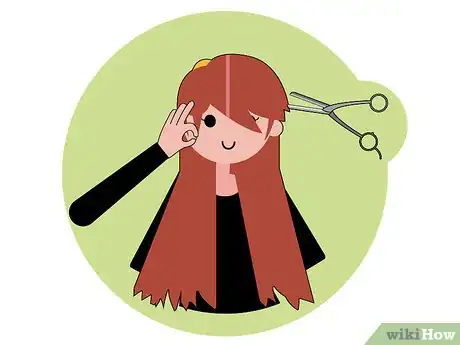
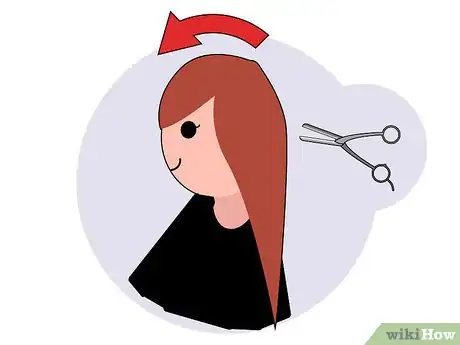
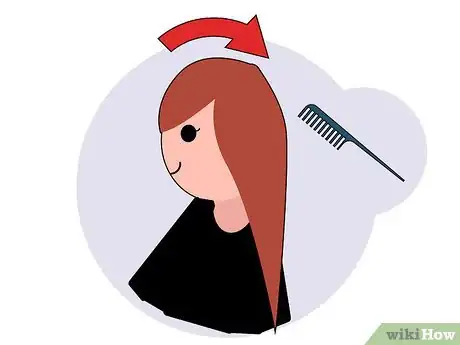
5Comb your hair back and touch it up, if needed. Check your hair at the front of your face, and make sure that the left side matches up with the right. Take a glance in a three-way mirror and check out the back of your hair. Use the carving comb to trim off any uneven strands so that they match up with the adjacent ones.
- If you don't have a three-way mirror, stand with your back to your mirror, and hold another mirror up in front of you.
-
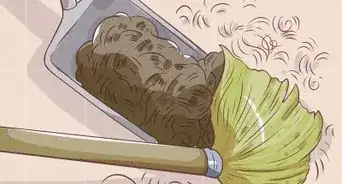
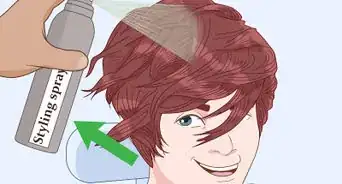
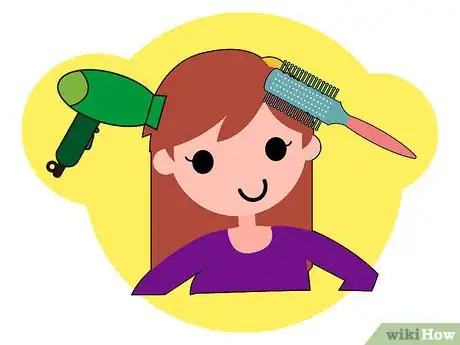
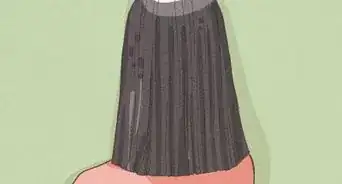
6Dry and style your hair. Once you are happy with the cut, comb your hair back and gently shake it to dislodge any cut strands. Apply your usual styling product, then blow dry your hair using a round brush for extra movement.
Advertisement
Warnings
- If you choose to cut your kinky hair with a razor, use a hot tool to straighten your hair before cutting it.⧼thumbs_response⧽
- Re-consider razor cutting your hair if it is frizzy, kinky, or fine, as doing so can damage it.⧼thumbs_response⧽
Advertisement
Things You'll Need
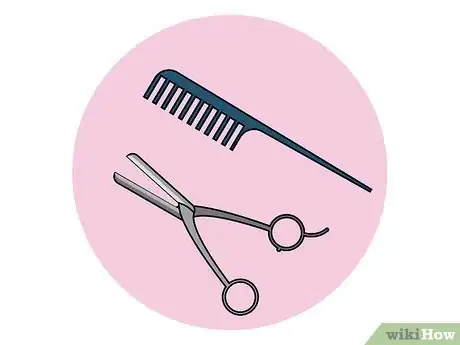
- Razor comb or carving comb
- Hair clips
- Rat-tail comb
References
- ↑ http://www.hairfinder.com/hairquestions/razorcuts.htm
- ↑ https://www.naturallycurly.com/curlreading/haircuts/to-razor-cut-or-not-to-razor-cut/
- ↑ http://www.hairfinder.com/hairquestions/razorcuts.htm
- ↑ https://www.naturallycurly.com/curlreading/haircuts/to-razor-cut-or-not-to-razor-cut/
- ↑ https://www.youtube.com/watch?v=xRx5LMZeD7E
- ↑ https://www.youtube.com/watch?v=ymHPaS4OOpQ
- ↑ https://www.naturallycurly.com/curlreading/haircuts/to-razor-cut-or-not-to-razor-cut/
- ↑ https://www.youtube.com/watch?v=ddwIEWggS7I
- ↑ https://www.youtube.com/watch?v=ymHPaS4OOpQ
About This Article
Advertisement

-Step-18-Version-2.webp)
