X
wikiHow is a “wiki,” similar to Wikipedia, which means that many of our articles are co-written by multiple authors. To create this article, volunteer authors worked to edit and improve it over time.
This article has been viewed 49,251 times.
Learn more...
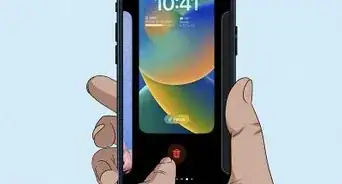
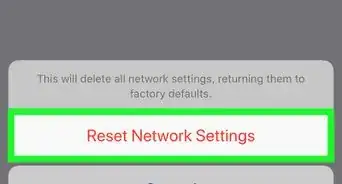
If your iPhone is locked and you don’t know its passcode, you can reset your device to erase all its contents and restore your personal data if you previously created a backup. There are three ways to reset a locked iPhone: restoring using iTunes, resetting using the Find My iPhone feature, or restoring using recovery mode.
Steps
Method 1
Method 1 of 3:
Restoring Using iTunes
-
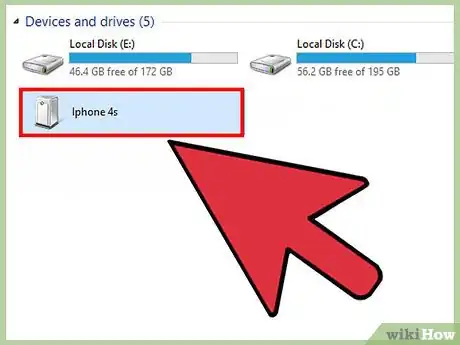
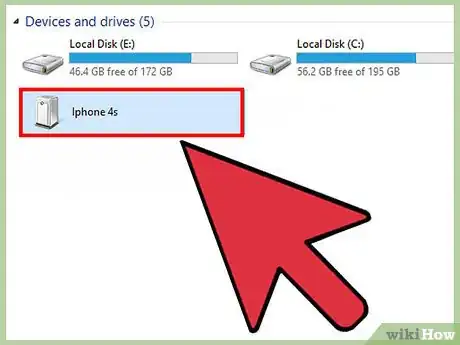
1Connect the iPhone to your computer using a USB cable. You must use the same computer you initially used to sync your iPhone with iTunes. iTunes will launch automatically upon recognizing your device.
- If iTunes asks you to enter a passcode, or you’ve never synced the iPhone with iTunes on your computer, follow the steps outlined in Method Three to reset your iPhone using recovery mode.[1]
-
2Wait for iTunes to automatically sync your iPhone with your computer and create a backup.
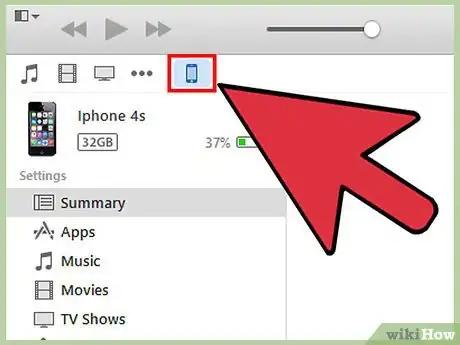
- If iTunes fails to automatically sync your iPhone, click on your iPhone icon in iTunes, then click on “Sync.”
Advertisement -
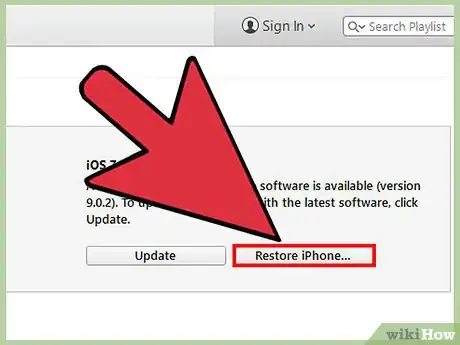
3Click on “Restore iPhone” when iTunes is finished syncing and backing up your iPhone.
-
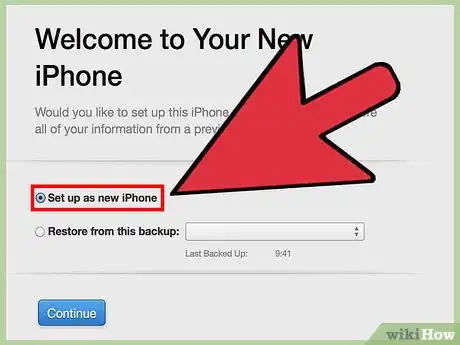
4Select the option to “Restore from iTunes backup” when your iPhone displays the setup screen.
-
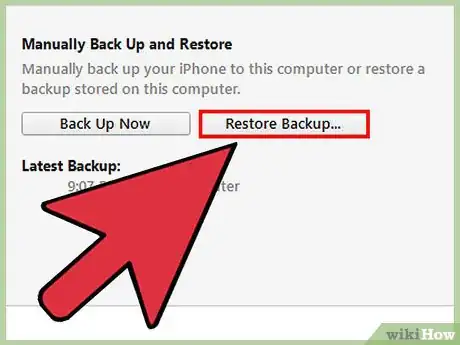
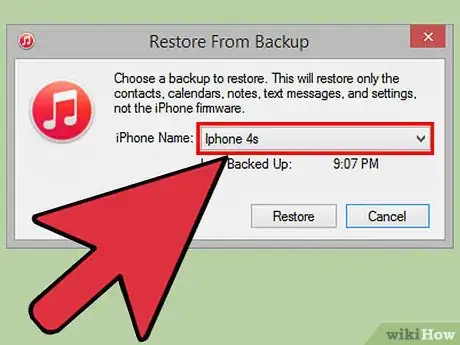
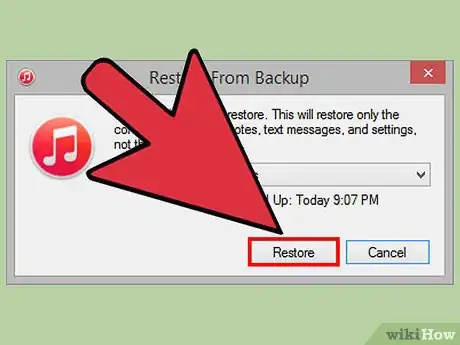
5Select your iPhone in iTunes, then click on the most recent backup file. iTunes will reset and unlock your iPhone, as well as restore your personal data.[2]
Advertisement
Method 2
Method 2 of 3:
Using Find My iPhone
-
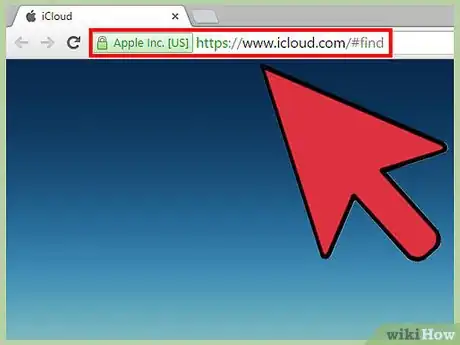
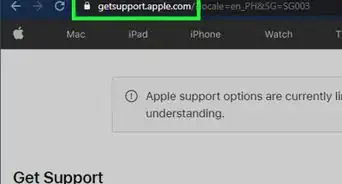
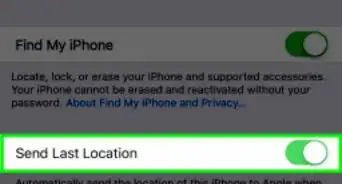
1Go to the iCloud website at https://www.icloud.com/#find on any device or computer, and sign in with your Apple ID and password.
- If you did not previously enable the Find My iPhone feature through iCloud, you cannot reset your iPhone using this method. Follow the steps outlined in Method Three to restore your iPhone using recovery mode.
-
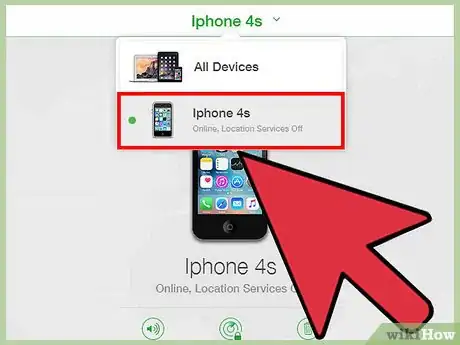
2Click on “All Devices” at the top of your iCloud session and select your iPhone.
-
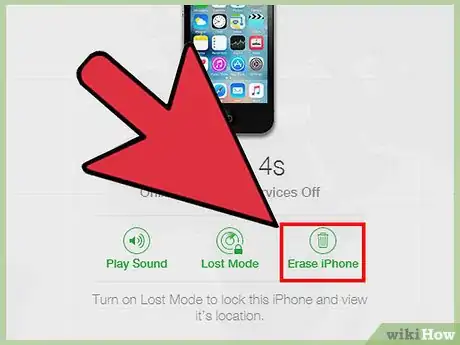
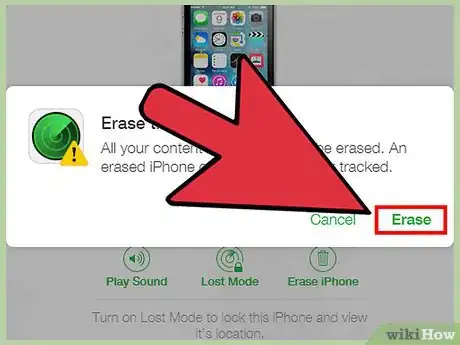
3Click on “Erase iPhone.” iCloud will reset and erase all contents from your iPhone, as well as its passcode.
-
4Select the option to restore your personal data from an iCloud backup, or follow the on-screen instructions to set up your device as new. Your iPhone will now be reset and unlocked.
Advertisement
Method 3
Method 3 of 3:
Restoring Using Recovery Mode
-
1Connect your iPhone to a computer using a USB cable.
-
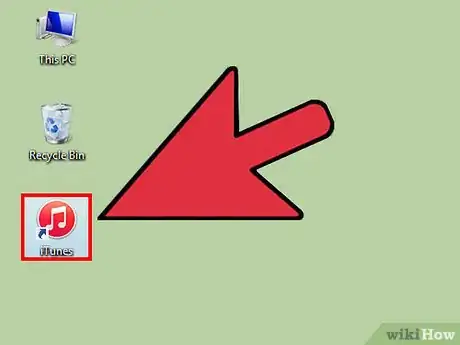
2Launch the iTunes application. iTunes will take a few moments to recognize your iPhone.
- If iTunes is not installed on your computer, navigate to Apple’s website at https://www.apple.com/itunes/download/ to download and install the latest version of iTunes.
-
3Press and hold the “Sleep / Wake” and “Home” buttons on your iPhone at the same time until the recovery mode screen displays. The recovery mode screen will display after the Apple logo disappears.
-
4Click on “Restore” when iTunes informs you a problem was detected with your device. iTunes will download and install any existing software updates, which may take up to 15 minutes to complete.
- If your iPhone takes longer than 15 minutes to install updates, your iPhone may have exited recovery mode. Repeat steps #3 and #4 before proceeding.
-
5Wait for iTunes to finish resetting your iPhone, then follow the on-screen instructions to set up your device as new. Your iPhone will now be reset and unlocked.
Advertisement
Community Q&A
-
QuestionI found an iPhone and restored it but I can't activate it, because it is activated using the other email. How do I erase that email and enter my apple ID?
 RetardedFacts69Community AnswerTurn it in to the Police. That is someone's phone they could be paying for or payed a lot of money for. Try to find the original owner.
Advertisement
Warnings
- Keep in mind that resetting your iPhone using recovery mode in Method Three will erase all personal contents from your device. Prior to resetting your iPhone, attempt to enter all possible passcodes into your iPhone to unlock the device and avoid personal data loss.⧼thumbs_response⧽
Advertisement
References
About This Article
Advertisement
