This article was co-authored by wikiHow staff writer, Nicole Levine, MFA. Nicole Levine is a Technology Writer and Editor for wikiHow. She has more than 20 years of experience creating technical documentation and leading support teams at major web hosting and software companies. Nicole also holds an MFA in Creative Writing from Portland State University and teaches composition, fiction-writing, and zine-making at various institutions.
The wikiHow Tech Team also followed the article's instructions and verified that they work.
This article has been viewed 58,210 times.
Learn more...
This wikiHow teaches you how to use the Google Photos app to rotate images on your Android.
Steps
-
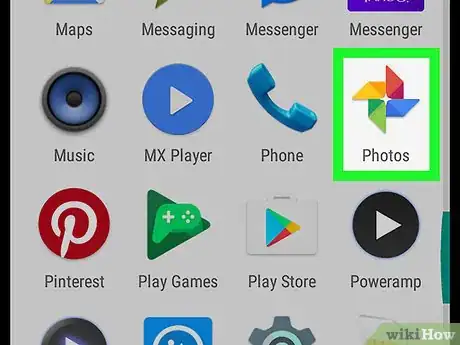
1Open Google Photos. It's the multicolored pinwheel icon labeled “Photos.” You'll usually find it in the app drawer or on the home screen.
-
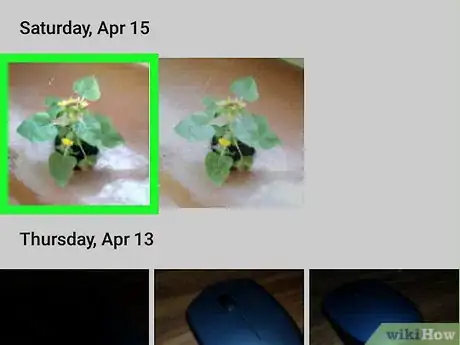
2Tap the image you want to rotate. This opens a larger version of the image with 4 icons at its bottom edge.Advertisement
-
3
-
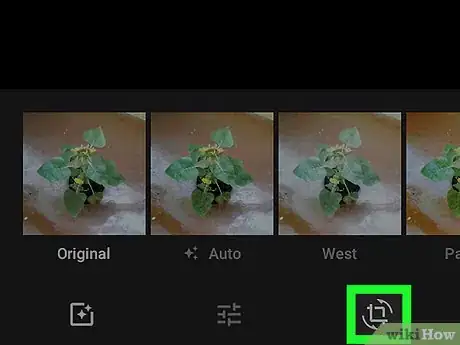
4Tap the crop/rotate icon. It's the third icon at the bottom of the screen. It looks like a square made of two arrows, surrounded by two more curved arrows.
-
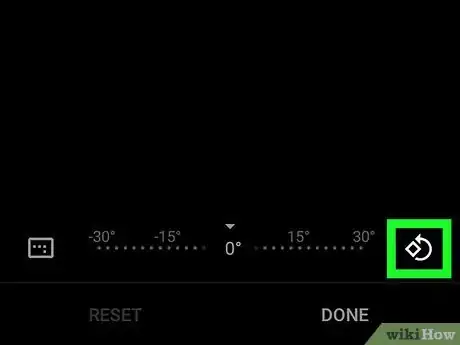
5Tap the rotate icon. It's the diamond with a curved arrow at the bottom-right corner of the screen. This rotates the image 90 degrees counter-clockwise.
- To rotate another 90 degrees counter-clockwise, tap the rotate icon again.
- Continue tapping the icon until the image is rotated to your liking.
-
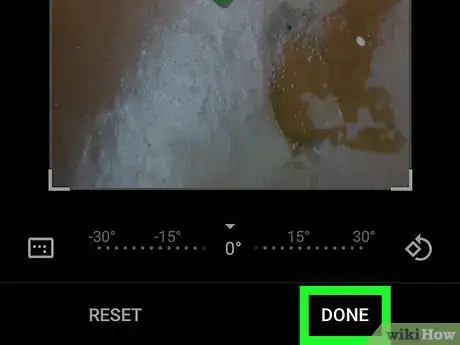
6Tap Done. The rotated image is now saved.
About This Article
1. Open Photos.
2. Tap an image.
3. Tap the pencil icon.
4. Tap the crop/rotate icon.
5. Tap the rotate icon.
6. Tap Done.





-Step-34.webp)
