This article was co-authored by wikiHow Staff. Our trained team of editors and researchers validate articles for accuracy and comprehensiveness. wikiHow's Content Management Team carefully monitors the work from our editorial staff to ensure that each article is backed by trusted research and meets our high quality standards.
This article has been viewed 231,858 times.
Learn more...
Sculpture can be created with several different materials, including concrete. There are three ways to created a sculpture from concrete. Concrete sculptures can be created by casting the concrete, carving the concrete, or using wire mesh. All three of these methods of sculpting concrete can result in beautiful concrete sculptures.
Steps
Casting the Concrete
-
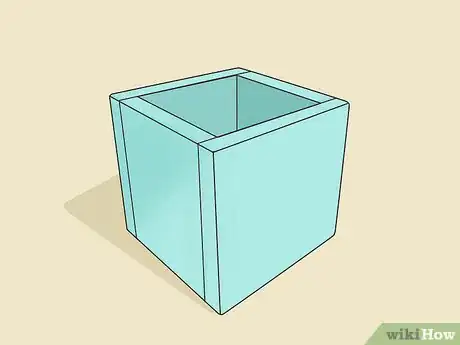
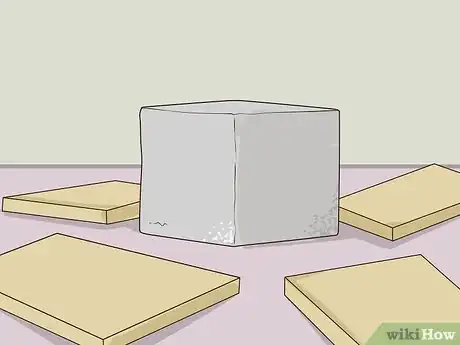
1Select a cast. Before you mix your concrete, you must first secure a cast. A cast can be homemade cast made from plastic or styrofoam or purchased at a hardware store. You can also find a wide array of concrete casts to purchase online.
-
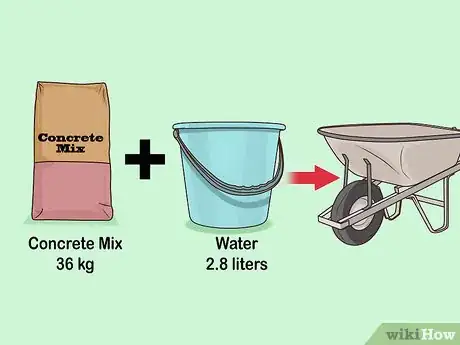
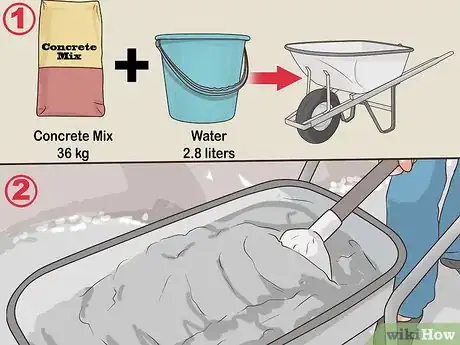
2Combine the concrete mix and water. Empty a bag of concrete mix into a large bucket or wheelbarrow. Carefully measure out the recommended amount of water. For example, an 80 pound (36 kg) bag of concrete typically requires about three quarts (2.8 liters) of water. Add approximately two-thirds of the water to the concrete mixture.[1]
- Set aside two cups (0.5 liters) of concrete mix. This mix can be added to the concrete if the consistency is too runny.
- Read the mixing instructions on the bag of concrete to ensure that you have the correct ratio of water to concrete mix.
Advertisement -
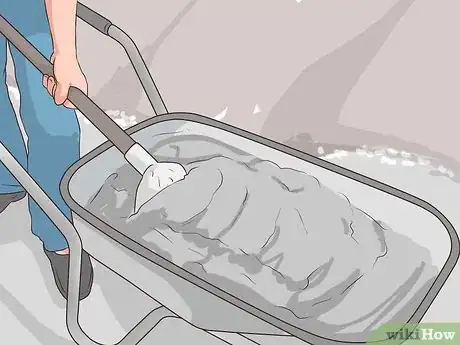
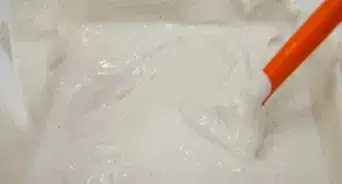
3Mix the concrete. Use a concrete mixing tool, hoe, or drill bit to mix the concrete together. Continue to add the water that you have set aside until you reach a thick, oatmeal-like consistency. The wet concrete should hold its form if you squeeze a fistful.[2]
- Concrete that is too runny is easier to pour but less durable and more likely to break over time.
- Add more water to your concrete mixture if the mixture is solid and crumbly.[3]
-
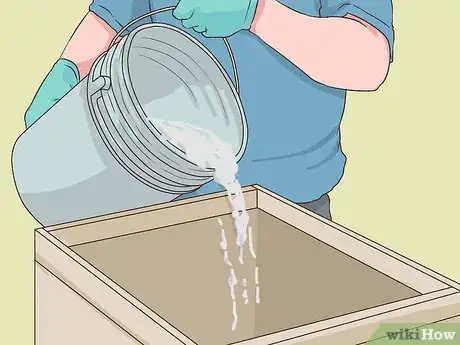
4Pour the concrete into the cast. Slowly pour the concrete mix into the cast until it is completely full. Use a metal trowel to smooth the top of the concrete.[4]
- You can apply a small amount of engine oil to the cast before pouring the concrete to ensure that the concrete is removed from the cast easily without damaging the sculpture.
-
5Remove the cast. Once the concrete is completely dry, remove the cast. Most casts are removed after one day. Sometimes, the sculpture is removed from the cast and the cast remains intact. Sometimes, the cast is cut away to reveal the sculpture.[5]
- Allow the cement to cure for at least one week before use.
- Read the instructions that come with the cast. These instructions will give you specific information about when and how to remove the cast. Each project will be different.
Carving Concrete
-
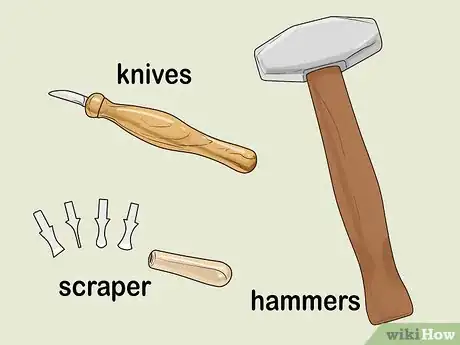
1Locate carving tools. Carving tools, such as knives, scrapers, and hammers, that are typically used for ceramic sculpting work best to carve concrete. You can find these tools at most craft or art shops.[6]
-
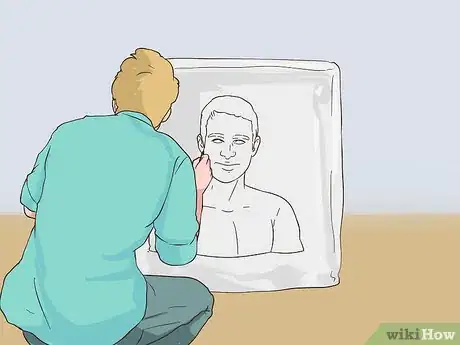
2Lay out your design. Freehand or stencil your desired design onto the concrete with a pencil or chalk. This will give you a guide to work off of.[7]
-
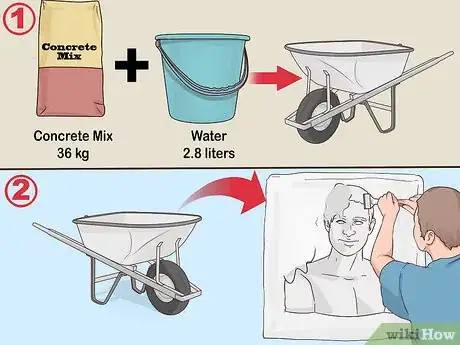
3Mix and pour the concrete. Using the directions on the bag of concrete, mix the concrete in a large bucket or wheelbarrow. Most 80 pound (36 kg) bags of concrete require three quarts (2.8 liters) of water. Pour the concrete into the desired concrete mold and allow it to partially dry before beginning the carving.[8]
- Pour the concrete in small, workable sections to prevent the concrete from drying before you finish the sculpting.
- Concrete that is too runny is easier to pour but less durable and more likely to break over time.
- Add more water to your concrete mixture if the mixture is solid and crumbly.[9]
- The amount of time that you need to wait will depend on the thickness of the concrete mold. The concrete is ready to carve when it is still malleable and holds it’s shape.
-
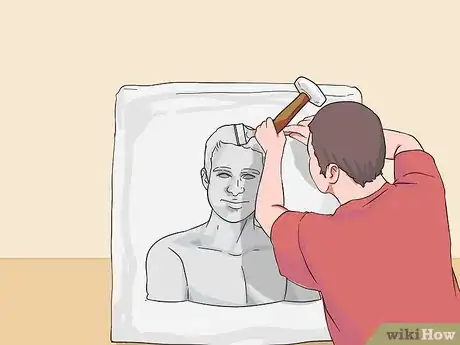
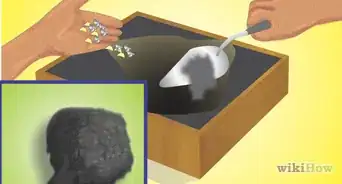
4Carve the design. Before the concrete is completely dry, begin to carve out your design using the sculpting tools. Begin at the top of the sculpture and work your way down. You will have to work quickly in order to finish the carving before the concrete dries. Try to finish a section of concrete within one hour of pouring.
- Coat your hands in petroleum jelly to prevent the concrete from damaging your skin.
- Avoid touching the surface of the sculpture until it is completely dry to prevent any smudging. The concrete should be dry within 24 hours but should be left to cure for seven days.
Using Mesh
-
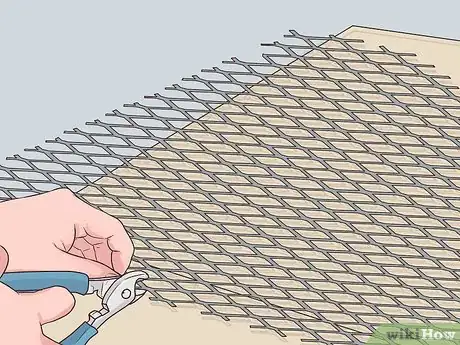
1Cut the mesh. Cut the metal mesh into the desired shape using wire cutters. This mesh will serve as the framework for your sculpture. It will hold the wet concrete in place until it dries.[10]
- Use a metal mesh that is heavy enough to hold its own shape.
-
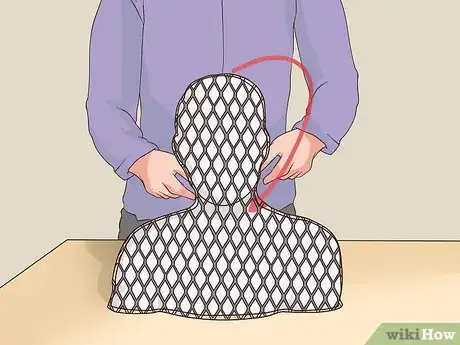
2Wrap the mesh around something hard. If you are unable to manipulate the mesh into your desired shape, try wrapping the mesh around something hard, like cardboard or styrofoam, to form the desired shape of the sculpture.
-
3Mix the concrete. Mix the concrete mix and water in a large bucket or wheelbarrow. Use a concrete stirrer, hoe, or drill bit to stir the concrete until it is thoroughly mixed. Most 80 pound (36 kg) bags of concrete require three quarts (2.8 liters) of water. The mixture should be a thick, oatmeal-like consistency.[11]
- Read the instructions on the bag of concrete before mixing the concrete and water. The instructions will provide clear ratios of water to concrete.
- Concrete that is too runny is easier to pour but less durable and more likely to break over time.
- Add more water to your concrete mixture if the mixture is solid and crumbly.[12]
-
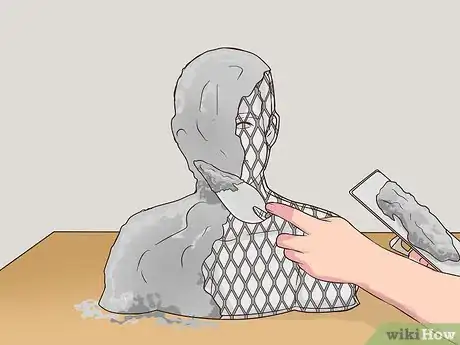
4Apply the concrete to the mesh. Using a metal trowel, or another hand tool, apply the concrete to the wire mesh. Apply the concrete in thin layers. Add more layers until you achieve your desired shape.[13]
-
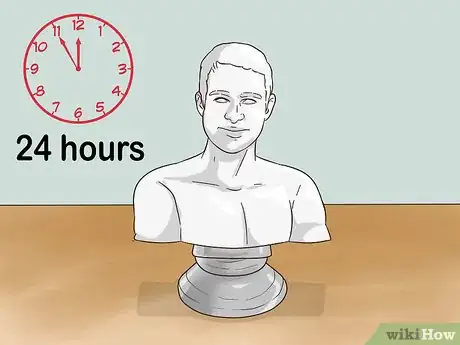
5Let the concrete dry. The concrete will be dry to the touch within 24 hours. However, you should allow the concrete to cure for seven days. Avoid touching or moving the sculpture during this time.
Community Q&A
-
QuestionHow long do I need to wait to add layers of concrete when sculpting?
 Community AnswerWhat's worked best for me is to add layers while the first layer is still curing or semi-moist.
 -
QuestionHow do you keep the concrete from going through the wire form?
 Community AnswerYou have to make sure you don't add too much water. Concrete is "sticky," so as long as you don't add too much, it stays in a modeling clay type consistency.
 -
QuestionCan I paint a concrete statue if it is semi-dry or still wet?
 Community AnswerYou can paint at any stage after the concrete forms. Concrete is porous so if you paint while it is drying you may have to give it a second coat.
Things You’ll Need
- Concrete cast
- Concrete mix
- Water
- Bucket or wheelbarrow
- Concrete mixing tool, hoe, or drill bit
- Engine oil
- Concrete carving tools (hammer, knife, and scraper)
- Stencil (optional)
- Pencil or chalk
- Wire mesh
- Metal trowel
Warnings
- Concrete can be messy. Be sure to work outside or in a workshop.⧼thumbs_response⧽
- Read the instruction label provided with the concrete mix, mold, or cast for best results.⧼thumbs_response⧽
References
- ↑ https://www.quikrete.com/athome/video-mixing-concrete-hand.asp
- ↑ https://www.quikrete.com/athome/video-mixing-concrete-hand.asp
- ↑ https://www.familyhandyman.com/masonry/pouring-concrete/how-to-properly-mix-concrete/view-all
- ↑ https://www.quikrete.com/pdfs/projects/castconcreteprojects.pdf
- ↑ https://www.quikrete.com/pdfs/projects/castconcreteprojects.pdf
- ↑ http://www.concreteconstruction.net/products/decorative-concrete-surfaces/carving-concrete_o
- ↑ http://www.concreteconstruction.net/products/decorative-concrete-surfaces/carving-concrete_o
- ↑ http://www.concreteconstruction.net/products/decorative-concrete-surfaces/carving-concrete_o
- ↑ https://www.familyhandyman.com/masonry/pouring-concrete/how-to-properly-mix-concrete/view-all
About This Article
To sculpt with concrete, start by combining concrete mix with water, pouring it into a cast, and smoothing the top with a metal trough. Then, give it at least a day to dry before you remove your sculpture from the cast. Alternatively, you can shape metal mesh into the design you want, then mix and apply concrete over the mesh to create your sculpture. You can also carve your design directly into concrete that’s been poured, but hasn’t completely set or dried. For tips on how to mix concrete so it’s easy to sculpt with, scroll down!
