wikiHow is a “wiki,” similar to Wikipedia, which means that many of our articles are co-written by multiple authors. To create this article, 51 people, some anonymous, worked to edit and improve it over time.
There are 23 references cited in this article, which can be found at the bottom of the page.
This article has been viewed 479,019 times.
Learn more...
Being a good rifle marksman takes a lot of practice, patience, and knowledge. The amount of effort put into training your skills directly affects your ability to use the rifle in any situation, especially while under pressure, such as competition or even combat.
Steps
Choosing a Caliber
-
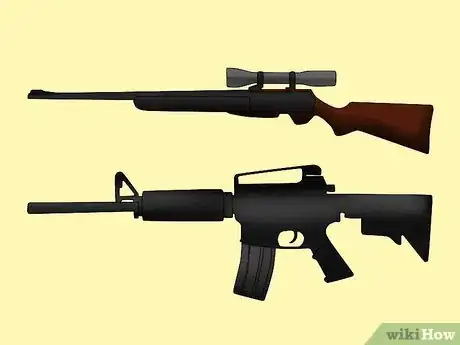
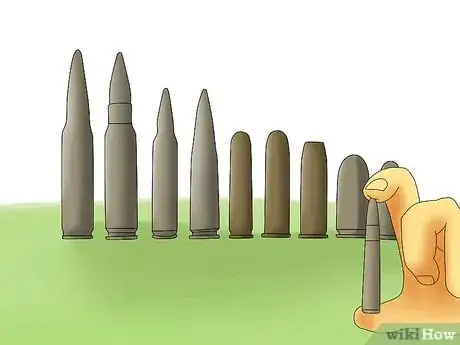
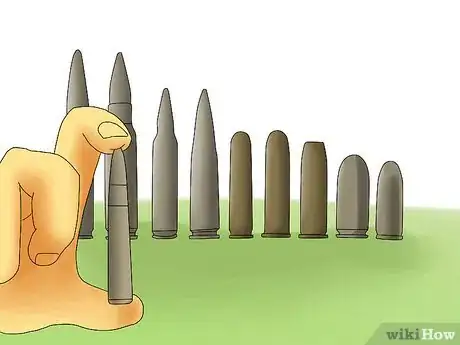
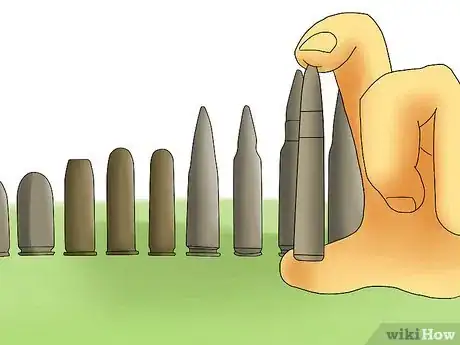
1For target practice (AKA "plinking") Use an inexpensive round like, 22LR. Stick to rifle-style rounds (easily identifiable by a necked-down casing, unlike the .22 where the case is the same diameter from end to end). These rounds have a much higher powder to bullet weight ratio, which results in higher muzzle velocities. Of course, if the cost of doing so is too high, .22lr practice will at least get you trigger time with plenty of economy.
-
2For competitive target shooting, match-grade ammunition is preferred. It is more consistent and uses higher quality bullets; for plinking, cheap ammunition selection is fine.
-
3For small varmint shooting (smaller than coyote – such as squirrels, rabbits, birds, etc), favor the .22lr. Low report (noise) and low recoil make it less likely to startle your prey if you miss, and quicker on follow up shots. Some of the more powerful .224 caliber rounds work quite well and will extend your range well past that of the .22lr.
-
4For large varmint shooting (sizes such as coyotes or even small boar) a .223 round is likely the smallest round you would want to use. Though it is possible to kill this size of animal with smaller rounds, it becomes essential to get a head or heart shot; else the animal may die a slow painful death, or not die at all. Though for smaller animals a round as large as a .308 will be approaching the range of overkill, something in between these sizes is recommended.
-
5For wild game (boar, deer, etc) a 6mm to a .30 caliber round will be sufficient to put a good portion of traditional game down quickly (deer, elk, bear, moose and almost anything else). Even a .223 could kill these animals, but with smaller rounds, the bullet precision is much more important. If using smaller diameter rounds for large game, heavier bullets will transfer energy more quickly into the target.[5]
- Larger calibers such as the .338 Winchester Magnum or 45-70 and larger are helpful for use against very large wild game such as buffalo, or dangerous game abroad. However many people will suggest that accuracy is more important for hunting than caliber size, for instance some guides would have a client use a .270 for animals like bear and moose if they can shoot it accurately over a higher powered cartridge like the .300 Winchester Magnum.
-
6Though we will be dealing more with targets and animals, if a situation arises which a human must be shot, a .223 round to a vital area is plenty, but a .308 or other .30 caliber round is arguably a better bullet as it will cause more damage if vitals are missed and will impact a human wearing heavy clothing more than the much lighter .223 round.
-
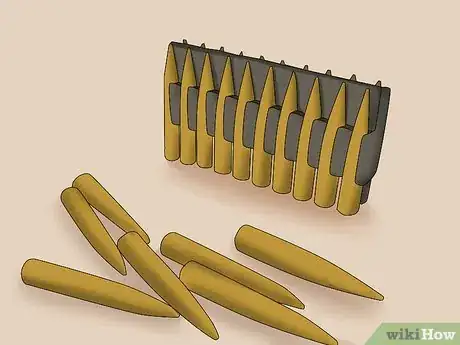
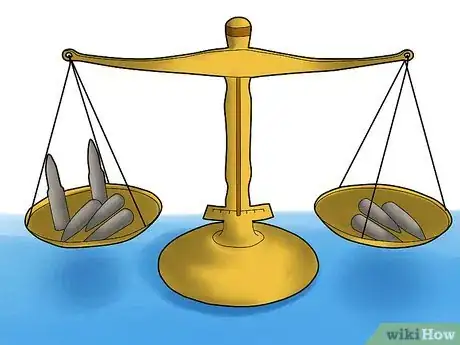
7Weight of the bullet is something to consider, but in most situations it matters less than bullet design. Bullet weight is expressed in GRAINS, a common measure of gunpowder and bullet weight.[6]
- Light bullets are often favored for varmint and target shooting. The higher velocity allows a flat trajectory within a couple hundred yards of the muzzle. The bullet reaches the target quicker, so less leading is required as well.
- Heavier bullets are preferred for game shooting. On contact with target, it delivers more energy in a shorter amount of time (which is more lethal). It may also reduce the likelihood of over-penetration. Over longer distances, due to ballistic coefficients (how streamlined the bullet is as it flies through the air), heavier bullets can produce flatter trajectories than light bullets, and are ultimately less affected by crosswind.
- An example for a .223 (each caliber and rifle will behave differently): a 42 grain bullet (3700 FPS) at 100 yards (91.4 m) will drop (with no sight-zero) about an inch and a half. At 500 yards (457.2 m), it will drop probably around four feet and maintains about 80% of its velocity. A 65 grain bullet (3000FPS) at 100 yards (91.4 m) will drop two inches, but at 500 yards (457.2 m) will only drop three feet. At 500 yards (457.2 m) the bullet maintains about 85% of its velocity.
- As a point of interest, if a bullet is dropped from your hand at exactly the same time as the same weight bullet leaves the muzzle of the rifle (fired horizontally to ground), BOTH bullets will hit the ground at the same time. Gravity has the same effect on a bullet that is stationary as it does on a bullet that is flying through the air.
Staying Safe
-
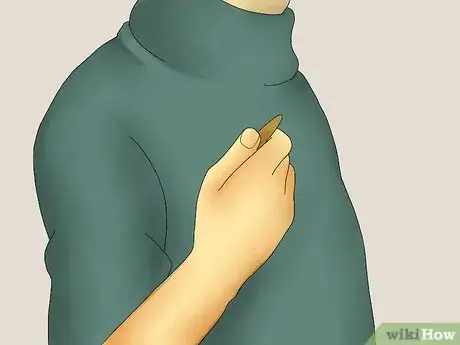
1Assume ALL firearms are loaded and ready to fire until you personally see that there is no ammo in the chamber. Insert a yellow plastic "empty chamber indicator" when handling guns.[7]
-
2Be aware of your surroundings, specifically in the direction you are shooting. High velocity rifle rounds are capable of traveling miles. Most bullets can easily penetrate drywall in a home.
-
3Point your rifle ONLY at something that you intend to shoot. Otherwise, keep the muzzle pointed in a safe direction (at the ground).[8]
-
4Keep your finger off the trigger and the safety enabled until you intend to pull the trigger.[9]
-
5Ensure that your firearms and ammo are secure from anyone when stored in your home.[10]
-
6Be sure you have read and understand How to Handle a Firearm Safely. All the rules should be followed at all times.[11]
Stance
-
1Bench rest: This is the most accurate stance. Although, this is less of a stance and more of a location of your rifle. This allows your rifle to rest on something other than you or the ground.[13]
- It gives the most stable platform without human input. This allows you to sight in your sights or scope, so you know when you are holding the gun that it is your fault when you miss. If you are planning on hunting you should get better at the below stances because you are probably not going to take a bench with you on your hunt.
-
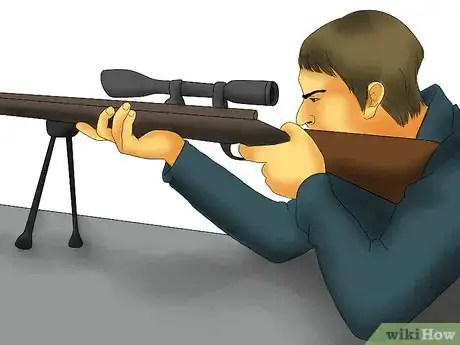
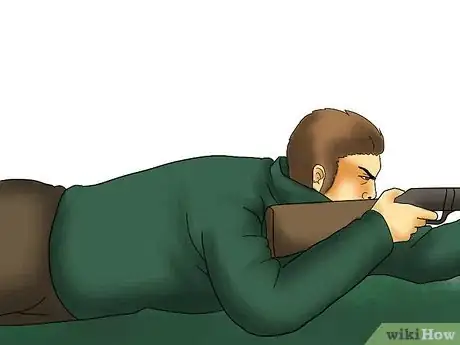
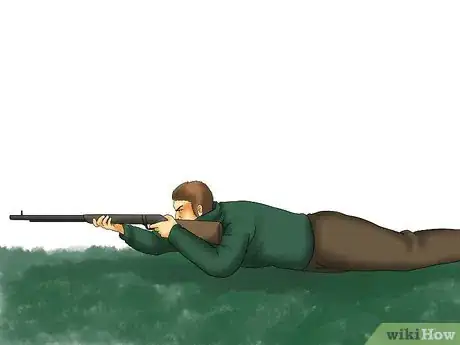
2Prone: By far, this is the most accurate field position for "sniping". The most common position is lying on your belly with your legs spread out, your feet arch down partly embedded in the ground and the rifle tight in your shoulder. The position will look like you are in a " Y " shape. This position is the most stable prone position as to have the recoil be absorbed through your body. This will cut the recoil enough to give you better accuracy at longer ranges. Also as a note, your breathing has the most effect on your shot.[14]
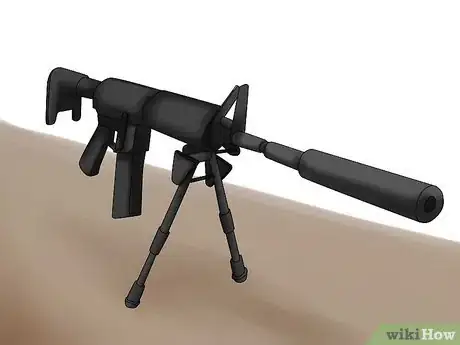
- With a bipod or some other way to hold the front of the gun, it is often best to put your support (non-trigger) hand under the butt of the stock. This allows you to position the elevation of the sights or scope more precisely.
- If there is no bipod or other item to hold the front of the gun, your support hand should hold the front of the gun, this is less accurate than a bipod so invest in a good quality leather military style sling. Use a "loop sling" position. This is made by having the sling connected to the front swivel and the other end in a loop to go as high up on your bicep as possible. Then put your arm through the area between the rifle and sling. Then in a clockwise motion end up with the forward hand gripping the rifle under the front stock close to the swivel.
- You also have the option of making a make-shift bipod or tripod, or resting the front of the rifle on some other stable platform, like a backpack.
-
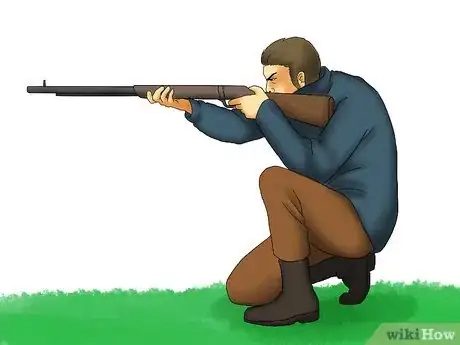
3Crouching/Kneeling: This stance is considerably less accurate than a prone position. There are many stances for crouching.[15]
- A common one is to sit on one foot laid sideways on the ground while putting your other foot in front of you as tight to your body as possible, this will bring your knee toward your face. Having something against your back is never a bad idea. You then place the rifle in your hand which is resting on the knee in front of you.
- You can also kneel or crouch behind anything hard, and rest the front of your gun (or bipod preferably) on it. Or you can use a "kneeling roll", this is nothing more than an old carpet, shirt or old pant leg rolled up and duct taped stuck up where the laces in your boot are and the ground. This position also requires a "trick", to make you more stable, point your forward foot's toes inboard to your trigger fingers arm. You should be able to make accurate shots at 450 yards (411.5 m) with this position.
-
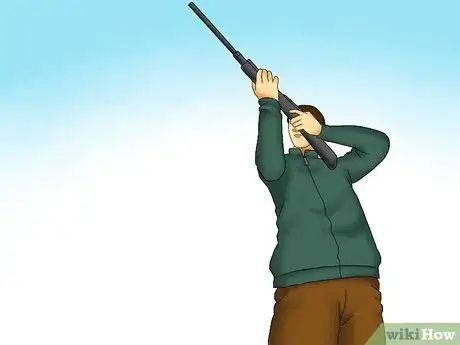
4Standing: This is not a recommended stance, as it is very inaccurate compared to either of the other stances. However, the best way to stand is against a tree or a rock to reduce some of the sway.[16]
- Yet another trick is to start with the rifle in your shoulder, pointed up at the sky, your trigger hand on the stock and your supporting arm on the fore-end stock. Bring the rifle down meanwhile tuck your supporting arm into your hip, lean back and calmly breathe at the same time your cheek weld is being applied. You can shoot accurately up to 300 yards (274.3 m) like this with proper practice.
Techniques
-
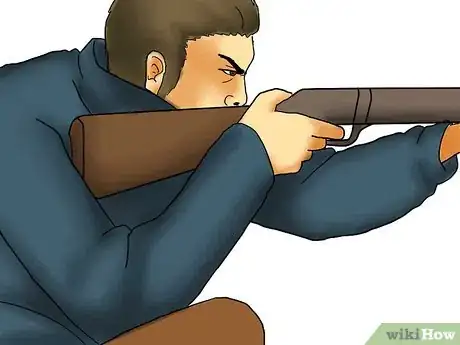
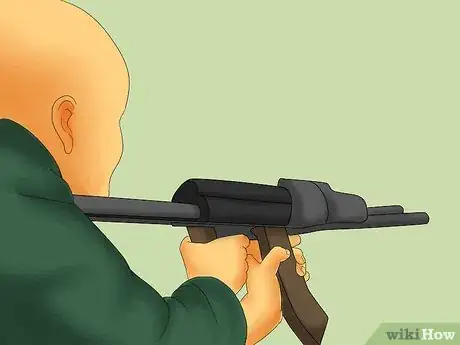
1Choose your rifle position. This often changes from person to person and changes a good deal depending on the situation. But the most common rifle position is the butt of the stock in the pocket of your shoulder (just above your armpit), your cheek lightly against the stock, looking down the sights or scope in the most relaxed position possible. For larger caliber rifles with more kick, the rifle should be brought in some so the butt is resting partially on the pectoral muscle.[17]
- A critical component of sniping is acquiring a good "cheek weld" or "stock weld". This means your cheek bone is held fast against the butt stock to insure proper sight alignment and sight picture. The pocket of your shoulder will absorb the recoil. Without a good cheek weld, parallax in your scope is guaranteed and you will never become proficient with any sniper weapon system/ optic-equipped rifle.
-
2The forearm under the stock (if prone) or under the front of the gun where there is obviously a grip. The forearm should be pretty far forward on a traditional length grip which goes about 14 inches (35.6 cm) in front of the receiver.
-
3Become aware of your breathing. This affects the sway and oscillation of the gun, which in turn affects how consistent your shots can be.[18]
- Note: It also helps to practice 'stress firing', where you must take hasty shots with fatigue. Try running a quarter mile or whatever will bring up your heart rate and do enough push-ups so that your arms are twitching. Learn to compensate for the trembling in your muscles. If you only shoot paper targets, you can skip this, but in hunting or combat you may not have the luxury of rested muscles. At a minimum, try it as an experiment just to see to what degree stress impacts your ability to engage targets.
- There are many different techniques for breathing while standing, often it is recommended to have your lungs most of the way full. Hold your breath and wait until the reticle goes over your target.
- If you are a sniper, a sling is essential. Firing in a standing position is very fatiguing, especially supporting the barrel. A sling will help support the weight and allow the shooter a much higher degree of accuracy.
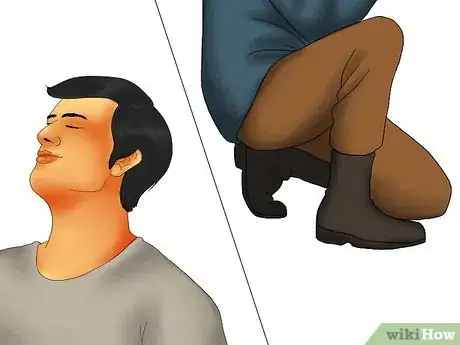
- For prone and kneeling, it is best to open your mouth and throat until your body is relaxed, this is when most of your air has exited your lungs. Relax, if your heart rate is slow enough, you can stay like this for 10 or 15 seconds, be patient and wait until the reticle stops over your target.
- Once you practice while exhaled a few times you will notice the reticle bounces in sync with your heart beat. You want to fire between beats (on the downbeat of your heart) which allows the most time for a stable shot (this will be only a fraction of a second, but that is when you are able to be most accurate).
- Try to avoid eye fatigue. If you stare through the scope for more than 15 seconds, you are bound to develop parallax or lose focus on your target.
-
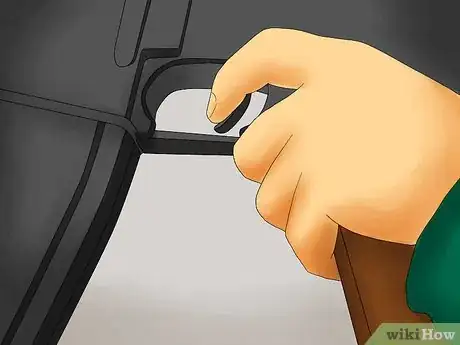
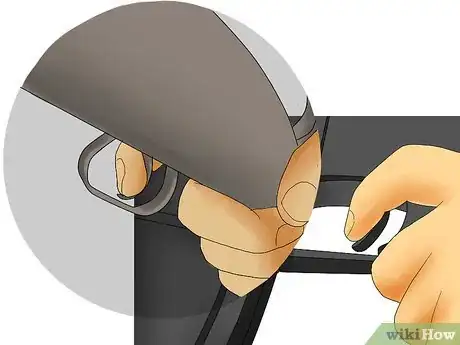
4Consider trigger pull. When pulling the trigger (with any type of trigger), be sure to pull the trigger straight back toward your shoulder. Keep your firing hand and support hand loose and relaxed. You want to squeeze slowly, and release the hammer precisely when over the intended target.[19]
- If it will not damage your weapon, practice 'dry fire' exercises to develop good trigger control. It can help you develop skill without wasting ammunition or being so 'spooked' by the recoil you cannot focus on the trigger tension.
- If the gun does not have a set trigger, then it likely has a trigger pull of about 2-5 pounds. In this case, you must get used to your trigger. Practice pulling the trigger most of the way back, just before the point the hammer releases. Try doing that until you are at the point that you can release the hammer (smoothly) on command. It is important never to fire before you want to, so be sure there is some threshold where you stop.
- NOTE: Precision sniper rifles have two-stage triggers, so that you will know when you are about to fire. Otherwise the advice above is golden. If you do not pull the slack out of the trigger before committing to the shot, you are virtually guaranteed to miss your target. This applies to ALL firearms. Even black-powder rifles had two separate triggers, the second being the 'hair trigger'.[20]
- With a set trigger, the trigger pull is closer to 8-14 ounces. This makes life much easier. The effort to pull the trigger can be done as soon as you intend to shoot. Be sure to practice and get used to the light pull.
Community Q&A
-
QuestionHow do I calculate distance with wind speed?
 Community AnswerThe scope has 8 milidots horizontally - 4 dots each on each the left and the right side of the cross aim based on the M40A3 rifle scope. Each gap between two dots represents 2 feet ( 21 inches ) at 600 yards. So, for example, if the wind blows 3 to 9 o' clock (right to left) between the target and you, you can calculate the target in your scope's half of the 1st left dot at about 3200 yards.
 -
QuestionCan I be a sniper without a sniper gun?
 Community AnswerYes. Sniper is a term for a position. It does not refer to any specific type of gun. Snipers and Marksmen usually use bolt action rifles, but this is not always true.
 -
QuestionHow do "Iron Sights" affect my shooting?
 Community AnswerIron sights are best used at closer ranges. Some guns, such as the Mosin-Nagant, can use the iron sights while a scope is mounted.
Warnings
- A rifle can inflict much harm or even death. Be sure to always point the rifle in a safe direction, and never point it at something you do not intend to shoot.⧼thumbs_response⧽
- Any firearm should only be shot in a safe and legal location. Be aware of state and local laws on use and transportation of a firearm, and follow them carefully. Laws change drastically between states, and can change between counties, or even cities. Get this information from your local police station, your gun club, or official government websites.⧼thumbs_response⧽
- Be sure to know what is down range. Bullets can travel for miles, or can bounce and ricochet into unintended directions.⧼thumbs_response⧽
- Using a rifle can be very dangerous. It should only be used by people experienced with using rifles, or under direct supervision of an experienced rifleman.⧼thumbs_response⧽
Things You'll Need
- A rifle (any caliber, though a rifle-type caliber is recommended).
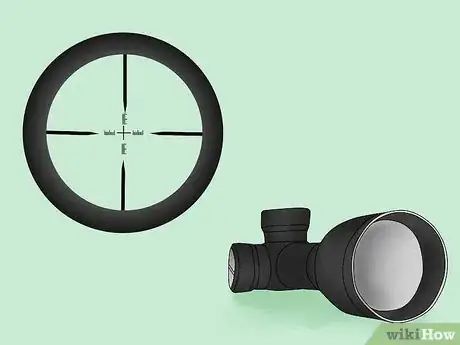
- (highly recommended) A scope (at least 3x for marksman,10x for sniper).
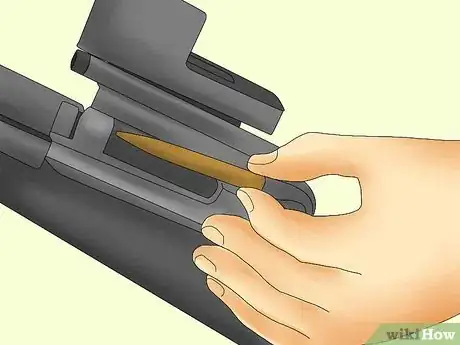
- Ammunition (the caliber of your rifle). Be sure this ammunition is from a reputable source (factory-made is best). Self-loaded or reloaded ammunition can be dangerous if not loaded properly, but can also give the opportunity to make custom rounds for specific purposes. It is a good idea to use hollow point boat tail bullets from a reputable source. A competition shooter will use a 175 grain Sierra Boat-tail hollow point .308 round at 1,000 yards (914.4 m). With these rounds they are accurate the most, and are able to group about 8 inches (20.3 cm) at 1,000 yards (914.4 m).
- Outdoor clothing. Wear clothes that are warm enough for the weather expected. Pants are always recommended. If going hunting, or are located where there may be others with firearms, it is best to wear a bright orange vest or shirt. Better stay alive than "cool".
- Always wear close-toed shoes; there is nothing worse then a hot shell casing landing on your foot. (OK, there are worse things like, "toe-nail getting torn off by a stump", but you get the point.)
- (optional) A mat is often comfortable to lay on, if you are shooting while prone. If you don't own a mat, a large piece of cardboard is a cheap solution. Look around, and if you see dry grass, corn stalks, hay, or wooden palettes, use that to create a dry surface.
- Hearing and eye protection. Proper hearing and eye protection is imperative. Hearing protections consist of in-the-ear plugs and over-the-ear muff styles, or both. Firearms usually produce 140db of sound or more, hearing damage can occur at 85db. Eye protection consists of impact resistant glasses.
References
- ↑ https://www.nrafamily.org/articles/2016/11/7/how-to-choose-your-first-centerfire-rifle/
- ↑ https://www.nssf.org/shooting/minute-angle-moa/
- ↑ https://www.ballisticmag.com/2018/05/25/bolt-rifle-vs-semi-auto-rifle/
- ↑ http://americanshootingjournal.com/barrel-twist-rate-affect-accuracy/
- ↑ https://www.ballisticmag.com/2018/05/11/long-range-shooting-rifle-calibers/
- ↑ https://www.luckygunner.com/lounge/choosing-right-bullet-weight/
- ↑ https://oag.ca.gov/firearms/tips
- ↑ https://www.police.govt.nz/advice-services/firearms-and-safety/arms-code/seven-firearms-safety-rules
- ↑ https://www.youtube.com/watch?v=rBQu1uYOk0U
- ↑ https://www.nrafamily.org/articles/2019/11/5/6-ways-to-safely-store-your-firearms/
- ↑ https://www.nssf.org/safety/rules-firearms-safety/
- ↑ https://tpwd.texas.gov/education/hunter-education/online-course/shooting-skills/rifle-positions
- ↑ https://www.youtube.com/watch?v=B9VTMzCiZtE
- ↑ https://www.nrafamily.org/articles/2019/5/4/master-the-prone-shooting-position/
- ↑ https://www.youtube.com/watch?v=rKpCgugbLn0
- ↑ https://tpwd.texas.gov/education/hunter-education/online-course/shooting-skills/rifle-positions
- ↑ https://www.nrafamily.org/articles/2019/5/19/master-the-standing-shooting-position/
- ↑ https://www.nrafamily.org/articles/2018/2/2/basics-of-shooting-breath-control/
- ↑ https://www.youtube.com/watch?v=8FcVrYqtnXE
- ↑ https://www.shootingillustrated.com/articles/2016/11/29/single-stage-vs-double-stage-triggers/
- ↑ https://www.americanhunter.org/articles/2016/7/25/how-to-choose-a-riflescope/
- ↑ https://www.americanhunter.org/articles/2019/6/24/how-to-zero-a-rifle/
- ↑ https://www.youtube.com/watch?v=z5LeAu-CYso
- ↑ https://www.unl.edu/armyrotc/HandbookChapters/Chapter10.pdf
About This Article
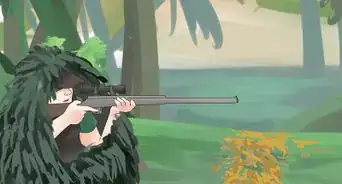
To be a marksman with a rifle, choose a spot with a height advantage, and conceal your body. Lay on your belly with your legs spread out behind you and the rifle against your shoulder. Place your cheek against the barrel to see through the scope. Relax your body, and pay attention as you exhale. Pull the trigger straight back. Read on for more tips, such as picking the best gun and ammo.

-With-a-Pistol-Step-18.webp)




-With-a-Pistol-Step-18.webp)
