This article was co-authored by Andres Matheu. Andres Matheu is the Owner of Hömm Certified Painting Systems, an Interior and Exterior Residential painting business based in the Washington, DC Metro area. Andres specializes in interior and exterior residential painting, color consultations, cabinet refinishing, wallpaper removal, and epoxy flooring among other services. An EPA Lead-safe Certified Firm, Hömm Certified Painting Systems has been awarded the Best of Houzz 2019 Service, Angie's List Super Service Award 2019, and Northern Virginia Magazine's 2018 Best Home Experts (painters) award.
There are 11 references cited in this article, which can be found at the bottom of the page.
wikiHow marks an article as reader-approved once it receives enough positive feedback. In this case, 100% of readers who voted found the article helpful, earning it our reader-approved status.
This article has been viewed 250,624 times.
Wood doors are a welcoming and classy sight in any home. If you want to clean up old doors or finish new doors, learning to stain the properly is a great DIY project for experienced home improvement experts and novices alike. With the right tools and the right process, you can stain wood doors to highlight their natural beauty and textures, and learn to protect the stain with finish to keep your door looking great for years.
Steps
Prepping the Door for Stain
-
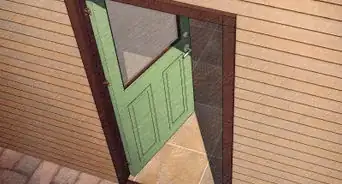
1Remove the door from the hinges. It's important to remove the door and lay it out flat to stain it properly. Most wood doors should be able to be removed fairly easily, without fear of damaging. Don't try to stain doors while they're hanging on the hinges.[1]
- To remove the door, pull the pins that hold the hinges together using a screwdriver. Push the pins up until they release the hinge plate on the door, then remove it.
-
2Remove the hardware. To avoid staining the door knobs, knockers, locks, and other hardware, it's important to unscrew everything that's connected to the door and remove it so you can stain the wood and only the wood. Most hardware can be removed by unscrewing a couple of Philips-head screws and should come off quite easily. Keep everything organized so you'll be able to find it later, after the door has been stained.[2]Advertisement
-
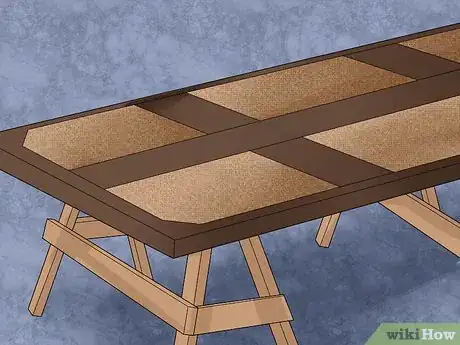
3Lay the door out flat on some sawhorses. It's usually best to set up a sawhorse in a well-ventilated area before you stain it, as flat as possible and preferably at waist-height. Setting a door up on a workbench would be fine, but setting it up on some sawhorses would be even more perfect, if you have access to them.[3]
-
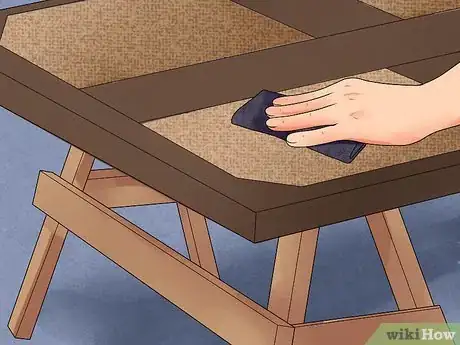
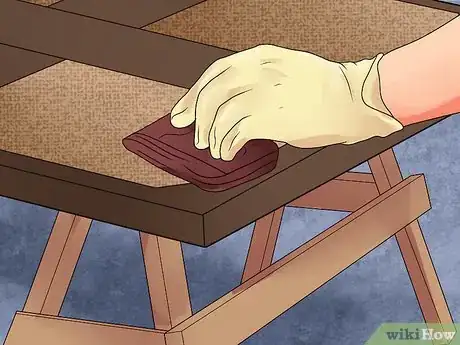
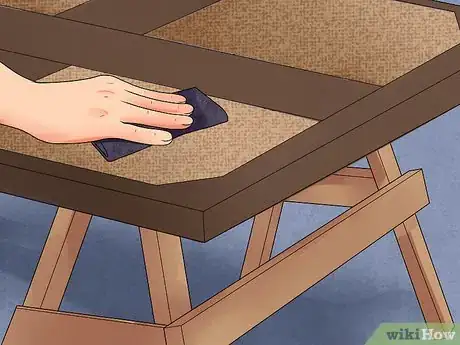
4Sand the door thoroughly. If the door is painted or has been stained previously, it's important to sand it thoroughly before you try to stain it.[4] Even if the door hasn't previously been painted, treated, or sanded, it's also good to sand it down to open up the fibers and help it accept the stain more easily.[5]
- Use an orbital finish sander or sanding pad with 220-grit sandpaper to sand the door quickly and remove minor imperfections. Always sand with the grain of the wood.
- Sometimes it's also common to wipe the door down with tack cloth before applying the stain.[6] Tack cloth is a sticky piece of cheesecloth-like gauze that is yellow in color, helping to remove sawdust and other sediment to clean the surface. Wipe down your project with this and choose an area to stain that is dust free as possible.
-
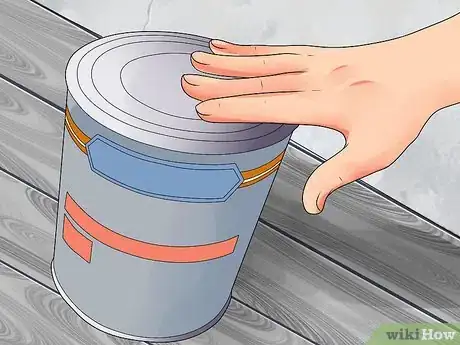
5Select a door stain appropriate for the wood. Always use a good quality stain with a petroleum base, such as Minwax, Craftsman, mixing the stain according to the manufacturer's directions. Some people think a gel stain is appropriate for smaller areas, while others prefer poly stains for their versatility. Go to the hardware outlet of your choice and shop around for a color and variety of wood stain that matches the type of wood and the kind of look you're going for with the door.
Staining the Door
-
1Wear protective eyewear and gloves. When you're handling stain and sanding, it's important to wear protective clothing, gloves, eyewear, and respiration if you're indoors. Avoid getting wood stain in your face or on your skin.
- If you're staining in your garage, it's also critical to wear breathing protection and to ventilate the area as much as possible. Take frequent breaks and make sure you're getting enough clean air into your lungs. Stop immediately if you start to feel light-headed.
-
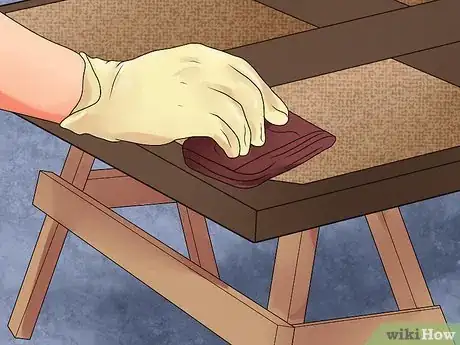
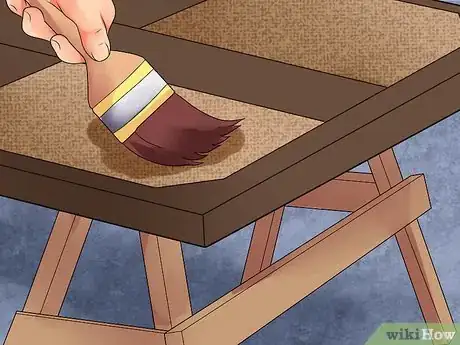
2Apply a coat on stain. Paint the stain onto the wood with the grain, using a lint-free cloth folded into a pad. Paint evenly, with the door laid flat so the stain won't drip down the wood grain and stain at awkward intervals.[7]
- After the first light pressure wipes, without adding more stain from the can, apply even pressure and wipe three to eight times with the grain. Always go with the grain of wood, and in a singular motion without stopping.
- Some wood workers like to apply the initial coat with a brush, then go over the stain while it's still wet with a rag to smooth out the stain and create a more even look. If you're using a poly stain or a gel stain, it's sometimes recommended to use a brush, as opposed to a lint-free cloth. Always defer to the manufacturer's directions and use the appropriate tool and technique for the stain you're using.
-
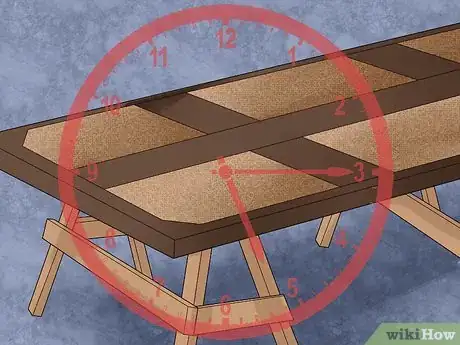
3Let the stain set for a recommended time and wipe off with a dry lint-free cloth. Depending on your project, the wood you're staining, and the variety of stain you're using, you may be ready to finish the stain, or you'll likely want to apply a second, and possibly more coats. If so, it's important to let the stain dry, sand over it with 0000 steel wool or 220 sandpaper, and repeat the staining process.[8]
- Use a clean lint-free cloth to wipe off excess stain as you're painting it on, to avoid uneven pools of stain that will form dark spots. As stain dries, a kind of "peach fuzz" will form as a result of stain, which you should work off with the steel wool, moving in gentle but even circles with the grain of the wood. Typically, you want to allow six to ten hours of drying time between coats.
-
4Apply as many coats as necessary. Now, if desired, you may dip your application cloth back into the can of stain, and repeat the process until the desired color is achieved. Continue staining the wood, rubbing down the wood between coats with 0000 steel wool, until you've gotten the stain to the color you like it.[9]
- Once you are happy with the look of the wood, leave it alone and stop touching it until it's thoroughly dry. Don't use steel wool or sandpaper or anything. Let it dry for several hours, then clean it up with a clean lint-free cloth.
Finishing the Door
-
1Choose an appropriate urethane finish for the door. Stain colors the wood, but you also need to protect your hard work by applying an exterior urethane finish on the surface of the stain to seal and protect it. Finish comes in flat, semi-gloss or high gloss, and will need to be applied in several coats. Always follow the manufacturer's recommended directions.[10]
- Water-based finishes are somewhat more environmentally friendly, but can also result in that "peach fuzz" texture that the stain creates as well. Apply the finish using a similar application and buffing process, using the steel wool or sandpaper between coats.
- Wipe down the surface with a wet rag. Allow the wood to dry thoroughly before applying finish, sanding it lightly if necessary before you begin.
-
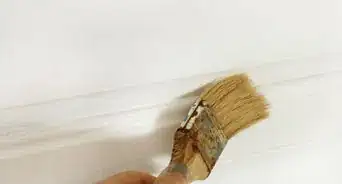
2Use a bristle or foam brush to apply finish. Follow the same basic procedure and pattern for applying the finish, using long even strokes and a uniform coat with the brush. Use a cloth to wipe off and smooth out excess finish if necessary.
- Read the manufacturer's instructions to find out how long to wait between coats, usually somewhere between two and six hours.
-
3Sand off any bristles that appear after the first finish coat. Apply at least two more coats for a thorough, even finish over the first coat, which will be more heavily sanded than usual for a finish coat. By the time you get to the last coat, you shouldn't be sanding at all.[11]
- When you've applied all the coats of finish, let the door dry thoroughly and wipe it down with a clean cloth to make sure it's completely dust free and clean before hanging it back in place.
-
4Reattach all hardware. If you removed the hardware from the door, reattach it as before and get your door ready to hang back up in the frame. Have a partner help to hold it in place while you screw the fixtures back in and reinsert the hinge pin into place to complete the job.[12]
Expert Q&A
Did you know you can get expert answers for this article?
Unlock expert answers by supporting wikiHow
-
QuestionCan I stain a wooden door without sanding it?
 Andres MatheuAndres Matheu is the Owner of Hömm Certified Painting Systems, an Interior and Exterior Residential painting business based in the Washington, DC Metro area. Andres specializes in interior and exterior residential painting, color consultations, cabinet refinishing, wallpaper removal, and epoxy flooring among other services. An EPA Lead-safe Certified Firm, Hömm Certified Painting Systems has been awarded the Best of Houzz 2019 Service, Angie's List Super Service Award 2019, and Northern Virginia Magazine's 2018 Best Home Experts (painters) award.
Commercial Painter
-
QuestionWhy remove the door from the hinges to stain?
 Community AnswerThe real or main reason is so you can polyurethane or seal all 6 sides. You really want to seal the top and bottom edges of the door as well as under the hinges to avoid swelling in times of high humidity. Do the door jamb too. Doors that stick occasionally are doors that were finished or re-finished while still on the hinges.
 -
QuestionWhat type of stain is good for wood exterior doors and should I use a primer before staining?
 Community AnswerThe best and only good one that I've found is One-Time Wood Protector. It comes in different colors and is a 1-step application every 7 years. Go with One-Time even if you have to first apply another stain to obtain the look you're after. Wood conditioner is almost never needed, but you can absolutely apply it before anything else and it won't harm anything. Do not use paint primer.
Warnings
- If you are refurbishing an existing wooden door that was painted with an oil-based enamel, you may find that it is difficult to stain after stripping the old paint. It may be easier to use a faux wood pattern of painting to create the look you want in this situation.⧼thumbs_response⧽
Things You'll Need
- Hammer
- Screwdriver
- Pair of sawhorses
- Gel stain
- Lint free cloths (cheesecloth)
- "0000" steel wool
- Electric orbital sander or sanding pad
- 220-grit sandpaper
- Sponge brushes
References
- ↑ https://www.familyhandyman.com/doors/how-to-remove-a-door/
- ↑ https://www.bobvila.com/articles/how-to-remove-a-doorknob/
- ↑ https://www.familyhandyman.com/tools/saws/savvy-sawhorse-table-tips/
- ↑ Andres Matheu. Commercial Painter. Expert Interview. 28 July 2020.
- ↑ https://www.thisoldhouse.com/how-to/how-to-refinish-door
- ↑ https://www.bobvila.com/articles/how-to-paint-a-door/
- ↑ https://www.bobvila.com/articles/44273-how-to-stain-wood-furniture/
- ↑ https://www.todayshomeowner.com/video/refinishing-a-stained-wood-entry-door/
- ↑ https://www.todayshomeowner.com/video/refinishing-a-stained-wood-entry-door/
About This Article
Before staining a wood door, take it off the hinges, remove all the hardware, and sand the door if it's been painted or stained previously. Next, choose a good quality stain with a petroleum base. Once everything is ready, put on protective eyewear and gloves and make sure you're working in a well ventilated area. Next, paint the stain on the wood with the grain, using a lint-free cloth folded into a pad. Then, let the stain set, sand it over with 0000 steel wool or 220 sandpaper, and then repeat the staining process. To learn how to choose a good urethane finish for the door, keep reading!


