This article was co-authored by Ashley Moon, MA. Ashley Moon is the Founder and CEO of Creatively Neat, a virtual organizing and life coaching business based in Los Angeles, California. In addition to helping people organize their best life, she has a fabulous team of organizers ready to de-clutter your home or business. Ashley hosts workshops and speaking engagements at various venues and festivals. She has trained with Coach Approach and Heart Core for organizing and business coaching respectively. She has an MA in Human Development and Social Change from Pacific Oaks College.
There are 11 references cited in this article, which can be found at the bottom of the page.
This article has been viewed 33,804 times.
Headbands are a great way to add a personal touch or pop of color to your outfit. However, once you start collecting headbands, they can easily become a tangled mess. To keep your headbands neat and organized, store them using household items or your own customized craft. With some creativity and attention to detail, you can easily locate particular headbands and keep them in great shape.
Steps
Using Household Items
-
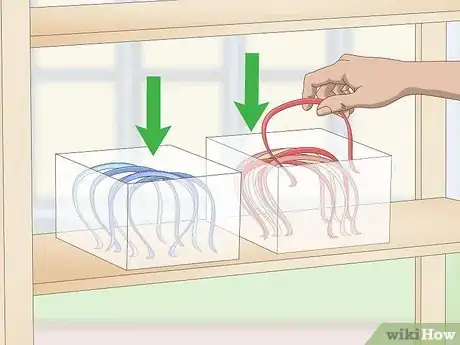
1Keep headbands in color-coordinated containers to easily pick 1 out. If you have a collection of different colored headbands, using individual containers is a great way to keep them sorted and organized. Designate a container for each major color in your collection, and place your headbands into the correct one. Then, line the containers up one by one in a drawer, on a shelf, or in a cabinet for easy access.[1]
-
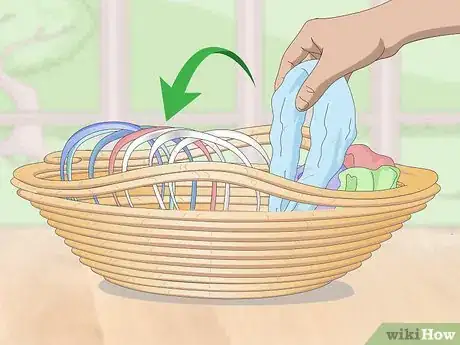
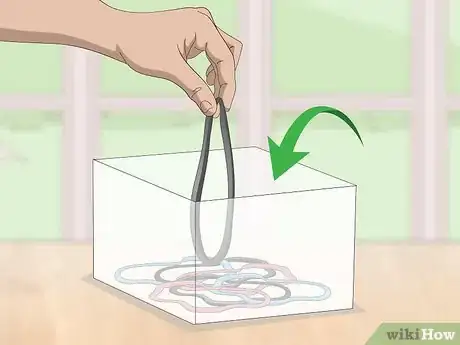
2House your headbands in a decorative basket for an effortless option. Pick a basket that is about 1–2 ft (0.30–0.61 m) long, and organize your headbands inside. Place the metal or plastic headbands on 1 side, and put your elastic headbands on the other. You can keep the bin in your bedroom or bathroom so you can easily style your hair.[2]
- Arrange your headbands by color inside the basket if you’d like.
Advertisement -
3Install a wall mount embellishment holder to hang hard headbands. A wall mount embellishment holder is a form of craft storage often used to keep small items in jars. Purchase 1 at a craft supply store, and set aside the jars that come with it. Read the hanging instructions, and secure the holder to a wall based on the directions. Then, place 3-5 headbands in each of the circular slots.[3]
- Install the holder in your bedroom or bathroom, for instance.
- This method is not the best for elastic headbands.
Making a DIY Headband Holder
-
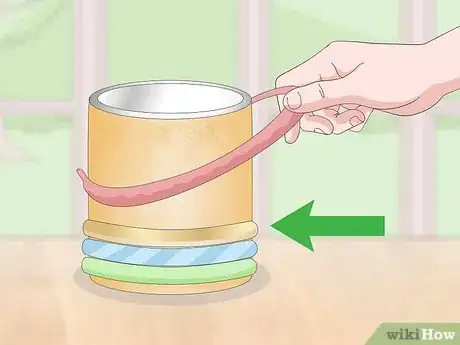
1Decorate an empty container to easily display your headbands. Choose an empty iced tea, hot chocolate, or oatmeal container, for instance. Clean out the container with a damp cloth or wipe, and cut a piece of fabric 1–2 inches (2.5–5.1 cm) larger than the size of the container. Wrap the container in the fabric, and secure it using several dabs of hot glue. Then, arrange your elastic, plastic, or metal headbands around the container.[4]
- Decorate your container with pieces of ribbon along the top and bottom if you’d like. Do this before you add the headbands so you can easily hang them over top. This adds a cute, personal touch to your organizer.
- To store the container in a drawer, use a tension rod. Cut a small “X” in either side of the container, and insert a tension rod through both sides. Adjust the tension rod to fit the inside of your drawer.[5]
- To store the container on a dresser, consider attaching it to a candle stand. Cover the top of the candle holder in hot glue, and secure it to the bottom of your container. While this is not required, it adds an attractive, decorative touch to your organizer.
-
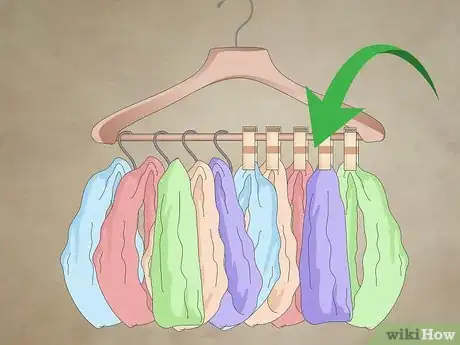
2Make a storage device using hooks and a hanger to store elastic bands. Gather 10-12 shower curtain hooks and a clothes hanger. Place 3-5 headbands on each hook, and hang the hooks from the bottom of the hanger. Secure the shower curtain hooks so they stay in place. Continue hanging the hooks onto the hanger until all of your headbands are organized.[6]
- This method works best for elastic headbands.
-
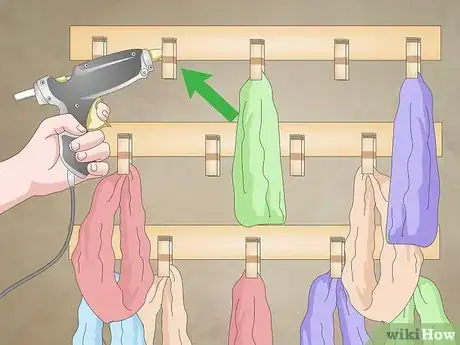
3Glue clothespins onto a piece of wood to make your own clip rack. Paint 6 12 in × 4 in (30 cm × 10 cm) pieces of wood with acrylic paint and a small paintbrush. After the wood is dry, apply 1-3 dabs of glue on the back of a clothespin, and arrange 6 clothespins across the wood. Space the clothespins out evenly as you do this. Then, hammer 1 hanging bracket into place on the back of the wood. Hang up the decoration, and clip your headbands with the clothespins.[7]
- To hang the wood, drive a nail into the wall, and place the board onto the nail.
- Use this to store elastic, plastic, and metal headbands.
Organizing Your Headbands
-
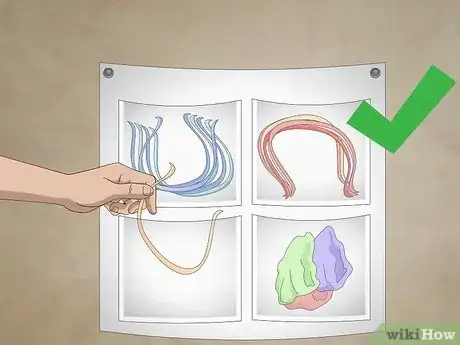
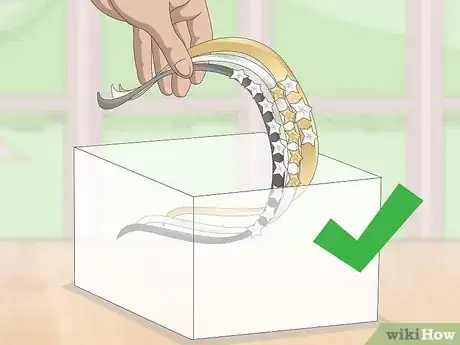
1Group together your plastic or metal headbands so they don’t break. Hard headbands are often made from firm plastic or metal materials. These headbands can snap if stretched too far, so store them with care.[8]
-
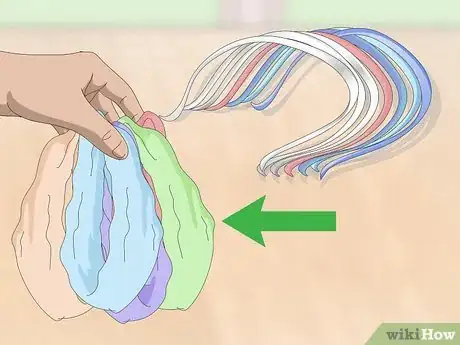
2Separate your elastic headbands so you can easily locate them. Elastic headbands have a stretchy material, making them easy to put on your head. Sort through your headbands and make a separate section for these so you can easily find your favorites.[9]
-
3Designate a spot for athletic headbands if you have many of them. Athletic headbands are usually also elastic, but they are designed to keep your hair in place as you are working out or playing sports. Separate these from the others to easily pick 1 out before you head to the gym or practice field.[10]
-
4Bundle your formal headbands to use them when needed. Formal headbands come in elastic, plastic, or metal material, and they are often worn to dressy events. Formal headbands may have glitter, rhinestones, or embellishments that make them a bit dressier. If you have several of these, keep them in their own group so you can pick one out with ease.[11]
- This is a good idea if you often dress up for work, school, church, or private events.
Expert Q&A
-
QuestionWhat are some creative ways to organize headbands?
 Ashley Moon, MAAshley Moon is the Founder and CEO of Creatively Neat, a virtual organizing and life coaching business based in Los Angeles, California. In addition to helping people organize their best life, she has a fabulous team of organizers ready to de-clutter your home or business. Ashley hosts workshops and speaking engagements at various venues and festivals. She has trained with Coach Approach and Heart Core for organizing and business coaching respectively. She has an MA in Human Development and Social Change from Pacific Oaks College.
Professional Organizer If you have a lot of headbands, you could try putting them in a pretty basket or clear stackable containers. If you only have a few, you could display them on a mannequin head.
Things You’ll Need
Using Household Items
- Headbands
- Plastic containers
- Basket or bin
- Wall mount embellishment holder
Making a DIY Headband Holder
- Headbands
- Container
- Fabric
- Hot glue
- Scissors
- Ribbon
- Tension rod or candle stand (optional)
- Shower curtain hooks
- Hanger
- Frame
- Wooden pieces
- Clothespins
- Paint
- Hangers
References
- ↑ https://www.goodhousekeeping.com/home/organizing/g2971/organize-kids-hair-accessories/?slide=8
- ↑ Ashley Moon, MA. Professional Organizer. Expert Interview. 27 April 2021.
- ↑ https://thepalettemuse.com/craft-storage-saves-our-bathroom/
- ↑ https://youtu.be/NJT6dyG_gC8?t=44s
- ↑ https://youtu.be/eUAFOGdPs2w?t=1m26s
- ↑ https://youtu.be/28wz3WR4LE0?t=38s
- ↑ https://youtu.be/8qN2L8-GbrQ?t=52s
- ↑ https://youtu.be/mqxYAANOBwE?t=1m1s
- ↑ https://youtu.be/mqxYAANOBwE?t=40s
