This article was co-authored by wikiHow Staff. Our trained team of editors and researchers validate articles for accuracy and comprehensiveness. wikiHow's Content Management Team carefully monitors the work from our editorial staff to ensure that each article is backed by trusted research and meets our high quality standards.
There are 7 references cited in this article, which can be found at the bottom of the page.
This article has been viewed 15,053 times.
Learn more...
In recent years there's been a concerted effort to reinvigorate the Monarch Butterfly population. One of the best ways to do so is to harvest and spread different species of milkweed, a plant Monarch Butterflies thrive on. However, it's crucial that between the harvesting and planting of the seeds that they are stored appropriately. If stored incorrectly, the rate of germination can drastically decrease and you'll have to wait until next spring to try for a new crop.
Steps
Preparing the Seeds for Storage
-
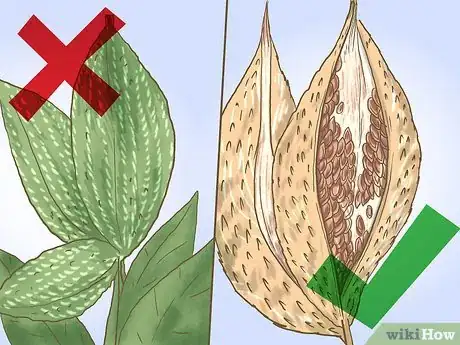
1Choose the appropriate pods to harvest. Not all milkweed pods will produce viable seeds for a bountiful harvest in spring so you need to be careful which to pick. Ripe pods will tend to be dry, gray or even brown. If you have picked pods that aren't fully developed, attempt the harvest, but your overall result may be less due to a lower rate of success in your seeds growing.
-
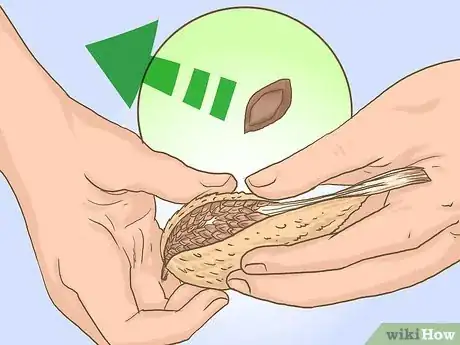
2Extract the seeds from the milkweed pods. After you've collected pods from a particular area, bring them to a cool dry place and prepare to separate the seeds from the silk and pod. Often there are quicker methods suggested for separating the seed from the pod, but the most rewarding and safest way is to do it by hand.[1] Additionally, if there are any seeds that seem warped or haven't developed properly, you can separate them from the rest.
- Hold the pod in two hands and open it enough to put a thumb over the silk.
- Slowly pry open the pod more so that you can extract the seeds into a pre-prepared container.
Advertisement -
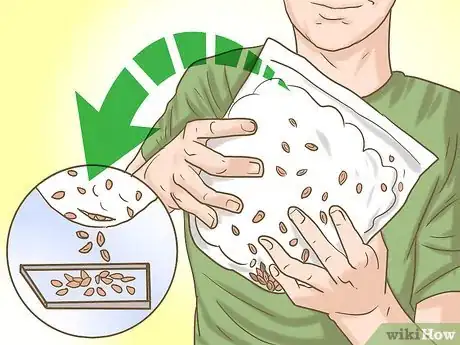
3Use the bag technique if you want the process to be faster. The bag technique is a different method for separating the seed from the pod. It is usually faster than extracting the seed by hand but you may miss seeds in the process.[2]
- Strip the entirety of the pod into a clear plastic bag.
- Shake the bag as hard as you can to separate the seed from the silk.
- Cut a small hole in the bottom of the bag and shake over a container. The seeds should find their way to the bottom and fall free from the silk.
-
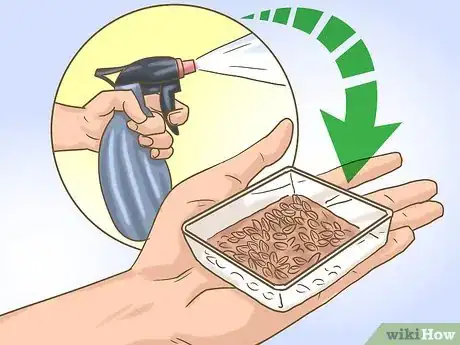
4Moisturize the seeds. Once you have seeds in a container it's very likely that they will have taken silk with them. This isn't necessarily a bad thing as many seeds may be hidden within the silk. The silk will become unruly if dry, so spray down with water to make your seed more manageable as you prepare for storage. [3]
-
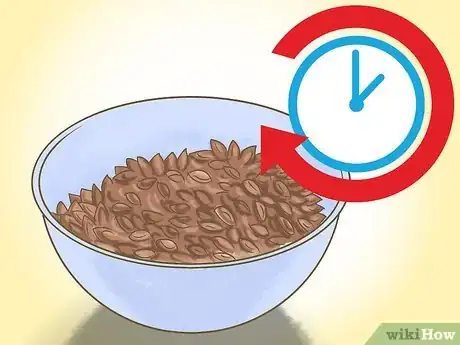
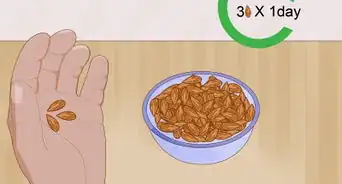
5Dry the seeds overnight. Transfer the seed into a bowl and put in a cool but well ventilated area of your home. Now that your seed is ready, it is important to make sure it is completely dry before the next steps. If any moisture remains there is a high possibility of mold later in the process. Large scale harvesters will use specialised drying boxes, but a bowl overnight yields a similar result.[4]
Storing the Seeds Until Spring
-
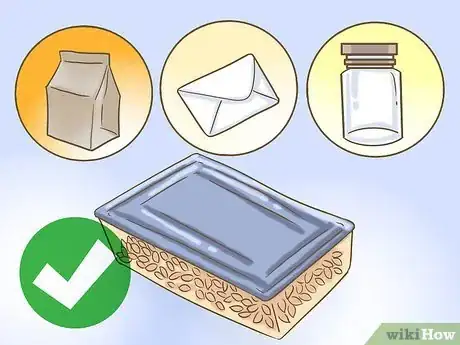
1Transfer your dry seed into a permanent container. Usually, a small plastic box works, but a basic paper bags, envelopes or even jars are also suitable provided they are dry.[5] Label your container by the species of the milkweed, when you harvested it and where you intend to plant it in spring.
-
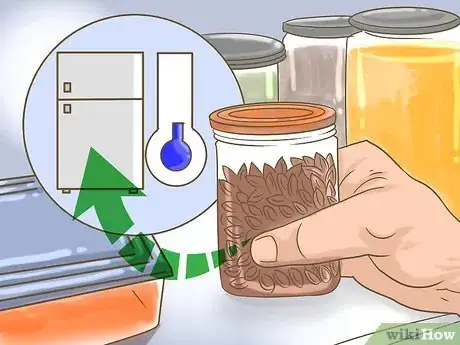
2Begin the chilling process. Put your container in a fridge, preferably in an area that is not used often, and wait. Milkweed seeds in nature undergo a process called stratification where their outer shell is cracked by the cold winter weather, allowing the seed to sprout in Spring.
- By storing the seed in a cold area like a fridge over Winter, you are directly mimicking this natural process.
- Doing this greatly improves the chance of having a successful harvest in Spring. By simulating this natural process the likelihood of the seeds growing into full milkweed plants is greatly increased.[6]
-
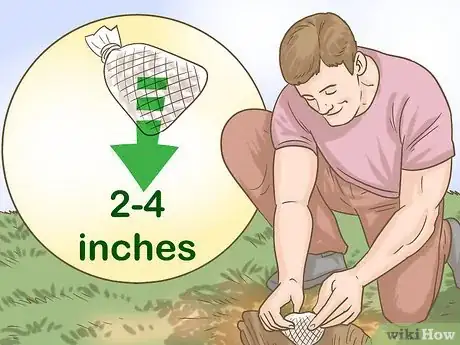
3Plant in natural soil if you want a more natural method. An alternative method of chilling is by planting the seeds in the soil over Winter.
- Gather your seed in a mesh bag, dig a hole around 2 to 4 inches (5 to 10 cm) deep and place the bag inside. Loosely cover it again in soil and mark the spot where you buried it.
- If you prefer, you can also do a similar process inside a plant pot filled with soil and put it inside a fridge. Generally if the soil is of a high quality this method yields the highest success rate [7]
-
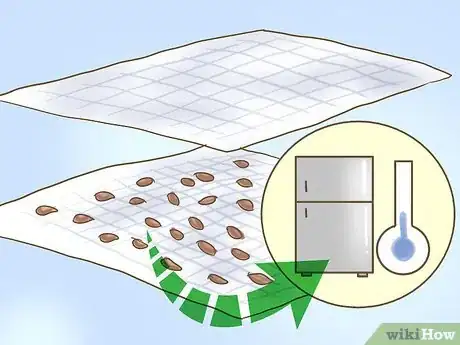
4Layer the seeds between two moist paper towels if you want to be sure your seeds are safe. Another method of chilling is layering the seed between two lightly damp paper towels and storing in a fridge. This method greatly reduces the chances of fungi or bacteria taking hold of your seed although it is more liable to mold.
-
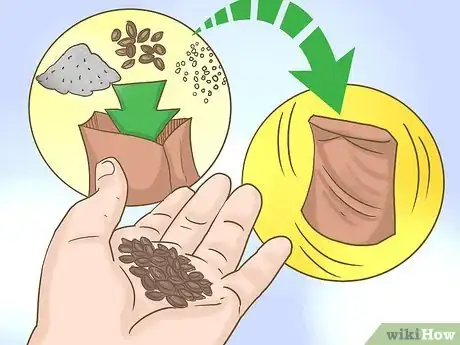
5Apply final touches to the seeds. Once your seeds have been stored until spring, remove it from the bag and examine them. If their outer shells have cracked then the chilling has worked, but if they haven't cracked you may need to do a little extra work to make sure they'll grow into healthy plants in Spring.
- Put your seed in a bag filled with sand or salt and shake vigorously for 30 seconds. Once you sort the seed from the sand or salt, the shells should be removed completely.
Warnings
- Do not leave seed in a locked vehicle in the sun with the windows closed.⧼thumbs_response⧽
- Do not leave in a container in an outdoor shed.⧼thumbs_response⧽
- Do not freeze the seed, they have moisture in them and will die if frozen.⧼thumbs_response⧽
References
- ↑ http://grownative.org/wp-content/uploads/2015/06/Milkweed-handling-instructions-for-FWS-1.pdf
- ↑ https://npsot.org/wp/story/2014/5933/
- ↑ https://monarchbutterflygarden.net/harvest-milkweed-seeds-no-fluff/
- ↑ https://medium.com/conservation-service-in-action/how-we-collect-and-process-milkweed-seeds-for-monarchs-f6b5e899d878
- ↑ https://www.gardeninginthemitten.com/how-and-when-to-harvest-milkweed-seeds/
- ↑ https://monarchlab.org/biology-and-research/monarch-rearing/finding-collecting-and-growing-milkweed/
- ↑ https://www.monarchwatch.org/milkweed/prop.htm
