This article was co-authored by Danielle Chiz. Danielle Chiz is a Professional Hair Stylist and the Owner of bubu nyc Hair Artist Studio based in New York, New York. She specializes in hair coloring and styling as well as crafting a personalized hair experience. Danielle holds a BA in Biology from the University of Rochester.
This article has been viewed 113,711 times.
Straight hair can be very pretty in its own way. It is sleek, shiny, and has lots of movement. Unfortunately, hair straighteners can leave your hair looking too straight, with no volume and no movement. Luckily, there are a few tricks you can do to give your hair extra volume while straightening it. You can start with either wet or dry hair, although the process will be much quicker with hair that's already dry.
Steps
Starting with Dry Hair
-
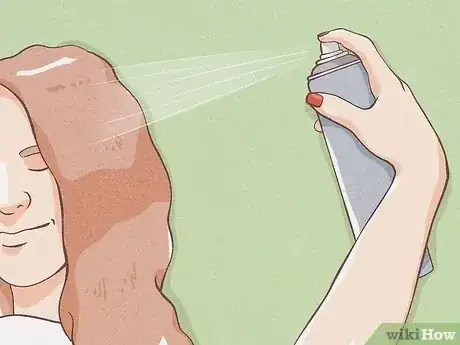
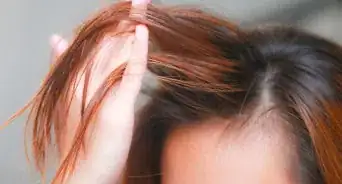
1Apply heat protectant to your hair. This is very important. It won't do much to give your hair extra volume, but it will protect your hair from heat damage, and prevent it from turning brittle and dry. Be sure to focus the heat protectant on the ends of your hair, which tend to get damaged the easiest.[1]
-
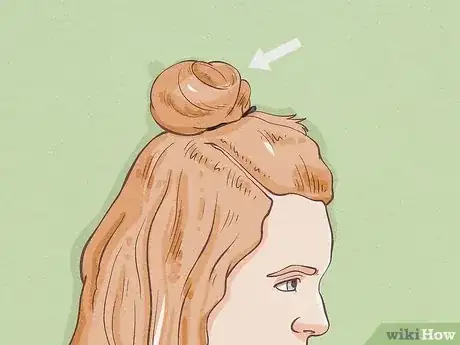
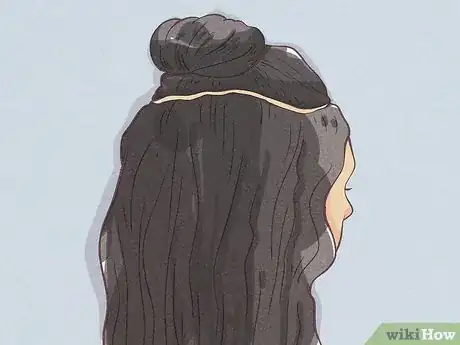
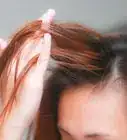
2Pull the top half of your hair up into a bun. Plan on straightening your hair in at least three layers. If you have very thick hair, or just a lot of it, you will have to work in thinner sections.Advertisement
-
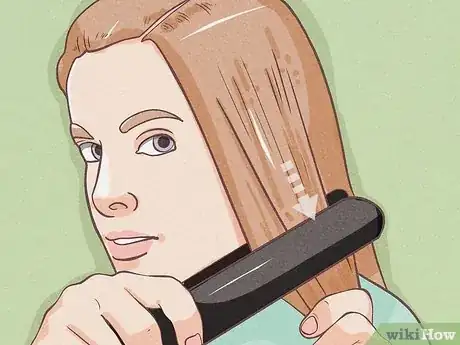
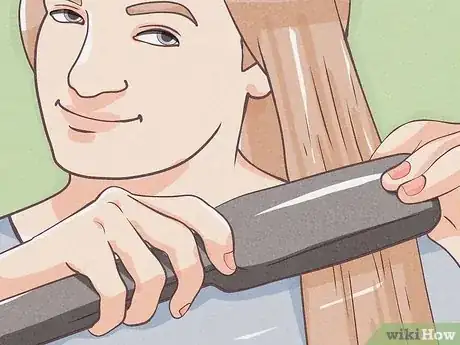
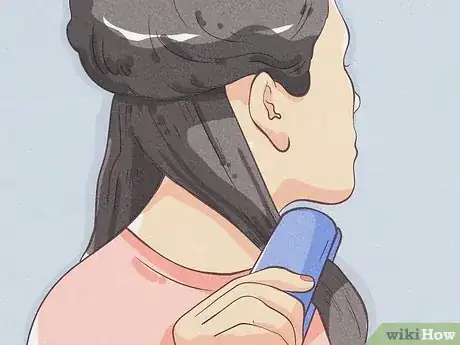
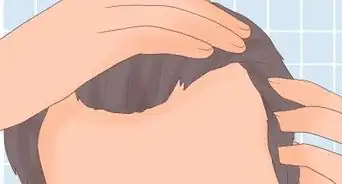
3Start with a small section of hair, close to your hair line. Take a small, 1 to 2-inch (2.54 to 5.08-centimeter) section of hair, and clamp your iron over it, as close as you can to your scalp without burning yourself.
-
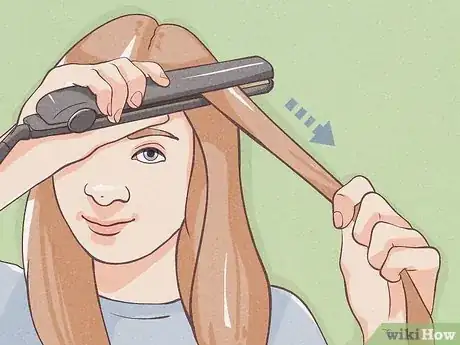
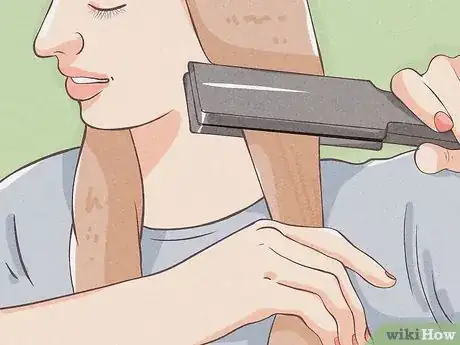
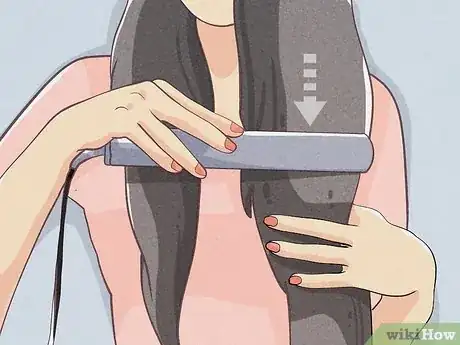
4Pull the iron upwards and away. Instead of pulling the iron straight down, pull it upwards towards the ceiling by a few inches/centimeters. When you get halfway across your hair, pull the iron away from your head. Pulling the iron upwards helps create volume, while pulling it away makes it easier on your arm.
- If your hair is too hot for you to touch, use a hairbrush to handle it. It might also be a good sign that your hair straightener is set to too high of a temperature; you might want to lower the temperature a little.
-
5Finish straightening the rest of bottom layer in a similar fashion. Once you are done, you can move on to the next layer, or gently tease your hair first. If you choose to tease your hair, give it a quick spray with a flexible hairspray to set the style while allowing movement and flow.
-
6Continue straightening the rest of your hair. Always work in layers and small sections. Remember, the thicker your hair is, the more layers you will have to work with.
-
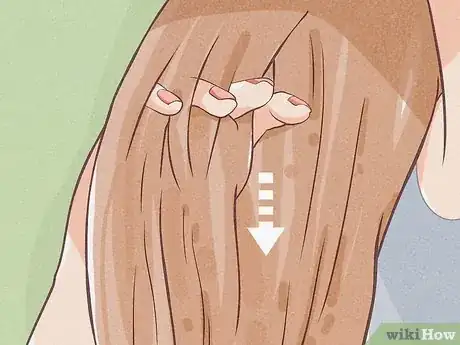
7Finish off by running your hands through your hair. Run your fingers upwards through your hair, starting at the roots. This will give your hair that final lift it needs. If you want to, give your hair a spray with some texturizing hairspray.
Starting with Wet Hair
-
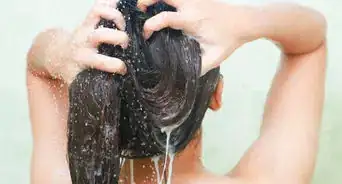
1Spray your hair with a heat protectant spray. This is very important, as it will protect your hair from heat damage. Heat-damaged hair can often look dry, frizzy, or ratted. To prevent this from happening, apply a heat protectant spray to your hair, focusing on the ends.[2]
-
2Pull the top part of your hair up onto a loose bun. You should have the bottom third or bottom fourth of your hair loose. The thicker you hair is, the more sections you will need to work with.
-
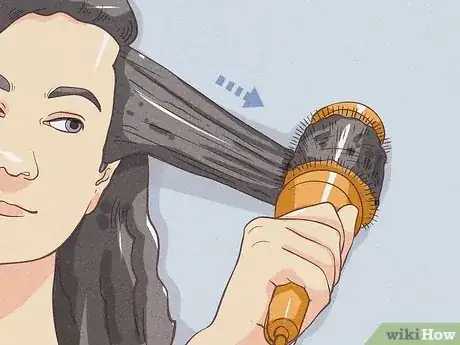
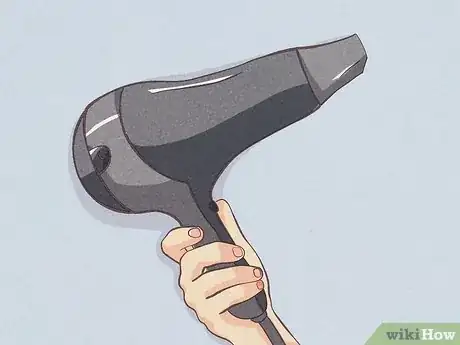
3Start with a small section close to your hair line. Take a small section of hair, and place a round brush under it, as close to your roots as you can. Turn on your hairdryer, and place it right over the brush.
-
4Pull the round brush slowly towards the ends of your hair. Keep the hairdryer directly over the brush at all times. Do not pull the brush completely past the ends of your hair.
-
5Make sure your hair is smooth, then roll the brush back towards your scalp. If your hair is not smooth, pull the brush completely past your hair and start again. When your hair is smooth, rotate the brush back towards your scalp, rolling the hair around it.[3]
-
6Pull the hairdryer away and wait until your hair cools, then carefully pull the brush out of your hair. Leave the brush in your hair as it cools. Once it is cool to the touch, carefully pull the brush out of your hair. At this point, you can move onto the next section.
- If your hair is very fine, consider giving it a quick spray with a lightweight hairspray before moving on.
- Save power by turning your hairdryer off while you wait for your hair to cool.
-
7Continue straightening the rest of the layer in a similar fashion before moving onto the next. Keep working in small sections and thin layers until you have straightened all of your hair.
-
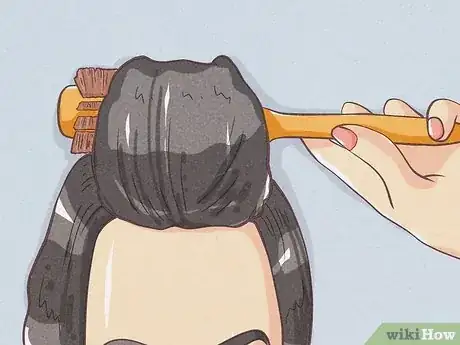
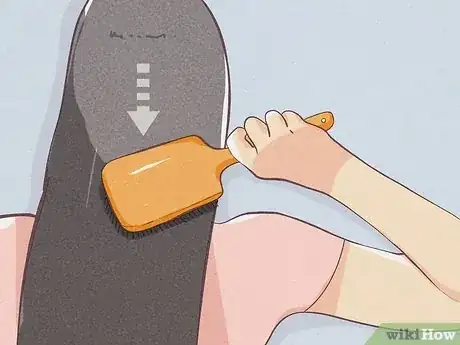
8Run a paddle brush through your hair, then pass a hair straightener through it, if necessary. If you are happy with this look, you are done and can go about your day. If your hair isn't straight enough for you, pass a hair straightener through the ends and the upper layers. Pull the hair straightener through your hair using an upwards motion rather than straight down. This will help create extra volume. Here are some more pointers on straightening your hair:
- For even more volume: roll your hair up in a round brush or thermal styling brush, about 1½ to 2 inches (3.81 to 5.08 centimeters) away from your scalp.
- Keep the brush in your hair until your hair cools before pulling it out.
- Pass your hair straightener through your hair, right under the brush, while unrolling it to make your hair even straighter.
-
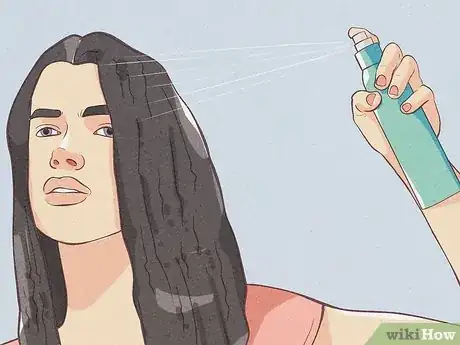
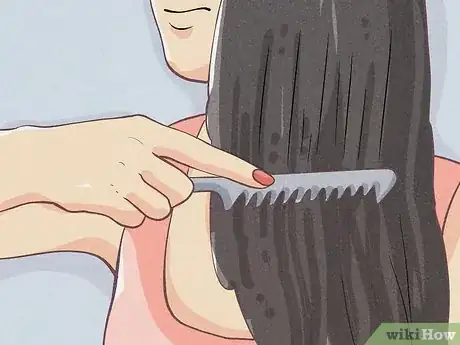
9Comb your hair, then give it a spray with a quick spray with a volumizing or texturizing hairspray. Run a brush or your fingers through your hair, starting at your forehead, and moving straight back. This will help create extra volume. After that, you can part or style your hair however you like.
Warnings
- Be careful not to burn your forehead, neck, or ear.⧼thumbs_response⧽
Things You'll Need
Starting with Dry Hair
- Heat protectant spray
- Hair clips or hair tie
- Hair straightener
- Flexible-hold hair spray (optional)
- Texturizing hairspray (optional)
- Hairbrush
Starting with Wet Hair
- Heat protectant spray
- Hair clips or hair tie
- Round hair brush
- Paddle brush
- Hairdryer
- Hair straightener
- Lightweight or flexible-hold hair spray (optional)
- Texturizing hairspray (optional)
- Hairbrush
