This article was co-authored by Karen De Jager. Karen De Jager is a Professional Photographer and the Owner of Spectrum Photography LLC, operating in the broader East Bay area based in Pleasant Hill, California. Karen is a published and award-winning photographer who offers both in-studio, outdoor, and on-location sessions specializing in capturing a wide variety of special moments and events in a natural, photojournalistic style. Her ability to look at every photoshoot as an adventure and general passion for delivering excellent customer service led to Spectrum Photography’s recognition by Expertise.com as the “Best Wedding Photographers in Vallejo” in both 2018 and 2020.
This article has been viewed 61,089 times.
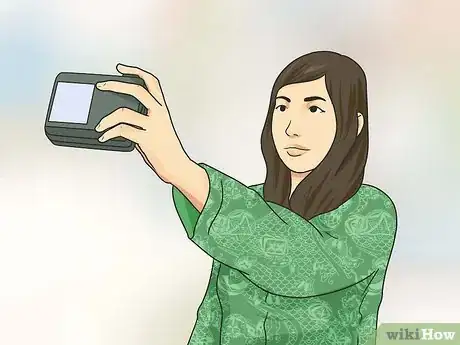
Looking to impress your friends on social media with an eye-catching selfie? Taking good-looking pictures has never been easier. Today, all you need is a standard smartphone and you're ready to start capturing snapshots. To get your photos as good-looking as possible, pay attention to your appearance and environment and learn a handful of easy photo-taking strategies.
Steps
Looking Your Best
-
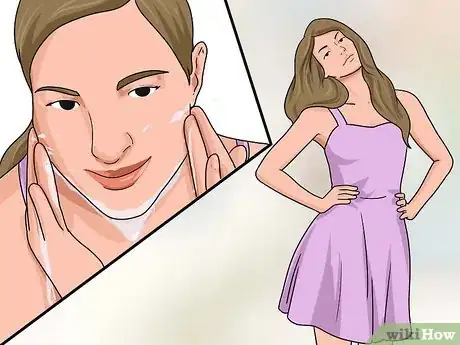
1Put on good-looking clothes and clean your face. Taking just a few moments to "put yourself together" can take your selfie from "good" to "great." Pick an outfit that you think makes you look good. It can be something that goes well with your surroundings (like a flannel lumberjack shirt if you're in the woods) or just a set of clothes you love. Find a mirror and make sure your hair looks good, your teeth are brushed, and your eyes are clear and "awake." Wash or brush yourself as needed.
- You may want to consider wearing light makeup, but don't feel obligated to use it. You don't necessarily have to wear makeup to take a good photo. Sometimes the most best photos come from a person's natural beauty.
- If you are taking a profile picture Facebook, a dating website, or something similar, you may want to put more effort into your selfie than normal.
-
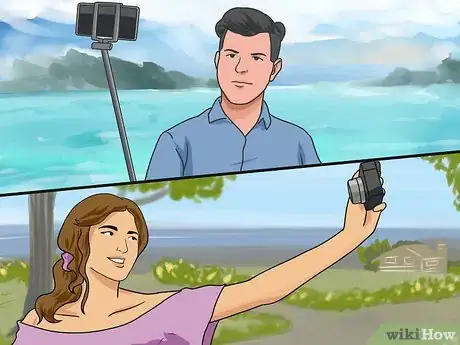
2Pick an interesting background. You can take a closeup of your face, but having something else in the photo to look at gives the photo depth and variety. It's also nice for making your selfies look different from each other. There are no "right" answers here, but below are just a few ideas:
- Try shooting both outside and inside.
- Try shooting against different textures of wall (wood, brick, paint, glass, wallpaper, etc.).
- Try capturing eye-catching objects like flowers, bodies of water, animals, or statues in the frame.
Advertisement -
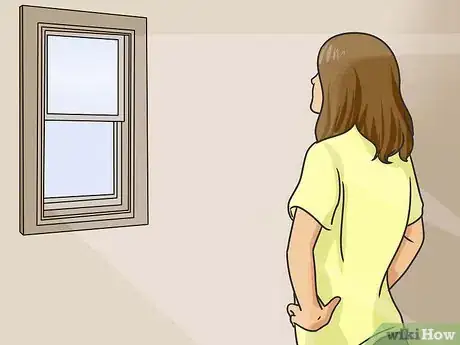
3Be aware of your lighting. The light sources around you when you take your picture can seriously affect how it turns out. Not enough light can make the photo pixelated and dark, whereas too much light can block out all your features (and even make your nose disappear). Try to strike a good balance: you want just enough lighting to show all the amazing aspects of your face, but not so much that they vanish and leave you looking like a shining mirror.
- If you're indoors, try not to stand in front of a window with your back facing it, as the light from outside can make you look dark and shadowy. Instead, try standing facing the window instead so any light coming from outside will hit your face and make your features look sharper.
-
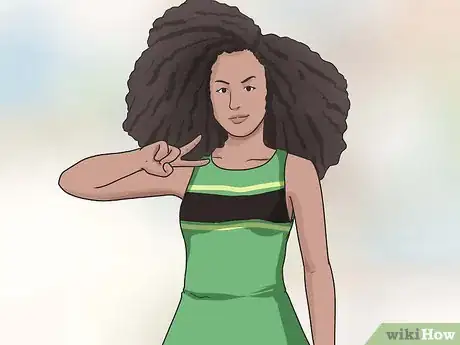
4Choose an interesting pose. Now that you have your lighting situated, it's time to decide what you want your pose to be. There are many options here: you can do the duck face, make a peace sign, or even just show a simple smile! You can face away from the camera or look into the lens. The possibilities are endless. Choose something that feels right and go with it!
- If you're posting pictures to social media, make sure to vary your poses. You don't want to seem like you only know how to do one thing.
- If you're using a phone to take your picture and you want to look into the camera, don't forget to point your eyes at the small lens and not at the screen itself.
-
5Get excited! Having a happy, positive attitude will show through in your picture. Taking selfies isn't a big deal, so instead of worrying, have fun with it and don't be afraid to experiment. You can always get rid of bad pictures later.
- If you're having a hard time getting jazzed up for your photo, get physical! Try taking a few photos while jumping, balancing on one foot, or doing something athletic. Moving around will get your blood flowing and raise your energy levels.
Getting Great Results
-
1Consider upgrading your camera. The most important thing for getting high-quality photos is a high-quality camera. Cheaper, lower-quality cameras can leave you with photos that look blurry and indistinct rather than crisp and lifelike. This doesn't necessarily mean you have to spend lots of money on a new phone or camera — just be aware that the better the camera, the better the photo. If you are interested in taking lots of photos, you may want to invest in a professional camera (or borrow a friend's).
- If you're stuck using a phone, you can judge the strength of its camera with its megapixel rating. As a general rule, the higher megapixel number the camera has, the better the quality. If you aren't sure what your exact megapixel amount is on your camera(s), you can usually find it by Googling the specs for your specific phone. In some cases, it can be found under Phone Info in the Settings menu.
- Phones aren't always a bad choice. Smartphones are also best because filters and lighting can always be edited or changed later on for aesthetic purposes.
-
2Experiment with unique angles. When it comes to selfies, there are many different angles you can try. Try shooting from close to your face and farther away, from up high and down low, and from either side. If you have a friend (or a tripod) with you, you can even shoot from a distance.
- If you have a phone with a forward-facing camera, you can just turn it on and try moving your phone around to see which angle you like best without having to take pictures.
- One good policy for selfies is to take the photo from eye level or above. Shooting from below that can make your face look rounder and make certain features (like the underside of your chin) look bigger.
-
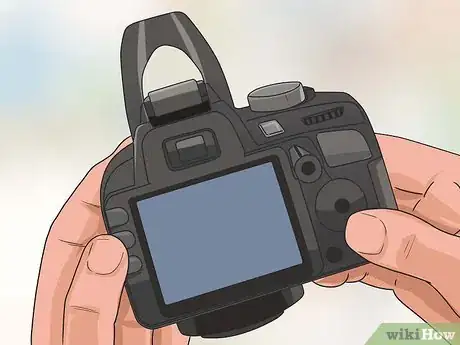
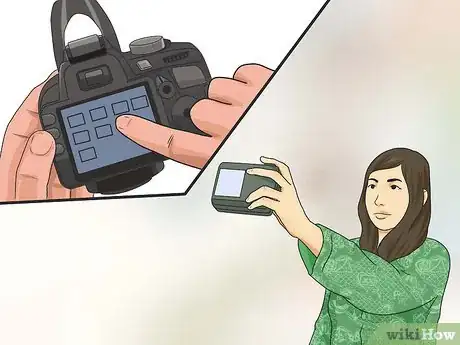
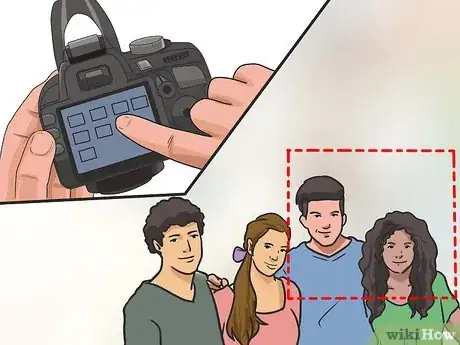
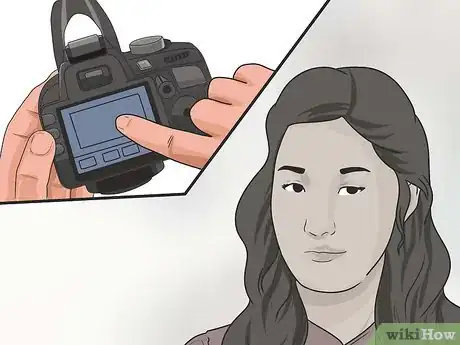
3If necessary, adjust the camera settings. If you're not liking your results, the problem may stem from your camera's settings. Things such as brightness, contrast, focus settings, and different shooting modes (e.g., portrait, action, etc.) can all affect your picture quality. Try looking in your camera's "options" menu or using the appropriate buttons to change the settings.
- If you're shooting in dim lighting, you may want to turn your camera's flash off. The flash can make reflective surfaces look distractingly bright. Keep in mind, however, that many professional cameras will automatically have a slow shutter speed in low light conditions, which means you'll need a tripod to keep the camera steady.
- Some digital cameras and phones have a "save as flipped" option. This prevents the picture from being reversed once it's taken.
-
4Take many different pictures and pick your favorites. Getting a good photo is much easier if you have many to choose from. Try taking multiple snapshots from each angle — when you're done, you can go through and pick the ones that look best.
- Be a relentless editor. Don't be afraid to delete photos that are unflattering. You have no reason to share anything but the best.
-
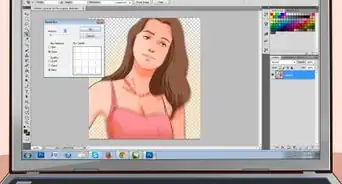
5Consider cropping or editing your photo. Once you've found a picture you like, you may want to do some light "touch up" work (though this isn't necessary at all). If you're using a digital camera, editing software like Photoshop (or GIMP, a free alternative) is a good choice.[1] If you're working on a phone, there are a variety of free apps that are available for download that offer basic editing and cropping options.
- A good policy is to keep your editing subtle — people are good at telling when something isn't quite right. For instance, if you use computer editing tools to bend the edges of your figure make yourself thinner, this can be easily detected if you are next to a straight edge (like a door frame) because the edge of the object will curve as well.
-
6Consider using filters. Today, this is common for pictures taken on phones. The most famous app for putting filters on photos is Instagram, but there are other apps and computer programs that can do this as well. Examples include Retrica, Filterloop or Vintago. Be sure that the filter gives the picture the look you want. For example, if you're at the beach, try something light and sunny to give your photo a "washed-out" look.
- Black and white filters are great for hiding facial imperfections.
-
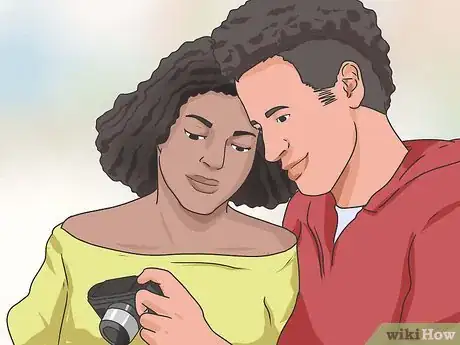
7Get outside opinions. Not sure whether your picture looks good? Ask a friend or family member. Other people may be able to spot imperfections that you've missed or suggest ideas you haven't thought of. They can also be a valuable "deciding vote" when it's time to pick between two different photos.
- You can even post your picture on line and ask your peers' opinions on it. Be careful not to do this too often — it can seem a little attention-seeking.
Expert Q&A
-
QuestionHow can I be more photogenic?
 Karen De JagerKaren De Jager is a Professional Photographer and the Owner of Spectrum Photography LLC, operating in the broader East Bay area based in Pleasant Hill, California. Karen is a published and award-winning photographer who offers both in-studio, outdoor, and on-location sessions specializing in capturing a wide variety of special moments and events in a natural, photojournalistic style. Her ability to look at every photoshoot as an adventure and general passion for delivering excellent customer service led to Spectrum Photography’s recognition by Expertise.com as the “Best Wedding Photographers in Vallejo” in both 2018 and 2020.
Professional Photographer Try to choose a flattering camera angle. For instance, you don't want the camera tilted too far down, or else your forehead might look larger than it actually is.
 -
QuestionHow do I choose a good angle for taking pictures of myself?
 Karen De JagerKaren De Jager is a Professional Photographer and the Owner of Spectrum Photography LLC, operating in the broader East Bay area based in Pleasant Hill, California. Karen is a published and award-winning photographer who offers both in-studio, outdoor, and on-location sessions specializing in capturing a wide variety of special moments and events in a natural, photojournalistic style. Her ability to look at every photoshoot as an adventure and general passion for delivering excellent customer service led to Spectrum Photography’s recognition by Expertise.com as the “Best Wedding Photographers in Vallejo” in both 2018 and 2020.
Professional Photographer The angle you shoot from will change the overall vibe that your photo gives off. If you shoot from above (like a selfie angle), it will give more of an innocent feel to the photo. If you take a photo from straight on, it will give off more of a confident feeling to your photo. If you shoot from below angled up, it will give a bossy vibe to your photos.
References
About This Article
To take a good picture of yourself, try facing a bright window so the flattering natural light is lighting up your face in the photo. Also, take the picture from eye level or above since taking a photo from below isn't usually a flattering angle. Additionally, look for an interesting background, like a brick wall or some flowers, to give your photo more depth and variety. For more photo-taking tips, like how to adjust your camera settings to take great pictures of yourself, scroll down!



-Step-18.webp)




-Step-18.webp)


