This article was co-authored by wikiHow staff writer, Travis Boylls. Travis Boylls is a Technology Writer and Editor for wikiHow. Travis has experience writing technology-related articles, providing software customer service, and in graphic design. He specializes in Windows, macOS, Android, iOS, and Linux platforms. He studied graphic design at Pikes Peak Community College.
The wikiHow Tech Team also followed the article's instructions and verified that they work.
This article has been viewed 66,305 times.
Learn more...
This wikiHow teaches you how to upload a video from your computer to your Twitch account, and publish it on your channel. Your uploaded videos will become available in your channel's Videos tab. Video uploading is only available for Affiliate and Partner accounts.
Steps
-
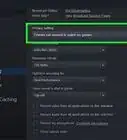
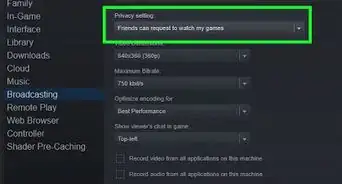
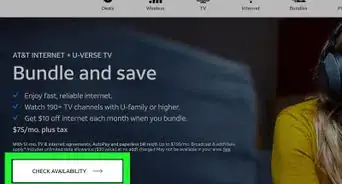
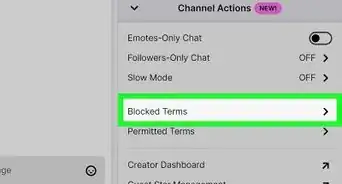
1Become a Twitch Affiliate. You must have an Affiliate or Partner account in order to upload videos to your Twitch account.[1] Once you are eligible to join the Affiliate program, you will receive an invitation via your email as well as your notifications, which you can access by clicking the envelope icon in the upper-right corner of the Twitch website. Once you have been invited, click Get Started under the "Channel" tab in the Creator Dashboard. You will need to fill out a form and submit it. You must meet the following requirements to be eligible to join the Twitch Affiliate program:[2]
- Have a minimum of 500 total minutes broadcast in the last 30 days.
- Have a minimum of 7 unique broadcast days in the last 30 days.
- Have an average of 3 concurrent viewers or more over the last 30 days.
- Have at least 50 Followers.
-
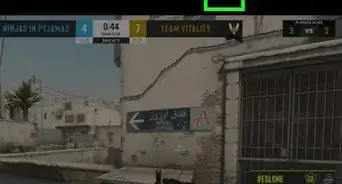
2Go to https://www.twitch.tv in a web browser. You can use any web browser to go to open the Twitch website.
- If you are not logged in to Twitch, click Log In in the upper-right corner and log in with the username and password associated with your Twitch account.
Advertisement -
3Click your profile picture on the top-right. Your picture is located in the upper-right corner of the web page. This displays a drop-down menu.
-
4Click Video Producer. It's in the drop-down menu when you click your Profile icon in the upper-right corner. It's next to an icon that resembles slider bars.
-
5Click Upload. It's the purple button in the upper-right corner of the Video Producer page. This button is only available to Affiliate and Partner accounts.
- Alternatively, you can just drag and drop a video here to upload it.
-
6Select the video you want to upload. Use the file browser to navigate to the video file you want to upload. Click the video file to select it.
-
7Click the Open button. It's in the lower-right corner of the file browser. This will start uploading your video to Twitch. It may take a few minutes for your video file to finish uploading.
-
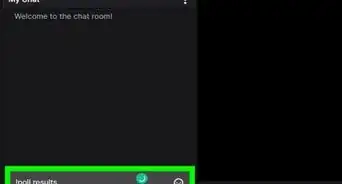
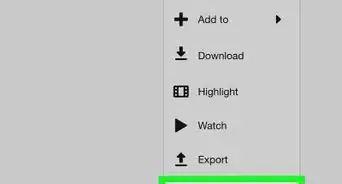
8Click Publish. Once the video is finished uploading and processing, you will see a button appear that says Publish. Click this button next to your video to publish your video. This will display an information page where you can edit the metadata for your video.
-
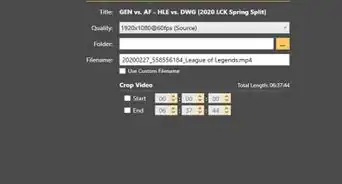
9Edit your video's metadata information. Use the text fields at the top to enter a video title and description for the video. Use the drop-down menus to select the video's language ad category. You can also use the "Tags" field to enter search tags for the video.
-
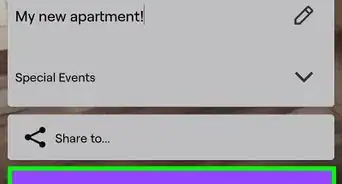
10Click Publish. It's the purple button in the lower-right corner. This will instantly publish your video. You can instantly publish the video in the "Videos" tab.


References
About This Article

1. Open https://www.twitch.tv.
2. Click your profile picture on the top-right.
3. Click Video Producer.
4. Click Upload.
5. Click Publish.